ENGLISH
1.
2.
3. MP3
4.
5.
6.
LCD
/
/
1.
MULTI CARD
33
2.
23
3.
[POWER/MODE
]
◆
98
4.
[W/T]
[OK]
◆
[OK]
5.
[OK]
[MENU]
6.
[POWER/MODE
]
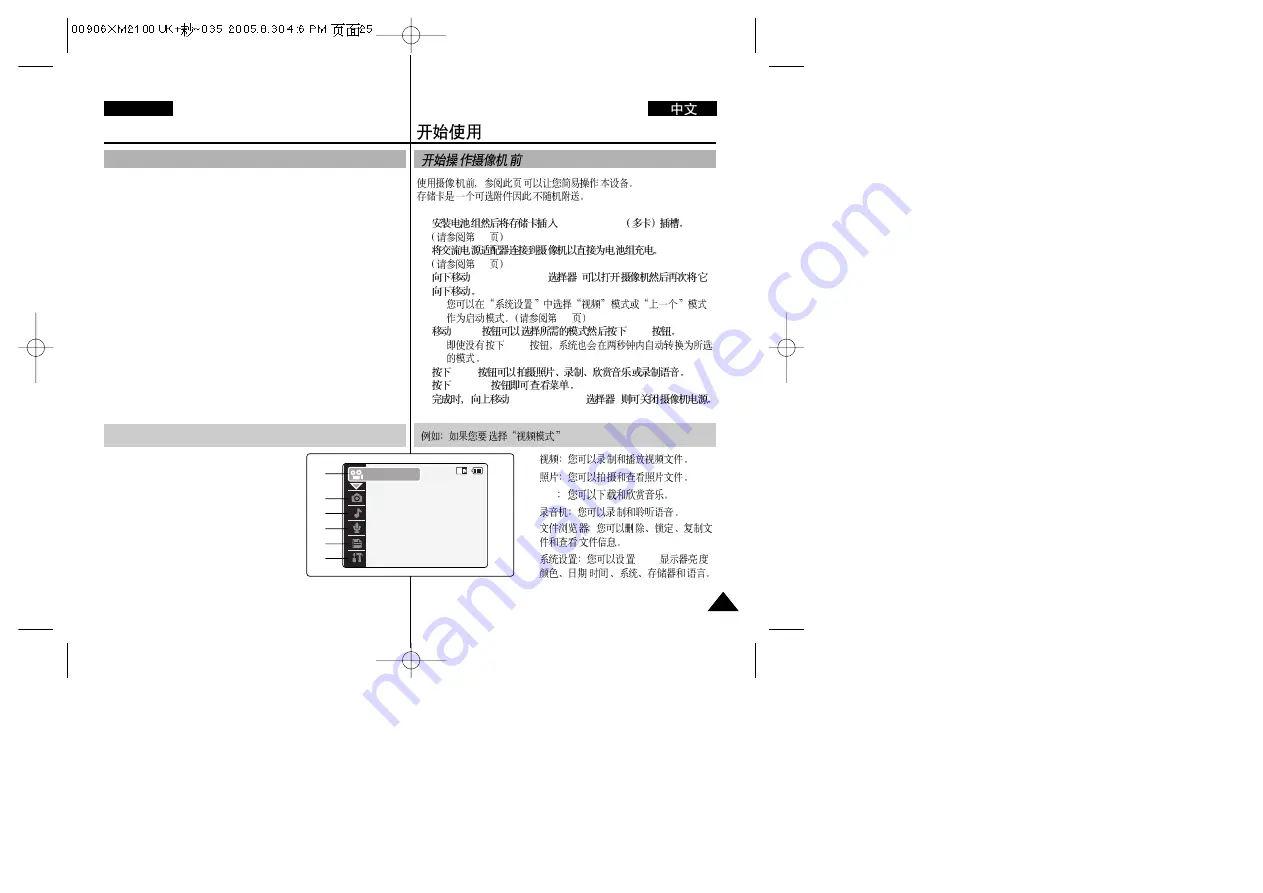
1. Video: You can record and play video files.
2. Photo: You can take and view photo files.
3. MP3: You can download and hear the
music.
4. Voice Recorder: You can record and hear
the voice.
5. File Browser: You can delete, lock, copy the
file and view the file information.
6. System Settings: You can set the LCD
monitor brightness/colour, date/time,
system, memory and language.
25
25
Getting Started
Before You Start Operating the CAM
Before using the CAM, refer to this page for easy operation.
The Memory Card is an optional accessory and not included.
1. Install the Battery Pack and insert a Memory Card into the
MULTI CARD slot.
(Refer to page 33)
2. Charge the Battery Pack by connecting AC Power Adapter
with the CAM directly.
(Refer to page 23)
3. Move [POWER/MODE Selector] down to turn on the CAM and
move it down again.
◆
You can select Video mode or Previous mode as the start-up
mode in System Settings. (Refer to page 98)
4. Move the [W/T] button to select the desired mode and press
the [OK] button.
◆
The system is automatically converted into the selected mode
in two seconds even when the [OK] button is not pressed.
5. Press the [OK] button to take pictures, record, hear music or
record voice.
Press the [MENU] button to view the menu.
6. When finished, move [POWER/MODE Selector] up to turn the
CAM off.
For example:If you want to select Video Mode
Video
1
2
3
4
5
6


