


51
3. Using a Network-Connected Machine
Installing driver over the network
You must install the printer driver software for printing. The software includes
drivers, applications, and other support programs.
Make sure that the network setup for your machine is completed. All
applications should be closed on your computer before beginning installation.
5
Windows
1
Make sure that the machine is connected to the network and powered
on. Also, your machine’s IP address should have been set.
2
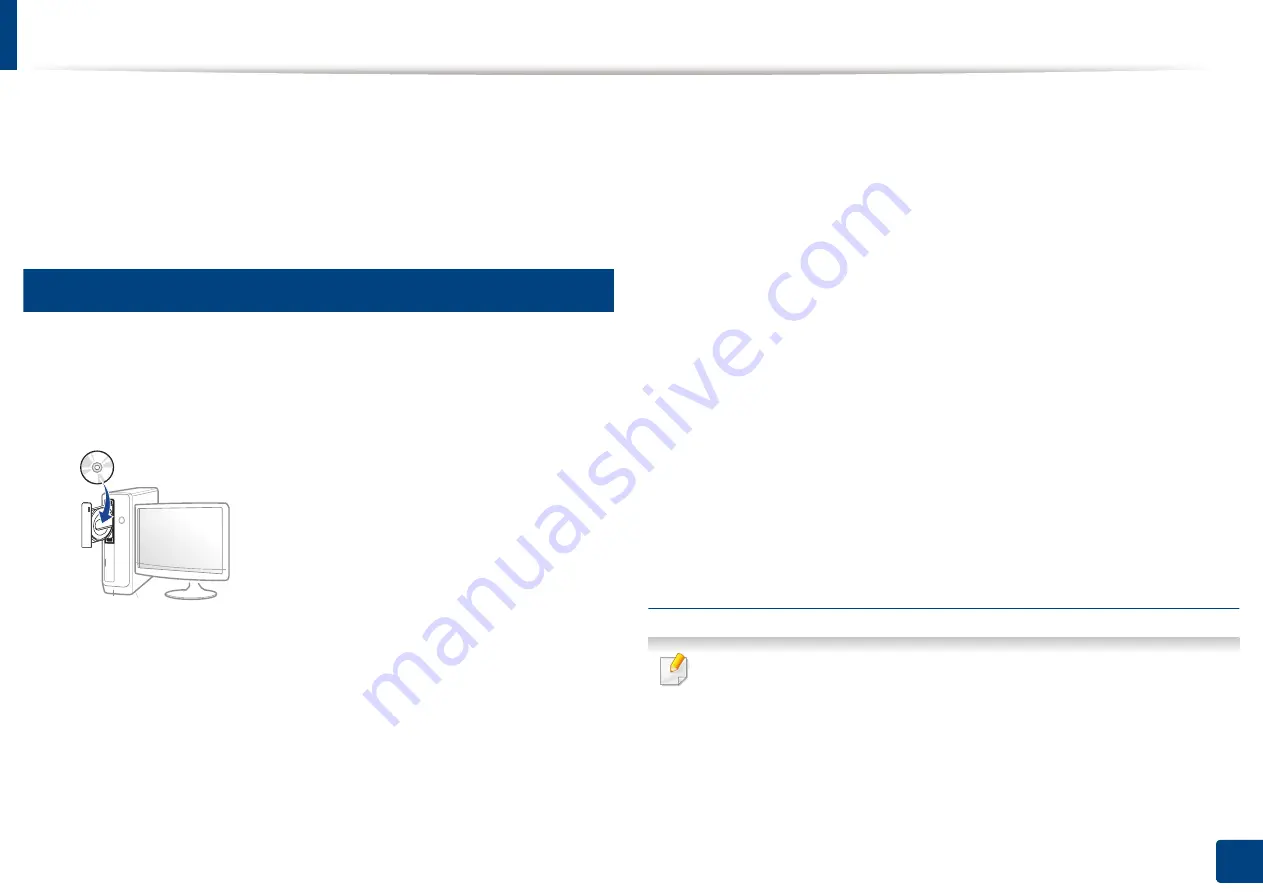
Insert the supplied software CD into your CD-ROM drive.
If the installation window does not appear, click
Start
>
All programs
>
Accessories
>
Run
.
X:\
Setup.exe
replacing “X” with the letter, which represents your CD-
ROM drive and click
OK
.
•
For Windows 8
If the installation window does not appear, from
Charms
, select
Search
>
Apps
and search for
Run
. Type in X:\Setup.exe, replacing
“X” with the letter that represents your CD-ROM drive and click
OK
.
If “
Tap to choose what happens with this disc
.” pop-up window
appears, click the window and select
Run Setup.exe
.
•
For Windows 10 / Windows Server 2016
If the installation window does not appear, type in X:\
Setup.exe
in
Search
input area from task bar, replacing “X” with the letter that
represents your CD-ROM drive and press the Enter key.
3
Review and accept the installation agreements in the installation
window. Then, click
Next
.
4
Select
Network
on the
Printer Connection Type
screen. Then, click
Next
.
5
Follow the instructions in the installation window.
From the Windows 8 Start Screen
•
The V4 driver is automatically downloaded from the Windows Update if
your computer is connected to the Internet. If not, you can manually
download the V4 driver from
Samsung website, www.samsung.com
>
find your product > Support or downloads.
Summary of Contents for Multifunction MultiXpress X322 Series
Page 295: ...Redistributing toner 295 14 Maintenance 4 X322x X328x series ...
Page 296: ...Redistributing toner 296 14 Maintenance 5 K325x K330x series ...
Page 298: ...Replacing the toner cartridge 298 14 Maintenance 6 X322x X328x series ...
Page 299: ...Replacing the toner cartridge 299 14 Maintenance 7 K325x K330x series ...
Page 301: ...Replacing the imaging unit 301 14 Maintenance 8 X322x X328x series ...
Page 302: ...Replacing the imaging unit 302 14 Maintenance 9 K325x K330x series ...
Page 303: ...Replacing the imaging unit 303 14 Maintenance ...
Page 305: ...Replacing the waste toner container 305 14 Maintenance 10 X322x X328x series ...
Page 306: ...Replacing the waste toner container 306 14 Maintenance 11 K325x K330x series ...
Page 312: ...Cleaning the machine 312 14 Maintenance X322x X328x series ...
Page 313: ...Cleaning the machine 313 14 Maintenance K325x K330x series ...
Page 315: ...Cleaning the machine 315 14 Maintenance X322x X328x series ...
Page 316: ...Cleaning the machine 316 14 Maintenance ...
Page 317: ...Cleaning the machine 317 14 Maintenance K325x K330x series ...
Page 318: ...Cleaning the machine 318 14 Maintenance ...
Page 320: ...Cleaning the machine 320 14 Maintenance K325x K330x series ...
Page 324: ...Cleaning the machine 324 14 Maintenance X322x X328x series ...
Page 325: ...Cleaning the machine 325 14 Maintenance ...
Page 326: ...Cleaning the machine 326 14 Maintenance K325x K330x series ...
Page 327: ...Cleaning the machine 327 14 Maintenance ...
Page 339: ...Clearing paper jams 339 15 Troubleshooting 3 In the multi purpose tray ...
Page 341: ...Clearing paper jams 341 15 Troubleshooting Jam feed 1 Jam feed 2 ...
Page 342: ...Clearing paper jams 342 15 Troubleshooting Jam feed 3 Jam feed 4 Optional device only ...
Page 357: ...Clearing paper jams 357 15 Troubleshooting 8 In the optional finisher area ...