


Using special print features
109
5. Printing
19
Using watermarks
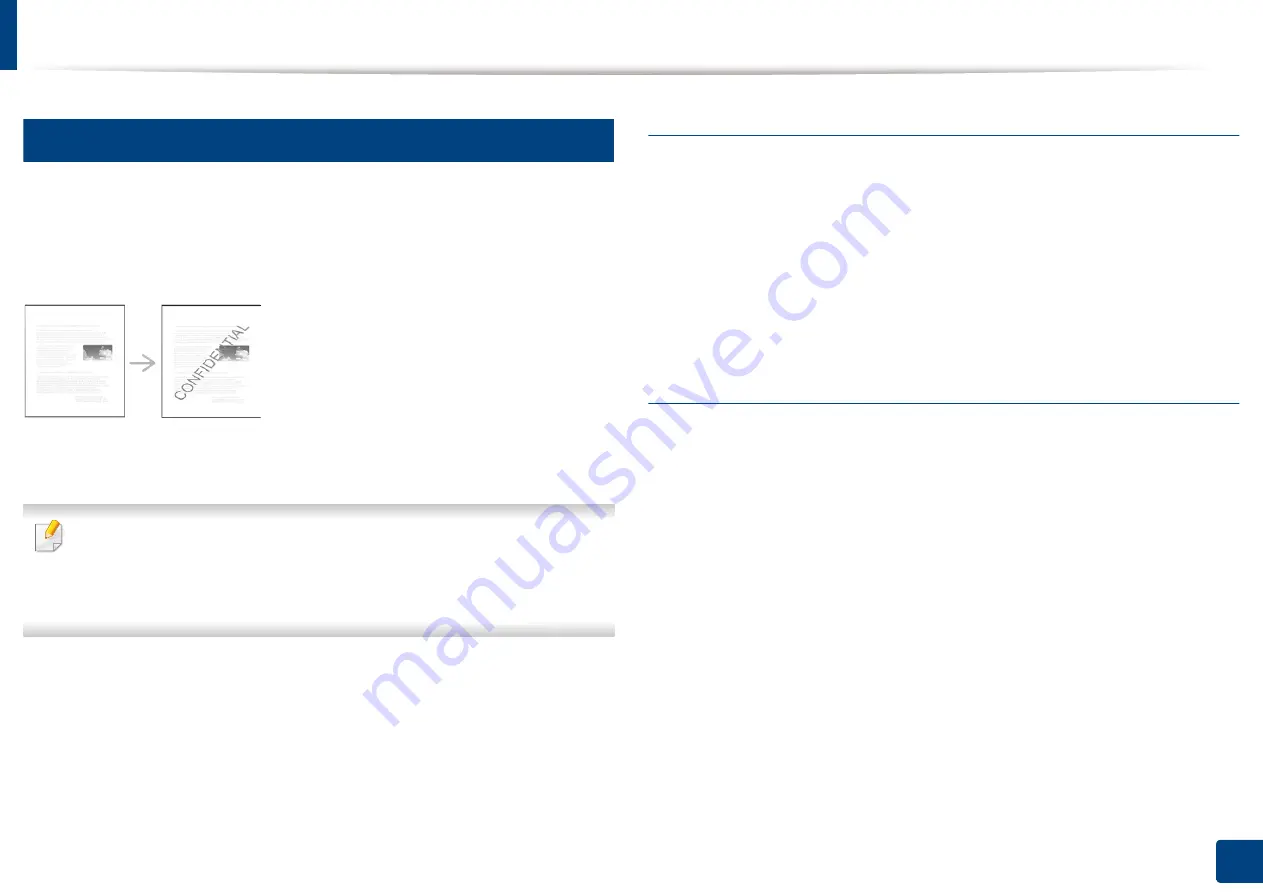
The watermark option allows you to print text over an existing document. For
example, you use it when you want to have large gray letters reading “
DRAFT
”
or “
CONFIDENTIAL
” printed diagonally across the first page or all pages of a
document.
There are several predefined watermarks that come with the machine. They can
be modified, or you can add new ones to the list.
•
Header:
You can add the selected text to the Top left, Top center, or Top
right.
•
Footer:
You can add the selected text to the Bottom left, Bottom center,
or Bottom right.
Using an existing watermark
1
To change the print settings from your software application, access
Printing Preferences
(see "Opening printing preferences" on page 96).
2
Click the
Advanced
tab, and select the desired watermark from the
Watermark
drop-down list.
3
Click
OK
or
until you exit the print window
.
Creating a watermark
1
To change the print settings from your software application, access
Printing Preferences
(see "Opening printing preferences" on page 96).
2
From the
Advanced
tab, select
Edit...
from the
Watermark
drop-down
list.
3
Enter a text message in the
Watermark Message
box. You can enter up
to 256 characters.
When the
Draw On First Page Only
box is checked, the watermark
prints on the first page only.
4
Select watermark options.
You can select the font name, style, size, and shade from the
Font
Attributes
section, as well as set the angle of the watermark from the
Watermark Alignment and Angle
section.
Summary of Contents for Multifunction MultiXpress X322 Series
Page 295: ...Redistributing toner 295 14 Maintenance 4 X322x X328x series ...
Page 296: ...Redistributing toner 296 14 Maintenance 5 K325x K330x series ...
Page 298: ...Replacing the toner cartridge 298 14 Maintenance 6 X322x X328x series ...
Page 299: ...Replacing the toner cartridge 299 14 Maintenance 7 K325x K330x series ...
Page 301: ...Replacing the imaging unit 301 14 Maintenance 8 X322x X328x series ...
Page 302: ...Replacing the imaging unit 302 14 Maintenance 9 K325x K330x series ...
Page 303: ...Replacing the imaging unit 303 14 Maintenance ...
Page 305: ...Replacing the waste toner container 305 14 Maintenance 10 X322x X328x series ...
Page 306: ...Replacing the waste toner container 306 14 Maintenance 11 K325x K330x series ...
Page 312: ...Cleaning the machine 312 14 Maintenance X322x X328x series ...
Page 313: ...Cleaning the machine 313 14 Maintenance K325x K330x series ...
Page 315: ...Cleaning the machine 315 14 Maintenance X322x X328x series ...
Page 316: ...Cleaning the machine 316 14 Maintenance ...
Page 317: ...Cleaning the machine 317 14 Maintenance K325x K330x series ...
Page 318: ...Cleaning the machine 318 14 Maintenance ...
Page 320: ...Cleaning the machine 320 14 Maintenance K325x K330x series ...
Page 324: ...Cleaning the machine 324 14 Maintenance X322x X328x series ...
Page 325: ...Cleaning the machine 325 14 Maintenance ...
Page 326: ...Cleaning the machine 326 14 Maintenance K325x K330x series ...
Page 327: ...Cleaning the machine 327 14 Maintenance ...
Page 339: ...Clearing paper jams 339 15 Troubleshooting 3 In the multi purpose tray ...
Page 341: ...Clearing paper jams 341 15 Troubleshooting Jam feed 1 Jam feed 2 ...
Page 342: ...Clearing paper jams 342 15 Troubleshooting Jam feed 3 Jam feed 4 Optional device only ...
Page 357: ...Clearing paper jams 357 15 Troubleshooting 8 In the optional finisher area ...