


Scanning and sending via SMB/FTP
154
7. Scanning
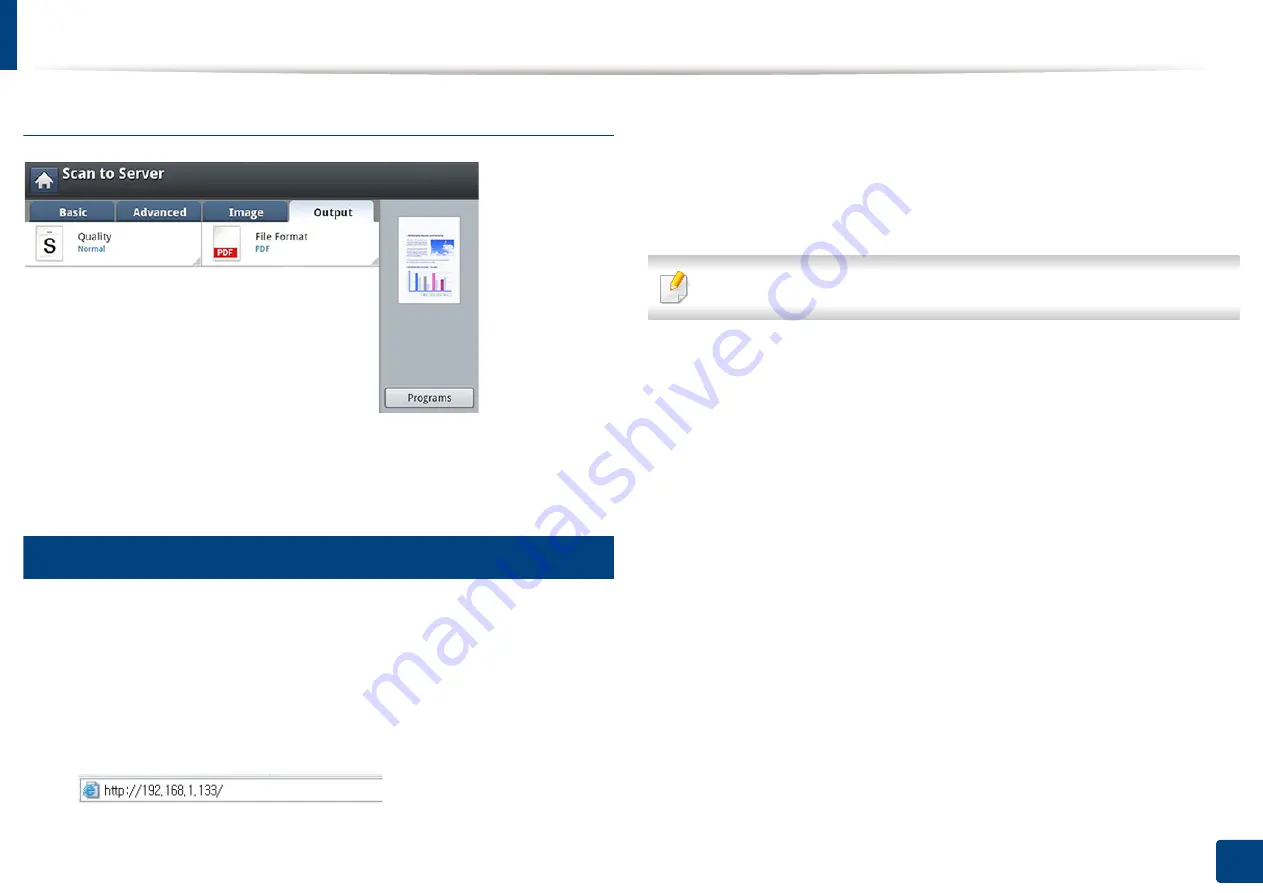
Output tab
•
Quality:
Adjusts the display quality of the scanned output.
•
File Format:
Selects the file format of the scanned output.
7
Setting up an FTP/SMB server
1
Check whether or not the network cable is connected to the machine. If
not, connect the machine with a standard network cable.
2
Start a web browser such as Internet Explorer, Safari, or Firefox and enter
your machine’s new IP address in the browser window.
For example,
3
Click
Login
on the upper right of the SyncThru™ Web Service website.
4
Type in the
ID
and
Password
.
Use the same login ID, Password as when logging in from the machine
(see "Log-in" on page 238).
If you want to change the password, see "Security tab" on page 266.
5
Select
Address Book
>
Individual
>
Add
.
6
Check the box next to
Add FTP
or
Add SMB
.
7
Enter the IP address in dotted decimal notation or as a host name.
8
Enter the server port number, from 1 to 65535.
9
Check the box next to
Anonymous
, then the server permits the access
of unauthorized people.
10
Enter the login name and password.
11
Enter the domain name if your server is joined to the certain domain,
otherwise just enter your computer name which is registered to the SMB
server.
12
Enter the path for saving the scanned image.
Summary of Contents for Multifunction MultiXpress X322 Series
Page 295: ...Redistributing toner 295 14 Maintenance 4 X322x X328x series ...
Page 296: ...Redistributing toner 296 14 Maintenance 5 K325x K330x series ...
Page 298: ...Replacing the toner cartridge 298 14 Maintenance 6 X322x X328x series ...
Page 299: ...Replacing the toner cartridge 299 14 Maintenance 7 K325x K330x series ...
Page 301: ...Replacing the imaging unit 301 14 Maintenance 8 X322x X328x series ...
Page 302: ...Replacing the imaging unit 302 14 Maintenance 9 K325x K330x series ...
Page 303: ...Replacing the imaging unit 303 14 Maintenance ...
Page 305: ...Replacing the waste toner container 305 14 Maintenance 10 X322x X328x series ...
Page 306: ...Replacing the waste toner container 306 14 Maintenance 11 K325x K330x series ...
Page 312: ...Cleaning the machine 312 14 Maintenance X322x X328x series ...
Page 313: ...Cleaning the machine 313 14 Maintenance K325x K330x series ...
Page 315: ...Cleaning the machine 315 14 Maintenance X322x X328x series ...
Page 316: ...Cleaning the machine 316 14 Maintenance ...
Page 317: ...Cleaning the machine 317 14 Maintenance K325x K330x series ...
Page 318: ...Cleaning the machine 318 14 Maintenance ...
Page 320: ...Cleaning the machine 320 14 Maintenance K325x K330x series ...
Page 324: ...Cleaning the machine 324 14 Maintenance X322x X328x series ...
Page 325: ...Cleaning the machine 325 14 Maintenance ...
Page 326: ...Cleaning the machine 326 14 Maintenance K325x K330x series ...
Page 327: ...Cleaning the machine 327 14 Maintenance ...
Page 339: ...Clearing paper jams 339 15 Troubleshooting 3 In the multi purpose tray ...
Page 341: ...Clearing paper jams 341 15 Troubleshooting Jam feed 1 Jam feed 2 ...
Page 342: ...Clearing paper jams 342 15 Troubleshooting Jam feed 3 Jam feed 4 Optional device only ...
Page 357: ...Clearing paper jams 357 15 Troubleshooting 8 In the optional finisher area ...