Using Samsung Printer Experience
282
13. Useful Tools
14
Adding/Deleting Printers
If you do not have any printer added to the
Samsung Printer Experience
, or if
you want to add/delete a printer, follow the instructions below.
You can only add/delete network connected printers.
Adding a printer
1
Right-click the
Samsung Printer Experience
page and select
Settings
.
2
Select
Add Printer
3
Select the printer you want to add.
You can see the added printer.
If you see
mark, you can also click
mark to add printers.
2
User’s Guide
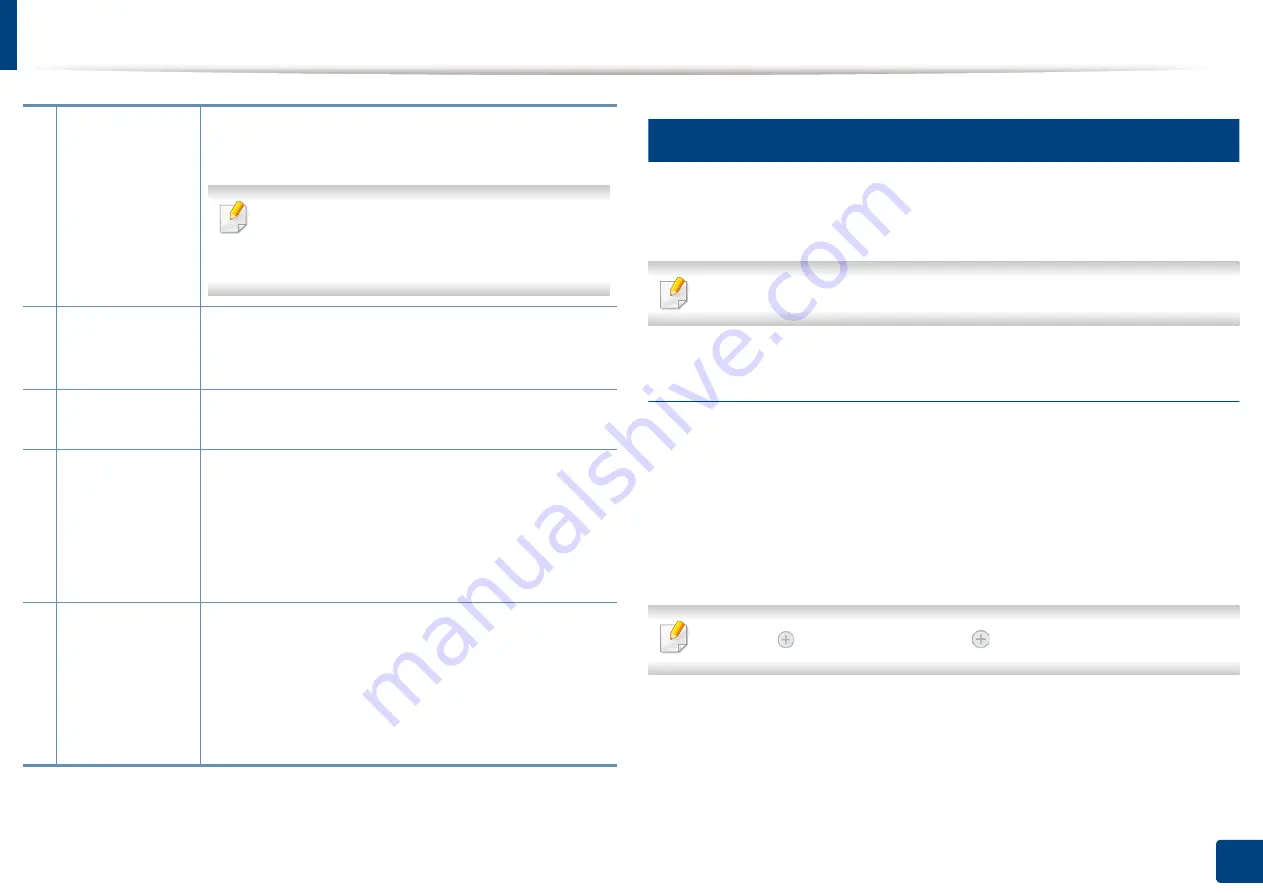
You can view the online User’s Guide. You need to be
connected to the Internet to use this feature.
This button opens the
Troubleshooting Guide
when an error occurs. You can directly open the
troubleshooting section in the user’s guide.
3
Order
Supplies
Click on this button to order replacement toner
cartridges online. You need to be connected to the
Internet to use this feature.
4
Visit Samsung
Links to Samsung printer website. You need to be
connected to the Internet to use this feature.
5
Printer Settings
You can configure various machine settings such as
machine setup, paper, layout, emulation, networking,
and print information through
SyncThru™ Web Service
.
Your machine needs to be connected to a network. This
button will be disabled if your machine is connected via
USB cable.
6
Device List
&
Latest Scanned
Image
The scan list displays devices that supports
Samsung
Printer Experience
.
Under the device, you can see the
latest scanned images. Your machine needs to be
connected to a network to scan from here.
This section is for the users with multi-functional
printers.
Summary of Contents for Multifunction MultiXpress X322 Series
Page 295: ...Redistributing toner 295 14 Maintenance 4 X322x X328x series ...
Page 296: ...Redistributing toner 296 14 Maintenance 5 K325x K330x series ...
Page 298: ...Replacing the toner cartridge 298 14 Maintenance 6 X322x X328x series ...
Page 299: ...Replacing the toner cartridge 299 14 Maintenance 7 K325x K330x series ...
Page 301: ...Replacing the imaging unit 301 14 Maintenance 8 X322x X328x series ...
Page 302: ...Replacing the imaging unit 302 14 Maintenance 9 K325x K330x series ...
Page 303: ...Replacing the imaging unit 303 14 Maintenance ...
Page 305: ...Replacing the waste toner container 305 14 Maintenance 10 X322x X328x series ...
Page 306: ...Replacing the waste toner container 306 14 Maintenance 11 K325x K330x series ...
Page 312: ...Cleaning the machine 312 14 Maintenance X322x X328x series ...
Page 313: ...Cleaning the machine 313 14 Maintenance K325x K330x series ...
Page 315: ...Cleaning the machine 315 14 Maintenance X322x X328x series ...
Page 316: ...Cleaning the machine 316 14 Maintenance ...
Page 317: ...Cleaning the machine 317 14 Maintenance K325x K330x series ...
Page 318: ...Cleaning the machine 318 14 Maintenance ...
Page 320: ...Cleaning the machine 320 14 Maintenance K325x K330x series ...
Page 324: ...Cleaning the machine 324 14 Maintenance X322x X328x series ...
Page 325: ...Cleaning the machine 325 14 Maintenance ...
Page 326: ...Cleaning the machine 326 14 Maintenance K325x K330x series ...
Page 327: ...Cleaning the machine 327 14 Maintenance ...
Page 339: ...Clearing paper jams 339 15 Troubleshooting 3 In the multi purpose tray ...
Page 341: ...Clearing paper jams 341 15 Troubleshooting Jam feed 1 Jam feed 2 ...
Page 342: ...Clearing paper jams 342 15 Troubleshooting Jam feed 3 Jam feed 4 Optional device only ...
Page 357: ...Clearing paper jams 357 15 Troubleshooting 8 In the optional finisher area ...


