English -
47
•
Source
: The video input source (“AV1”, “AV2”,
“AV3”) or the broadcasting
channel you want to make a timer
recording from.
•
Date
: Timer Recording allows setting the
recording time within one month period. Set the
recording day. (day/month)
01/JAN(SAT)
Every Day
02/JAN(SUN)
MON-SAT
03/JAN(MON)
MON-FRI
30/JAN(SUN)
Every SAT
31/JAN(MON)
Every SUN
•
Start/End Time
: Start and end time of the timer
recording.
•
Mode (Recording Mode)
:
- FR (Flexible Recording) : Select when you want to
set video quality automatically.
In FR mode, the most suitable record mode is
adjusted automatically, according to remaining
time on the disc and length of the timer recording.
This function is selected only one mode in XP, SP,
LP and EP modes.
- XP (high quality) : Select when video quality is
important. (Approx. 1 hour)
- SP (standard quality) : Select to record in standard
quality. (Approx. 2 hours)
- LP (low quality) : Select when a long recording
time is required.(Approx. 4 hours)
- EP (extended) : Select when a longer recording
time is required. (Approx.6 hours or 8 hours)
•
V/P
: VPS(Video Programme System) or
PDC(Programme Delivery Control) function.
- If you set this function on, you can control the
starting and ending time of recording by special
signal included in the broadcasting signal.
If a TV programme is shortened or starts earlier or
later than scheduled, this function synchronizes
the starting and ending time of recording with the
actual broadcasting time automatically.
- Set up the start-time EXACTLY according to the
published TV schedule. Otherwise the timer
recording will not take place.
- Do not select PDC or VPS unless you are sure
the programme you wish to record is broadcast
with PDC or VPS.
1. Check the antenna cable is connected.
2. Check the remaining time of the disc.
3. Check the date and time are correct.
Make sure the Clock (Setup-Clock Set) must be set
before you proceed with a timer recording.
(See page 26)
1
With the unit in Stop mode, press the
TIMER
button.
Using the MENU button.
●
With the unit in Stop mode, press the
MENU
button.
●
Press the
…†
buttons to select
Programme
, then
press the
OK
or
√
button.
●
Press the
…†
buttons to select
Timer Record
.
2
Press the
OK
or
√
button.
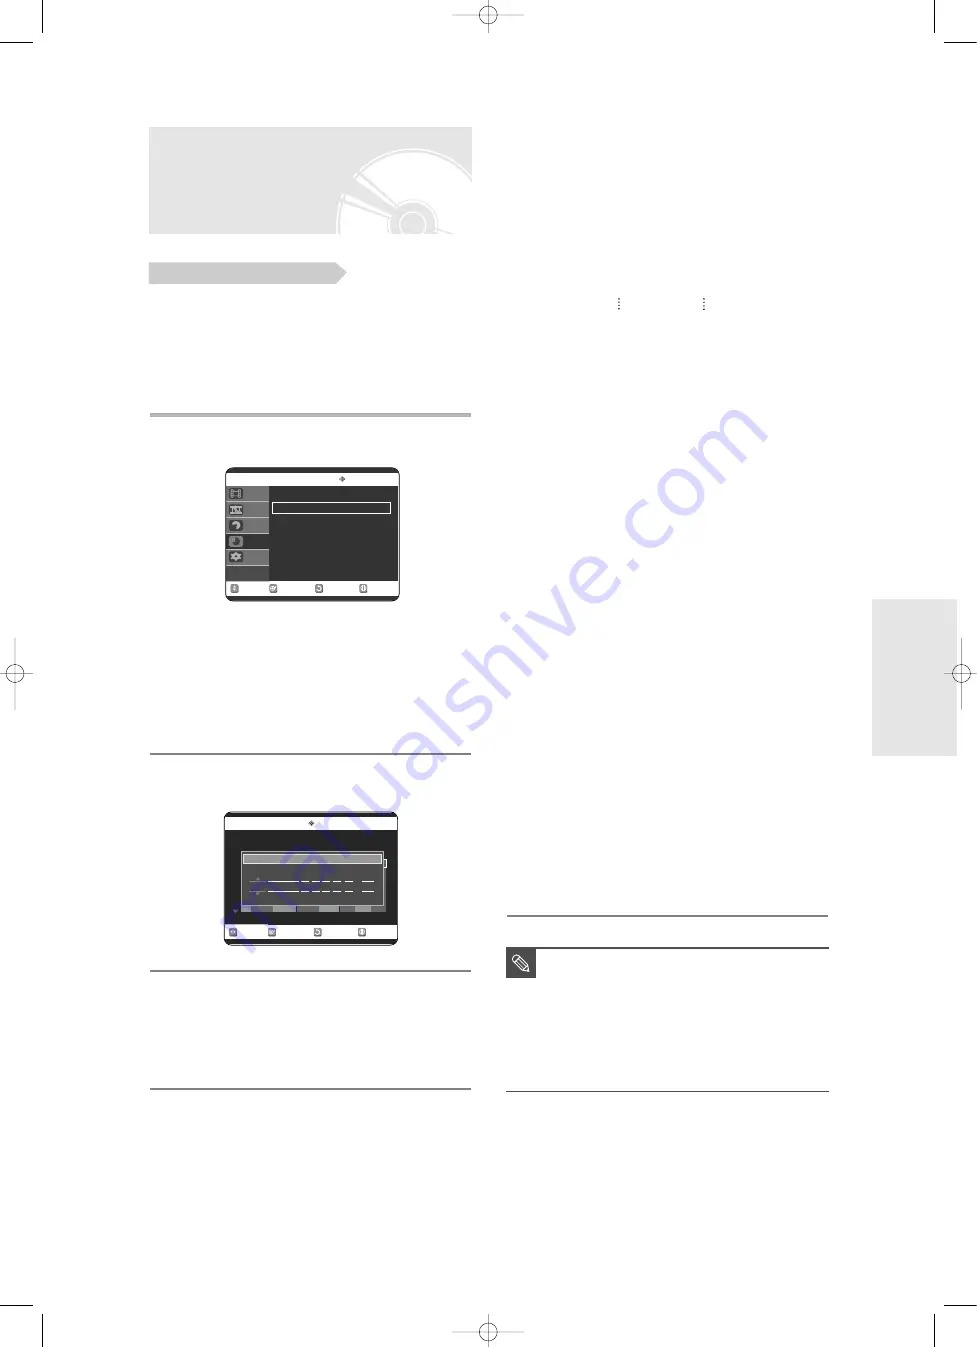
• The Timer Recording screen is displayed.
3
Set timer recording option.
• Fill the input items using the arrow buttons and
number buttons.
œ √
: Moves to the previous/next item,
…†
, 0~9 : Sets a value.
Making a Timer Recording
Before you start
RETURN
OK
MOVE
EXIT
Scheduled Record List
DVD-RAM(VR)
No. Source
Date
Start
End
Mode
V/P
Edit
01
-- -- -- - --
--:-- --:--
--
--
√
√
Recordable Time 02:12 SP
No. 01
Source
Date
Start
End Mode
V/P
PR 01 01/JAN(SAT) 12 : 00 14 : 00
SP
Off
Recordable Time 02:12 SP
■
When you are recording at EP mode on a
DVD-RW(V)/R disc, it may not record the
full 6 or 8 hours because the unit uses the
VBR(Variable Bit Rate) ENCODING
system. For example, if you record a
program with a lot of action, it uses a
higher bit rate which in turn consumes
more disc memory.
NOTE
RETURN
OK
MOVE
EXIT
Timer Record
DVD-RAM(VR)
ShowView
√
√
Timer Record
√
√
ShowView Extended : Off
√
√
Disc Navigation
Playlist
Disc manager
Programme
Setup
R
ecording
00786A-R120-XEH-Eng_42~51 5/13/05 8:48 AM Page 47


