English -
35
S
ystem Setup
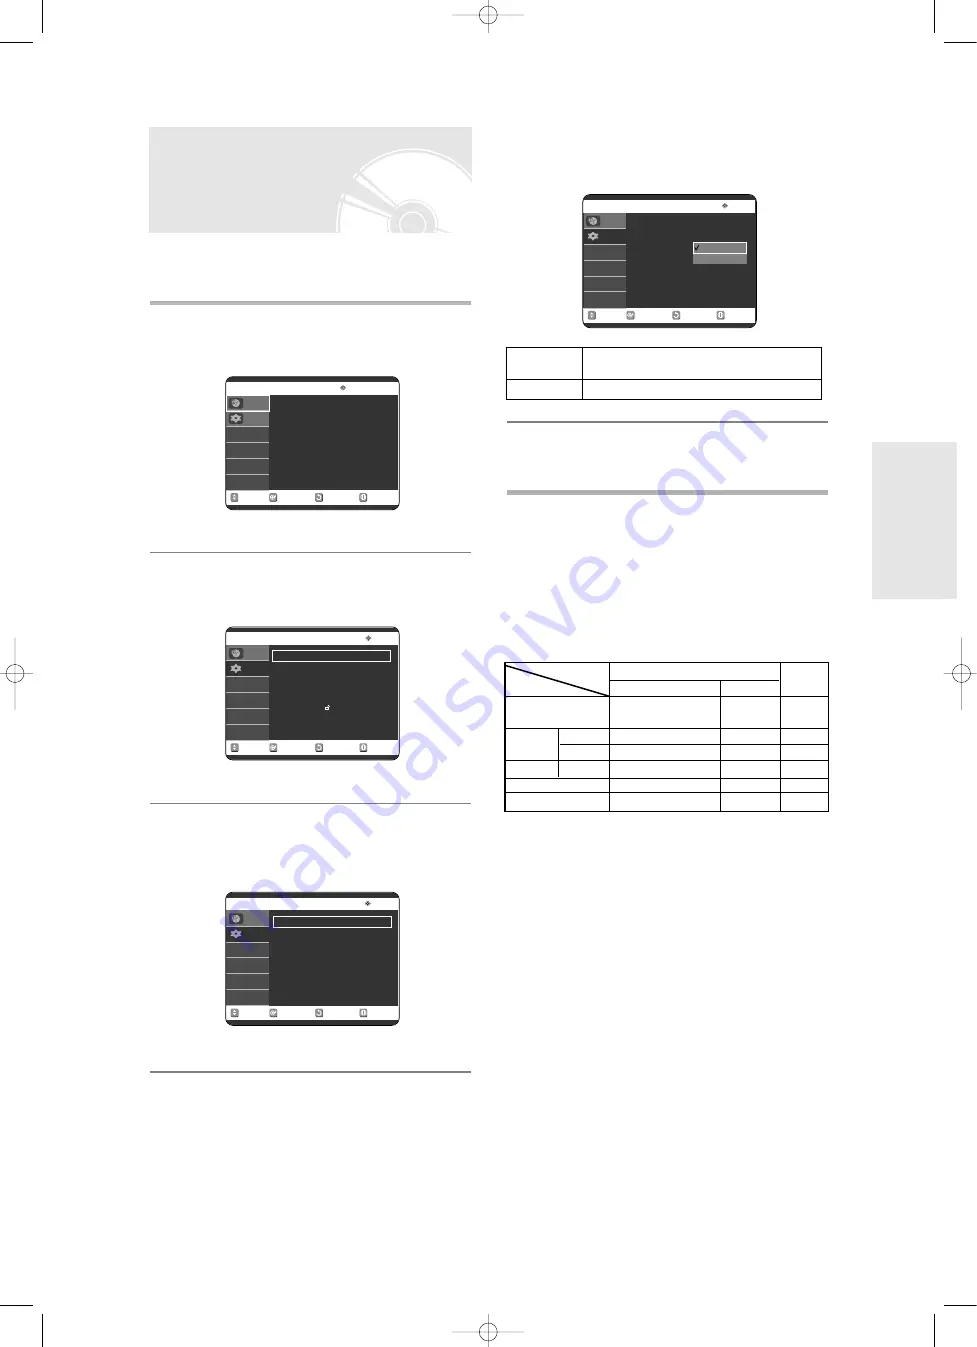
You can enjoy high quality image through RGB or
Component video connections.
1
With the unit in Stop mode/No Disc mode,
press the
MENU
button.
2
Press the
…†
buttons to select
Setup
, then
press the
OK
or
√
button.
3
Press the
…†
buttons to select
Video
, then
press the
OK
or
√
button.
Video setup menu will be displayed.
4
Press the
…†
buttons to select
Video
Output
, then press the
OK
or
√
button.
5
Press the
…†
buttons to select the desired
item, then press the
OK
or
√
button.
In Component mode, you can set video output to
Progressive(P.SCAN) or Interlace, see page 36.
Available video output jacks are as follow.
Available Video Output Jack
Setting up Video Output
Options
RETURN
OK
MOVE
EXIT
Setup
No Disc
System
√
√
Clock Set
√
√
Language
√
√
Audio
√
√
Video
√
√
Parental Control
√
√
Install
√
√
Programme
Setup
RETURN
OK
MOVE
EXIT
Timer Record
No Disc
ShowView
√
√
Timer Record
√
√
ShowView Extended : Off
√
√
Programme
Setup
RETURN
OK
MOVE
EXIT
Video
No Disc
TV Aspect
: 4:3 Letter Box
√
√
3D Noise Reduction
: Off
√
√
Video Output
: Component
√
√
Programme
Setup
RETURN
OK
MOVE
EXIT
Video
No Disc
TV Aspect
: 4:3 Letter Box
√
√
3D Noise Reduction
: Off
√
√
Video Output
: Component
√
√
Programme
Setup
Component
RGB
Component
Select this when the Recorder is connected
to a TV with Component jack.
RGB
Select this to output RGB signals.
Component Output
(Y, Pb, Pr)
AV1 Scart
R, G, B
Composite
X
O
X
O
O
O
O
(TV in progressive mode)
X
X
X
X
X
O
X
O
O
O
O
AV2 Scart
Composite Video out
S-Video out
Composite
Setting mode
RGB Mode
Output jack
P.SCAN off mode (Interlace mode) P.SCAN on mode
Component mode
00786A-R120-XEH-Eng_18~41 5/13/05 8:40 AM Page 35


