ENGLISH-27
02
INST
ALL
ATION
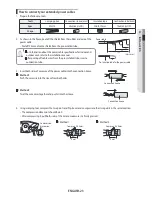
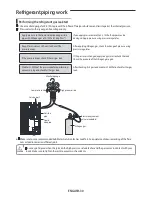
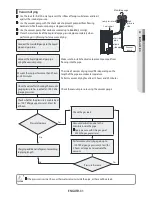
3. To prevent a gas leak, remove all burrs at the cut edge of the pipe with a reamer.
•
Face the pipe down while removing the burrs to make sure that
burrs do not get in to the pipe.
CAUTION
Pipe cutter
Pipe
Burr
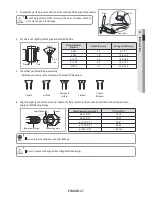
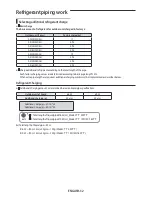
4. Put a
fl
are nut slightly into the pipe and modify the
fl
are.
90°± 2°
45°±2°
R 0.4
~0.8
Pipe
Flare
Outer diameter
[D(mm)]
Depth [A (mm)]
Flaring Size [B (mm)]
ø 6.35
1.3
8.7~9.1
ø 9.52
1.8
12.8~13.2
ø 12.70
2.0
16.2~16.6
ø 15.88
2.2
19.3~19.7
ø19.05
2.2
23.6~24.0
5. Check that you
fl
ared the pipe correctly.
- Below
fi
gures shows some examples of incorrectly
fl
ared pipes.
Correct
Inclined
Damaged
surface
Cracked
Uneven
thickness
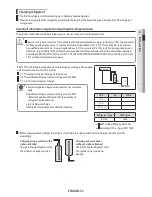
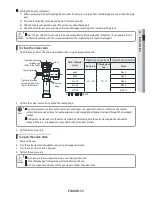
6. Align the pipes to connect them easily. Tighten the
fl
are nuts
fi
rst with your hands, and then with a torque wrench,
applying the following torque:
Indoor outlet pipe
Connecting pipe
Flare nut
Apply frozen oil
Outer diameter [mm(inch)]
Torque (N•m)
ø 6.35 (1/4")
14~18
ø 9.52 (3/8")
34~42
ø 12.70 (1/2")
49~61
ø 15.88 (5/8")
68~82
ø19.05 (3/4")
100~120
•
Excessive torque can be cause of gas leakage.
NOTE
•
You must purge with oxygen free nitrogen while brazing.
CAUTION

