


Tel: 886.909 602 109 Email: [email protected]
154
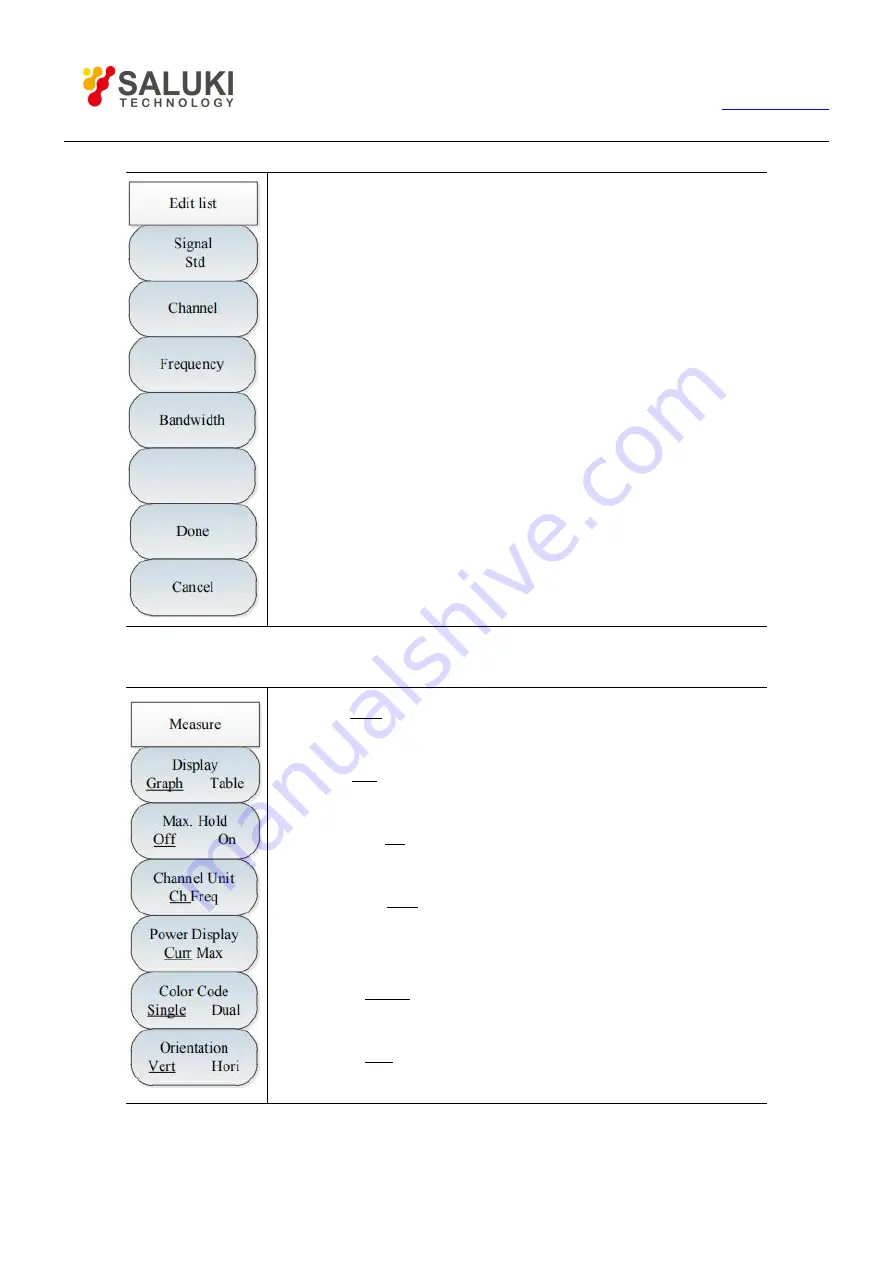
·
[Signal std]:
Press [Edit List] → [Signal Std], and the signal standard list
will pop up, including [Head], [Tail], [Page Up] and [Page Down].
Select the required signal standard and click [Done].
· [Channel]:
Press [Edit List]→ [Channel] to display the selected signal
standard, channel range, etc. The user can also emit channel and click
[Done] to save the setting.
· [Center freq]:
Press [Edit List]→ [Center Freq], edit the center frequency
of the selected channel, and click [Done] to save the setting.
· [Bandwidth]:
Press [Edit List]→ [Bandwidth], edit the bandwidth of the
selected channel, and click [Done] to save the setting.
· [Done]:
Press [Edit List]→ [Done] to save the modified settings and go
back to the List Scanner menu.
· [Cancel]:
Press [Edit List]→ [Cancel] to cancel the modified settings and
go back to the List Scanner menu.
5 Measurement menu
· [Display Graph Table]:
Press [Measure]→[Display Graph Table] and
select the graph/table mode, as shown in Fig. 8-7 and 8-8.
· [Max Hold Off On]:
Press [Measure]→ [Max Hold Off On] to enable or
disable the maximum holding function.
· [Channel Units Ch Freq]:
Press [Measure]→[Channel Units Ch Freq]
and set the channel or frequency display mode.
· [Power Display Curr Max]:
Press [Measure]→[Power Display Curr Max]
and set the current or maximum display mode. The maximum power
cannot be set until the maximum holding function is enabled.
· [Color Code Single Dual]:
Press [Measure]→[Color Code Single Dual],
and set the single or dual display mode.
· [Orientation Vert Hori]:
Press [Measure]→[Orientation Vert Hori] and
set the vertical or horizontal display mode.


