Video Inputs
External video sources come into the switcher
through the input HD-BNCs and internal sources
are generated internally. Depending on how
you want to use these video sources, or where
they come from, you may want the switcher to
pair them together, or associate an external
device with them. Pairing two video sources
together is usually used for an auto select key
where an external device, such as a character
generator, outputs both a key video and key
alpha. Associating a video source with an
external device allows special control over that
device to become active when you select the
source on a bus.
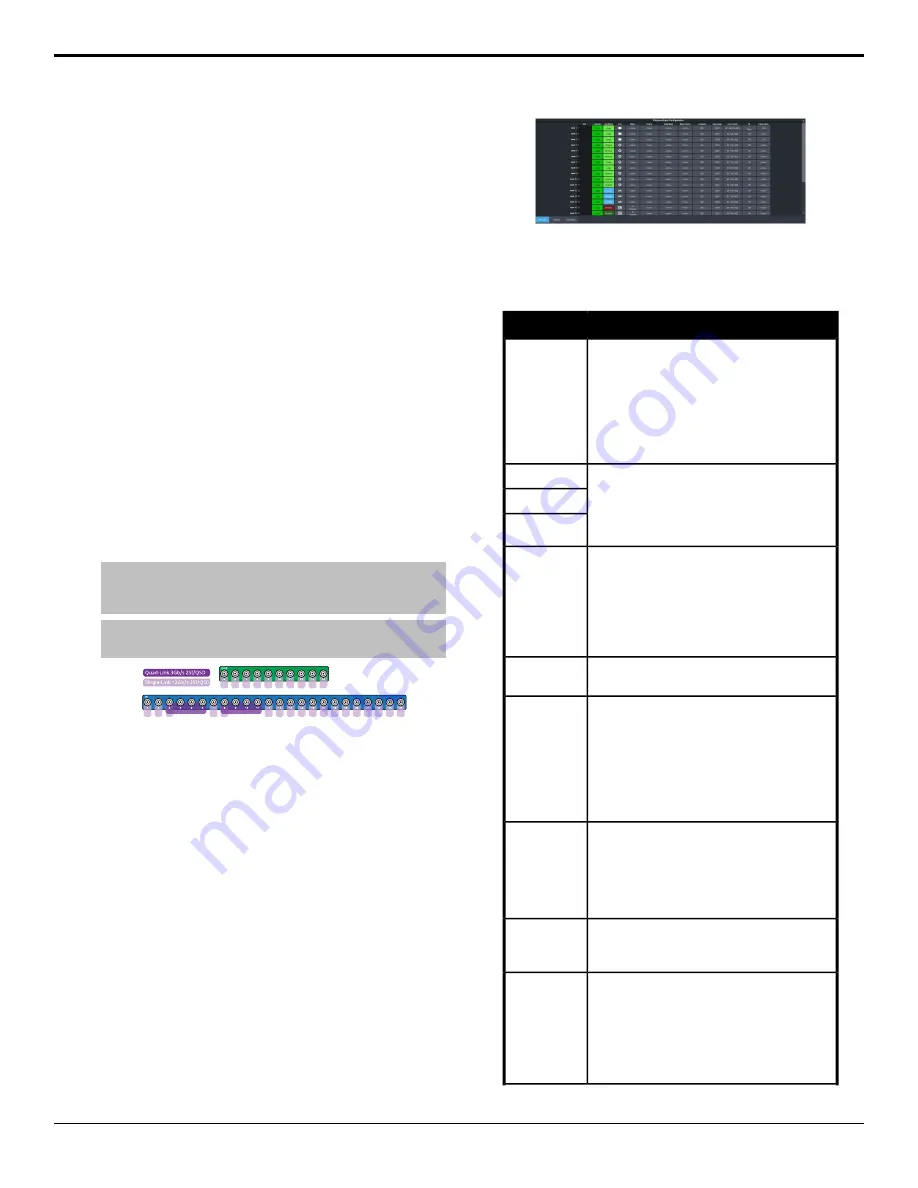
UHDTV1 Inputs
The switcher can accept UHDTV1 inputs in
Quad-Link 3Gb/s UHD-2SI and UHD-QSD, or
Single-Link 12Gb/s UHD-2SI. Different inputs
consume a different number of BNCs, depending
on the format.
Note:
Only inputs 3-6 and 8-11 can accept Quad-Link 3Gb/s
UHD-2SI or UHD-QSD video signals. Only inputs 3 and 8 of these
groups can accept Single-Link 12Gb/s UHD-2SI.
Tip:
Single-Link 720p, 1080i and 1080p video signals can be
up-converted on some inputs.
Figure 8: UHD Input/Output
Video Input Setup
Video inputs are separated into external sources
and internal sources. The external sources are
the video inputs coming in on the HD-BNC at
the back of the frame and the internal sources
are generated internally either from re-entries
or follows, or from media generators.
To Set up an External Video Input
External sources come into the switcher from
other devices, such as cameras, video servers,
or character generators.
Click
Navigation Menu
>
Configuration
>
Inputs
>
External
The physical inputs are listed along the side and
the various settings are listed across the top.
Click the setting button for the source you want
to set up to view the available settings.
Description
Setting
Apply a custom name to the source. Enter
a new name for each input you want to
identify differently. The name is used to
identify the input on the panel mnemonics
and well as on menus. If TSL id is associated
with the input, the switcher will use the
router mnemonic name over the internal
one.
Text
Set up the mnemonic appearance of the
source for the control panel you are using.
Refer to your control panel documentation
for more information on setting up
mnemonics.
Carbonite
TouchDrive
Icon
Link an alpha video feed to the video. If the
input is the video or fill for an auto key, click
the Alpha button and select the video
source you want to use as the alpha. Refer
to
To Set Up an Auto Key Association
on page
78 for information on setting up an auto
key.
Alpha
Link an external device to a video input to
allow remote control for that device.
Device
Link an external audio mixer to a video
input. Select the audio mixer and audio
channels on the mixer that you want to
associate with the video. Associating audio
channels with video sources allows for
Audio Follow Video (AFV) control from the
switcher where the audio channel is
brought up when the video it taken on-air.
Audio Mixer
Link a video mask to the video source. Much
like an alpha, you can link a mask source to
the video. The external mask source is used
by the chroma keyer mask. Refer to
for information on using an
external mask.
Mask
Source
Assign an FSFC or Delay to the input. Refer
to
Frame Sync and Format Conversion
on
page 94 for information on FSFC setup.
Configure
Select the current dynamic range of the
video signal on the input. This is the
dynamic range that the video signal is being
converted from. Refer to
Range (HDR) and Wide Color Gamut (WCG)
on page 104 for more
information.
Dyn. Range
Ultra User Manual (v6.6) — Video Inputs • 75
Summary of Contents for Carbonite Ultra Series
Page 1: ...Ultra User Manual v6 6...


