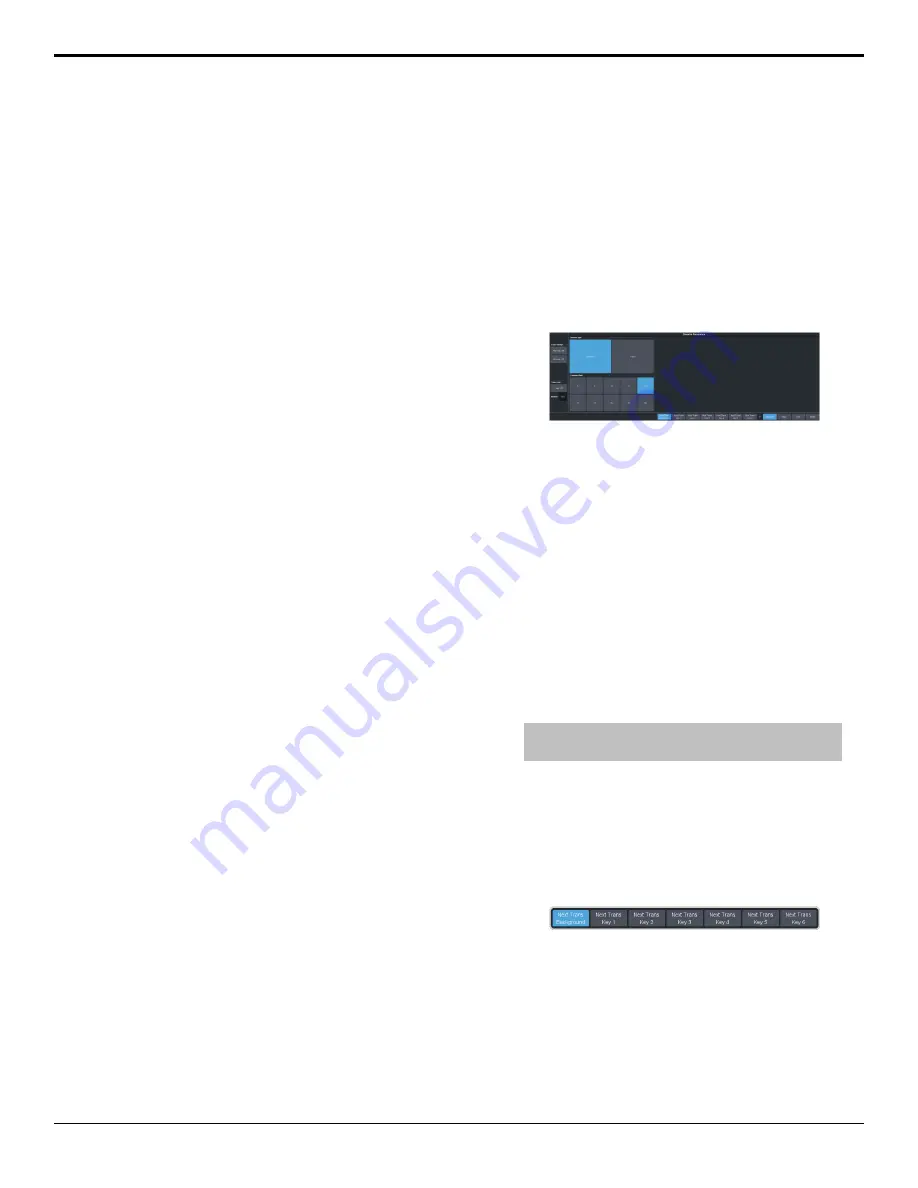
Transitions
Transitions are used to change the background
video and take keys on and off-air. A transition
can include any combinations of background
and keyers for an ME, MiniME
™
, or Canvas. The
background and each keyer can be transitioned
independently.
Performing Transitions
What you can include in the transition, and the
type of transition you can perform, depend on
the number of resources you have, and if you
are performing a background and keyer
transition at the same time.
Keep the following in mind:
Keep the following in mind when performing
transitions:
• If any of the sources going on-air have an
assigned GPI output, the GPI output is
triggered and the switcher then waits the
configured pre-delay interval before
performing the transition. If you perform a
transition with the fader handle, the GPI
output is triggered but the pre-delay interval
is ignored.
• If any of the sources going on-air are
assigned to a video server, you can have the
video server play when the source is taken
on-air by toggling Roll Clip on.
• If any of the sources going on-air are
assigned to a video server, the switcher waits
for the configured pre-delay interval before
performing the transition. If you perform a
transition with the fader handle, the
pre-delay interval is ignored.
• If the fader is moved during an auto
transition, control of the transition is passed
to the fader. You must complete the
transition with the fader. This allows you to
override any auto transition in progress with
the fader.
• The
Cut
and
Auto
buttons can be used to
transition keys independently.
• You can pause an auto transition by pressing
the
Auto Trans
button during the transition.
Press the button again to continue the
transition.
• If you turn the Transition Limit off when the
transition has stopped at the transition limit
point, the next transition starts from the
transition limit point and goes forward to
complete the transition, instead of going back
to the start.
To Perform a Transition
All transitions, with the exception of cuts on the
background or key bus, have the same basic
setup. The touchscreen menu system offers the
touchscreen interface to setup and perform the
transition.
1.
Click
Navigation Menu
>
Live Assist
>
MEs
.
2.
Click the
ME X
,
MiniME X
, or
Canvas X
for
the area you want to perform the transition
on.
3.
Select the video sources you want to take
on-air on each bus. Background and keys
are set up slightly differently but can be
performed with the same transition.
• Background — click
Trans
>
Preset
and
select the new background source.
• Key On-Air — click the
Key X
>
Key Fill
button for the key you want to take on-air
and select the new source. Repeat this for
each key you want to take on-air.
• Key Off-Air — you don't need to select
the keys at this point.
Tip:
Refer to
To Select a Source on a Bus from DashBoard
on page 22 for information on selecting sources.
4.
Click
Trans
.
5.
In the Next Transition area, select the
elements (Background and Keys) you want
to include in the next transition. You can
include any combination of background and
keys, but at least one element must be
selected.
6.
In the
Rate
field, enter the rate that you
want the transition performed at. This is the
speed, in frames, that it takes for the
transition to complete. A Cut or manual
fader transitions do not use the transition
rate.
• Background — enter a new ME
transition rate, in frames, in the
Trans
Rate
field.
Ultra User Manual (v6.6) — Transitions • 27
Summary of Contents for Carbonite Ultra Series
Page 1: ...Ultra User Manual v6 6...


