Audio Mixer
The audio mixer node in DashBoard provides a
graphical interface to all the audio sources and
mixer layers. An audio channel must be routed
to the switcher to be controllable by the audio
mixer interface. Audio sources can come from
the embedded audio on an input BNC, through
the 1RU Audio Breakout Module, or from the
Media-Store.
Note:
The RAVE Audio Mixer option (CUF-RAVE-AUDIO) must be
installed to use the audio mixer.
Note:
The audio mixer interface is only available in DashBoard.
Sample Rate Conversion
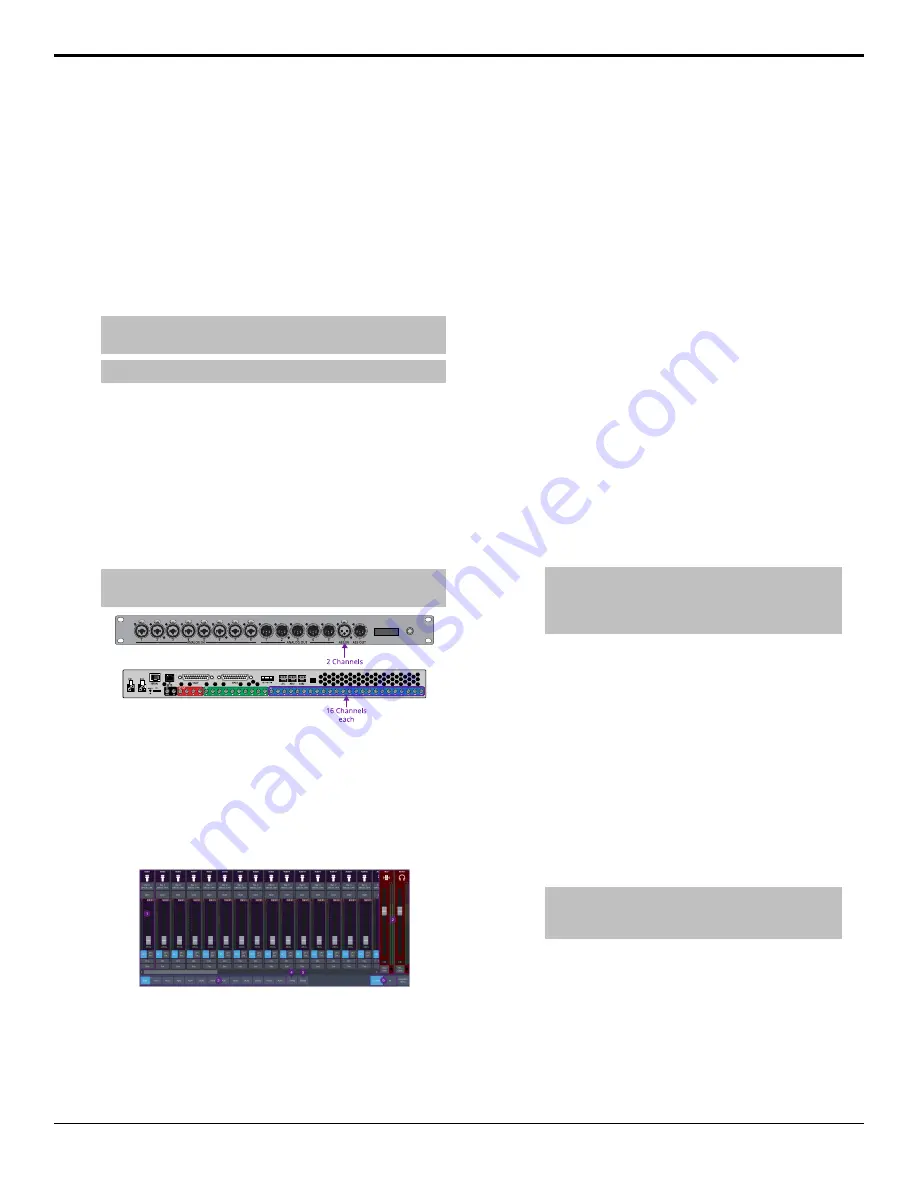
Integrated sample rate converters can convert
audio sample rates of up to 192kHz on the AES
Input port (2 channels) on the 1RU Audio
Breakout Module as well as the input BNCs (16
channels).
The sample rate converters will convert the
audio to the video reference rate.
Note:
The switcher must be in an SRC mode for sample rate
conversion to be available.
Audio Mixer Interface
The audio mixer interface allows you to control
the mix levels for all the incoming channels to
a mix layer, as well as the main level for the
output of that layer. The
Main
layer also has a
monitor output and level.
1.
Audio Channel Strips — Each strip controls
the input from that audio channel. Strips
are color coded for where the audio comes
from. The controls available on each strip
depend on how the audio fader is
configured.
•
Bal/Pan:
— adjust the balance or pan of
the audio source. Whether Balance or
Pan is applied to the audio source is
determined automatically based on the
audio source assigned to the fader.
• Balance — the volume of the left and
right stereo channel. For example, as
you move the slider to the right the
volume of the right channel is
increased and the volume of the left
channel is decreased.
• Pan — the amount of the left or right
input channel that is part of each
channel before the mixer. For
example, as you move the slider to the
right you get more of the left channel
in the right channel and the volume
of the left channel decreases.
• Tone — plays out a tone on the
channel. This can help identify that a
channel is being routed correctly in
the mixer. The frequency of the test
tone is set from the Audio Mixer
Configuration page.
Tip:
Shortcut buttons are also provided on the Balance
window for EQ, Compression Limiter, and Config.
These buttons jump directly to the corresponding setup
pages for the channel you are on.
•
Mute
— turn off the audio from this
source. This does not change the level.
•
Pre/Post
— select whether the audio
source on an Aux layer is taken before
the fader (
Pre
) or after (
Post
) the source
fader. If an audio source is taken before
the fader, the source fader has no impact
on the level of the audio going out the
aux layer.
•
Fader
— adjust the level of the audio
from the source. You can either move the
fader manually or enter a value in the
text field at the bottom of the slider.
Tip:
At the top of the fader are two Clip indicators to
warn you if clipping is occurring in the Equalizer stage
(EQ) or Compressor/Limiter stage (CL).
•
AFV
— turn Audio Follow Video (AFV) on
or off for this audio source. AFV is only
available for audio that is associated with
a video source, such as embedded audio
on input BNCs and from the Media-Store.
When AFV is on, the audio level is taken
to the
AFV Set
level when the associated
video source is taken on-air. The audio
Ultra User Manual (v6.6) — Audio Mixer • 49
Summary of Contents for Carbonite Ultra Series
Page 1: ...Ultra User Manual v6 6...


