G A L A X Y N A S L X 5 C O N F I G U R A T I O N A N D S Y S T E M I N T E G R A T I O N G U I D E
80
Section 3 Menu Functions
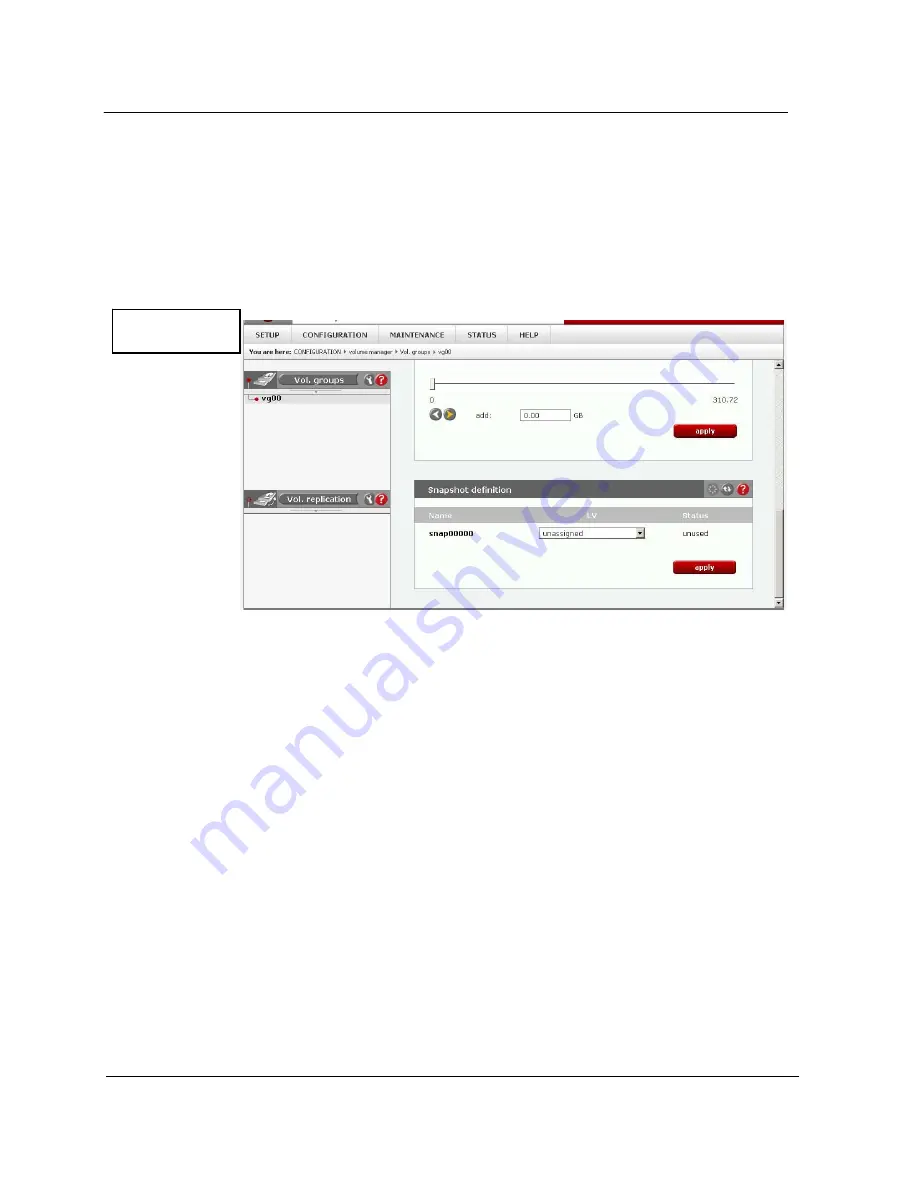
Name:
Snapshot name.
LV:
Select Logical volume to which snapshot will be assigned. If Logical volume has no snapshot
assigned yet, then in LV field will be "unassigned".
Status:
Snapshot status. Can be one of the following:
Active
:
Snapshot is active.
Inactive:
Snapshot is inactive, probable reason: overflow.
Unused:
Snapshot is currently unused.
The Snapshot function of the server enables the system administrator to freeze the data content of the
volume at a certain time. From this moment on, the users work on a virtual data volume, all changes to
the volume are stored in a different partition. The storage of all changes is independent of the file-
system - it takes place at the block-level. Only when the snapshot is deactivated / removed are the
changes permanently transferred to the actual data volume. Snapshots can be activated/deactivated
manually or automatically.
Note: Please be reasonable, when you are calculating the space reserved for snapshots.
Please set the snapshot size as much space as you expect to change during
active snapshot. E.g.
when you are doing a backup from snapshot which takes one hour
please set this snapshot size
to as much space that will be changed during one hour. The snapshot function will stop if the content
(data changed on Logical Volume)
exceeds the snapshot capacity. You do not lose any data and
in that case, just the
dataset, which is virtual for the users at the moment, will be written to the data
volume.
The old dataset, which has been frozen with the snapshot, is not available any longer.
When you define a schedule, use only as many snapshots at the same time as actually
needed. A large count of active snapshots can slow down the system considerably.
Manual creation and removal of snapshots can be done via the following path:
CONFIGURATION
Volume manager
vg[nr]
Function: Volume Manager.
How to access the Galaxy NAS LX5 snapshot
After a snapshot has been created and activated, you can access it by following these steps:
Figure 3.2.1c


