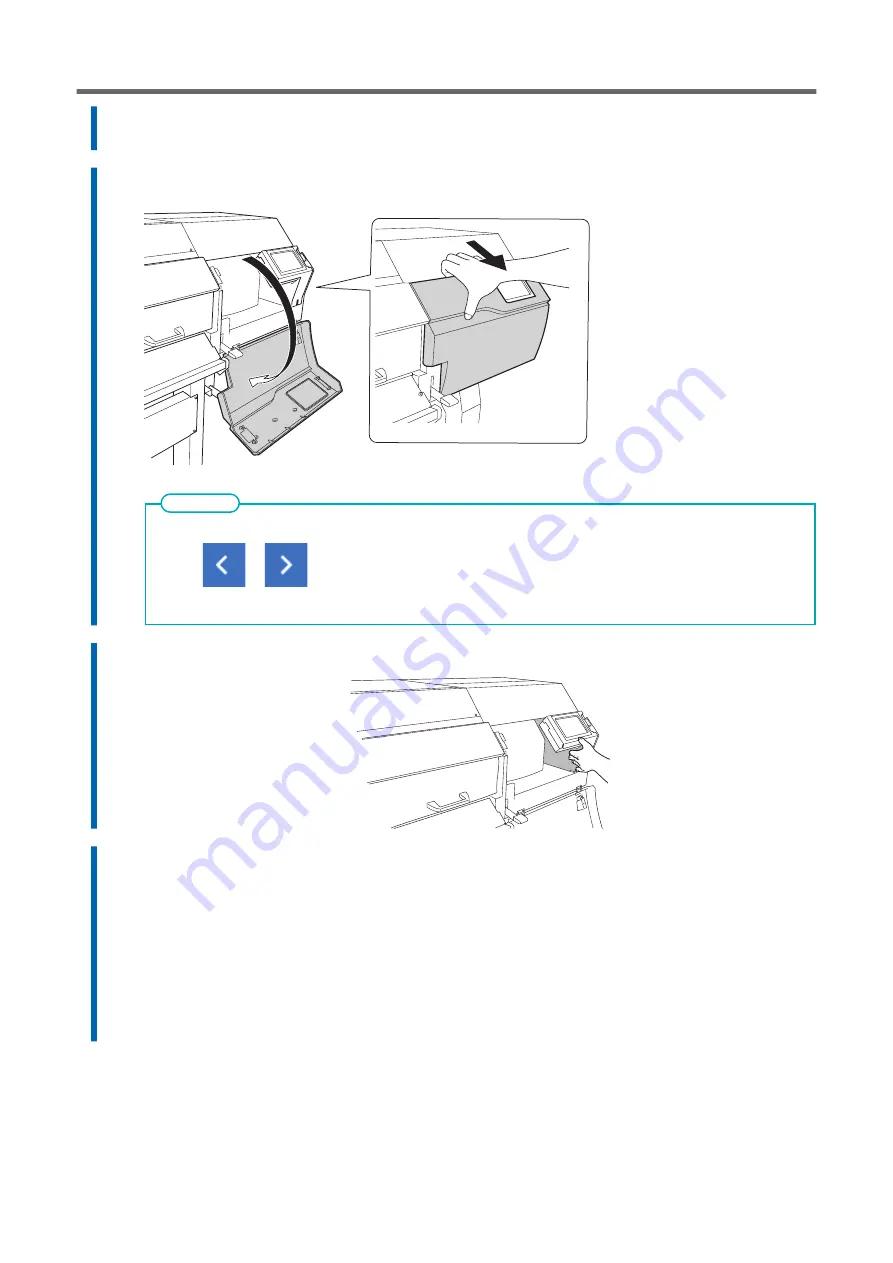
5.
Tap [Execute].
The cutting carriage moves to a location where wiper replacement is possible.
6.
When [Open the right cover.] appears, open the right cover.
The procedure is displayed on the operation panel.
• Tap
or
to check the procedure.
• If you complete the work without viewing the instructions, tap [Finish All].
MEMO
7.
Touch the location shown in the figure to discharge any static electricity.
8.
Replace the wipers.
(1)
Detach the old wipers.
Using the tweezers, unhook the wipers, and then pull them up. Using the tweezers to press
on the hook in the hole on the wiper makes it easier to remove the wiper.
(2)
Attach the new wipers.
Place the inclined end of the wiper on the back side of the machine. If the wiper is installed
with the incorrect orientation, appropriate cleaning will not be possible.
Be sure to attach the wiper to the hook. Failure to do so may result in dot drop-out or other
problems.
Replacing Parts for Maintenance
Replacing Consumable Parts
271
Summary of Contents for TrueVIS VG3-540
Page 9: ...Basic Handling Methods 8...
Page 30: ...Power Supply Operations Basic Operations 29...
Page 60: ...11 Close the front cover Setup of New Media Basic Operations 59...
Page 65: ...13 Close the front cover Setup of New Media 64 Basic Operations...
Page 94: ...11 Close the front cover Setup of Registered Media Basic Operations 93...
Page 99: ...13 Close the front cover Setup of Registered Media 98 Basic Operations...
Page 117: ...Output Method 116...
Page 151: ...Optimizing Quality and Ef ficiency 150...
Page 186: ...Accurately Adjusting the Cutting Settings Optimizing the Output Quality 185...
Page 227: ...Maintenance 226...
Page 287: ...Troubleshooting Methods 286...
Page 327: ...Appendix 326...
Page 341: ......


