Step 3: Adjusting Cutting
For high-quality cutting, we recommend carrying out a cutting test to check the cutting quality for the
media before you perform actual cutting. Adjust the blade force depending on the cutting quality.
Procedure
1.
Close the front cover.
2.
Tap
[Blade Adjustment] on the home screen.
3.
Tap [Execute] next to [Cutting Test].
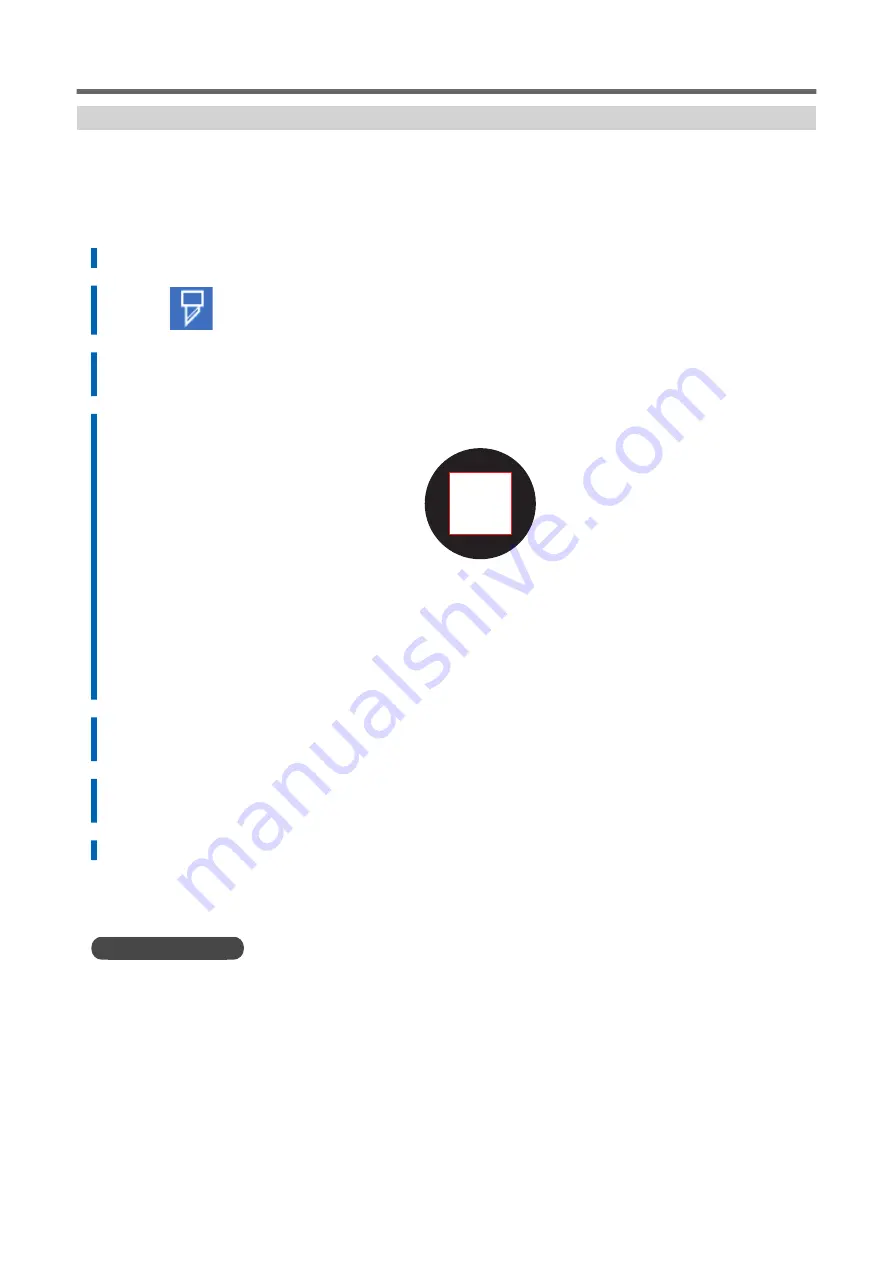
The test pattern is cut.
4.
Peel off the cut shapes and change the [Blade Adjustment] settings according to the cutting quality.
• Two shapes are peeled off separately
You do not need to perform the setting because the blade force is appropriate.
• Two shapes are peeled off together
Increase the blade force.
• Backing paper is also cut
Decrease the blade force.
5.
Tap [Save].
The changed settings are saved.
6.
Tap [Execute] next to [Cutting Test].
The test pattern is cut.
7.
Check whether the correction was successful.
In the [Blade Adjustment] menu, you can also make settings for other cutting conditions in addition to the
blade force.
RELATED LINKS
P. 179 Fine-tuning the Cutting Conditions
Preparations for Printing and Cutting Output
132
Printing and Cutting Method
Summary of Contents for TrueVIS VG3-540
Page 9: ...Basic Handling Methods 8...
Page 30: ...Power Supply Operations Basic Operations 29...
Page 60: ...11 Close the front cover Setup of New Media Basic Operations 59...
Page 65: ...13 Close the front cover Setup of New Media 64 Basic Operations...
Page 94: ...11 Close the front cover Setup of Registered Media Basic Operations 93...
Page 99: ...13 Close the front cover Setup of Registered Media 98 Basic Operations...
Page 117: ...Output Method 116...
Page 151: ...Optimizing Quality and Ef ficiency 150...
Page 186: ...Accurately Adjusting the Cutting Settings Optimizing the Output Quality 185...
Page 227: ...Maintenance 226...
Page 287: ...Troubleshooting Methods 286...
Page 327: ...Appendix 326...
Page 341: ......


