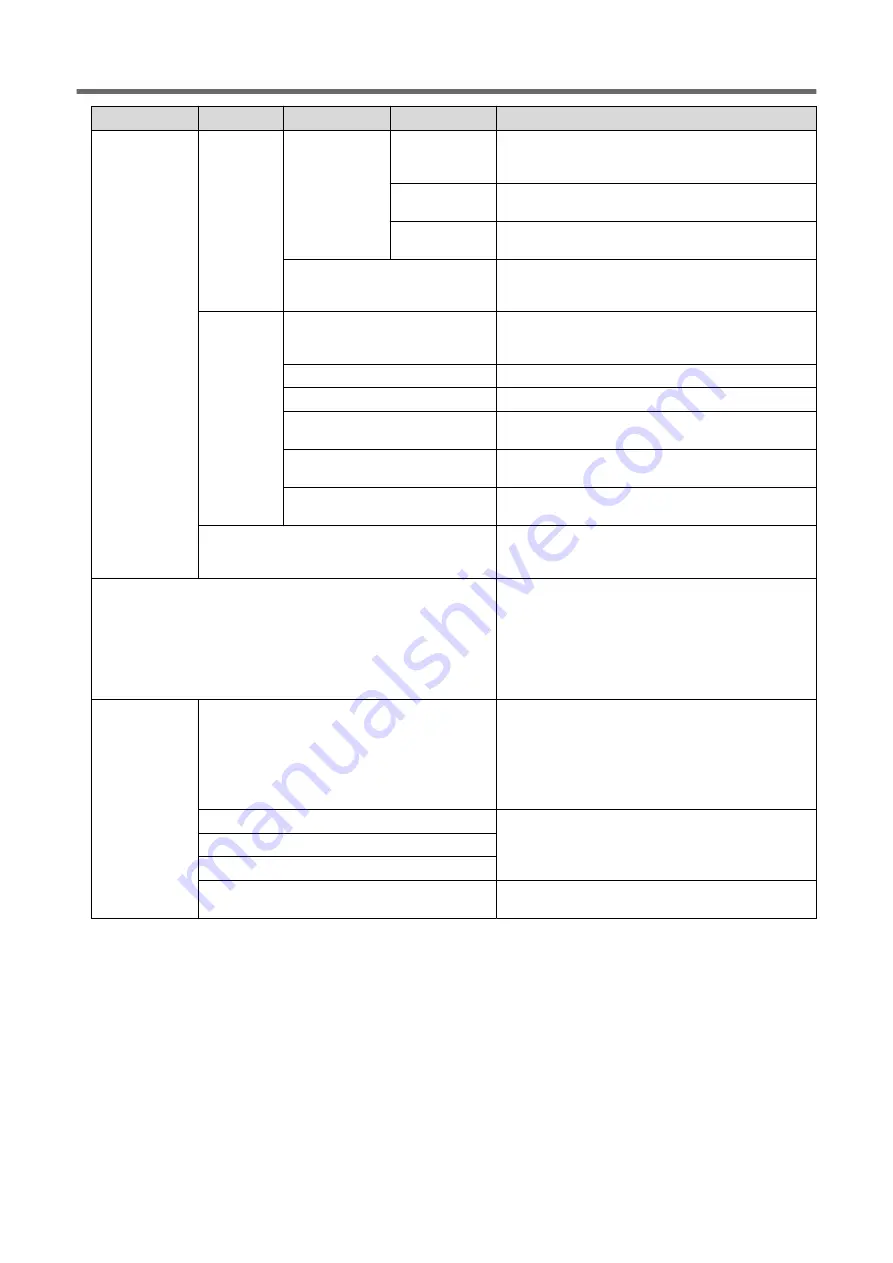
Level 1
Level 2
Level 3
Level 4
Details
[Media Set-
tings]
[Heater Set-
tings]
[Heater Temper-
ature]
[Heater Power]
Switches the print heater and dryer on/off as a batch.
Switch these off in situations such as cutting that does
not require the media heating system.
[Print Heater]
Switches the print heater on/off and changes the set
temperature.
[Dryer]
Switches the dryer on/off and changes the set tempera-
ture.
[Dry After Printing]
Switches on/off the function that moves the media to
and dries the media with the dryer after printing and
sets the drying time.
[Other Media
Settings]
[Multi Sensor Adjustment]
Optimizes the status of the multi sensor used when read-
ing crop marks and with the automatic correction func-
tion.
[Drying Time Per Scan]
Sets the drying time per scan operation of the carriage.
[Media Suction Force]
Adjusts the media suction force of the platen.
[Printing Movement Range]
Select the carriage movement range during printing from
[Output Data Width], [Media Width], and [Full Width].
[Media Sticking Prevention]
When set to [Enable], the media is peeled off before
printing.
[Middle Pinch Auto Raise/Lower]
Causes the middle pinch rollers to go up automatically
during pullback printing or printing and cutting.
[Batch Media Settings]
The minimum settings required for media setup can be
configured by following the on-screen instructions on the
operation panel.
[Media Management]
Displays a list of registered media. Up to 20 media names
can be saved, and the following operations on media set-
tings are possible.
• Checking setting details in a list
• Changing media names
• Copying media settings
• Deleting media settings
[Cleaning]
[Printing Test]
Before printing, use [Nozzle Drop-out Test] to check
whether ink is discharged from the print heads correctly.
If nozzle drop-out is present, perform cleaning appropri-
ate for the severity of the drop-out. If faulty ink dis-
charge cannot be improved, the problematic nozzle can
be identified with [Nozzle Mask Test], making it possible
to stop using this nozzle.
[Normal Cleaning]
If dot drop-out or dot displacement occurs, select the
nozzle from [Group A], [Group B], and [Both], and then
perform cleaning of the print heads. If the problem can-
not be fixed, perform more powerful cleaning.
[Medium Cleaning]
[Powerful Cleaning]
[Manual Cleaning]
Use cleaning liquid and a cleaning stick to clean the area
around the print heads.
Part Names and Functions
Basic Information
19
Summary of Contents for TrueVIS VG3-540
Page 9: ...Basic Handling Methods 8...
Page 30: ...Power Supply Operations Basic Operations 29...
Page 60: ...11 Close the front cover Setup of New Media Basic Operations 59...
Page 65: ...13 Close the front cover Setup of New Media 64 Basic Operations...
Page 94: ...11 Close the front cover Setup of Registered Media Basic Operations 93...
Page 99: ...13 Close the front cover Setup of Registered Media 98 Basic Operations...
Page 117: ...Output Method 116...
Page 151: ...Optimizing Quality and Ef ficiency 150...
Page 186: ...Accurately Adjusting the Cutting Settings Optimizing the Output Quality 185...
Page 227: ...Maintenance 226...
Page 287: ...Troubleshooting Methods 286...
Page 327: ...Appendix 326...
Page 341: ......


