Configuring the Various Settings (UTILITY)
98
Parameter
Value
EFX Type
Bypass, Auto Pitch(*), Vocoder(*), Harmony(*), Gt Amp Sim(*), Chorus, JUNO Chorus, Reverb, TimeCtrlDly,
Chromatic PS, Downer, WrmSaturator, 303 VinylSim, 404 VinylSim, Cassette Sim, Lo-fi, Equalizer,
Compressor
●
Effects marked with an (*) are for INPUT FX only.
●
For details on the various effect parameters, refer to “
(P.114)”.
6.
Use the [VALUE] knob to select the effect, and press the [VALUE] knob.
This sets the effect.
7.
To finish making settings, press the [EXIT] button.
Sending the Audio Input from the INPUT Jack to a Bus
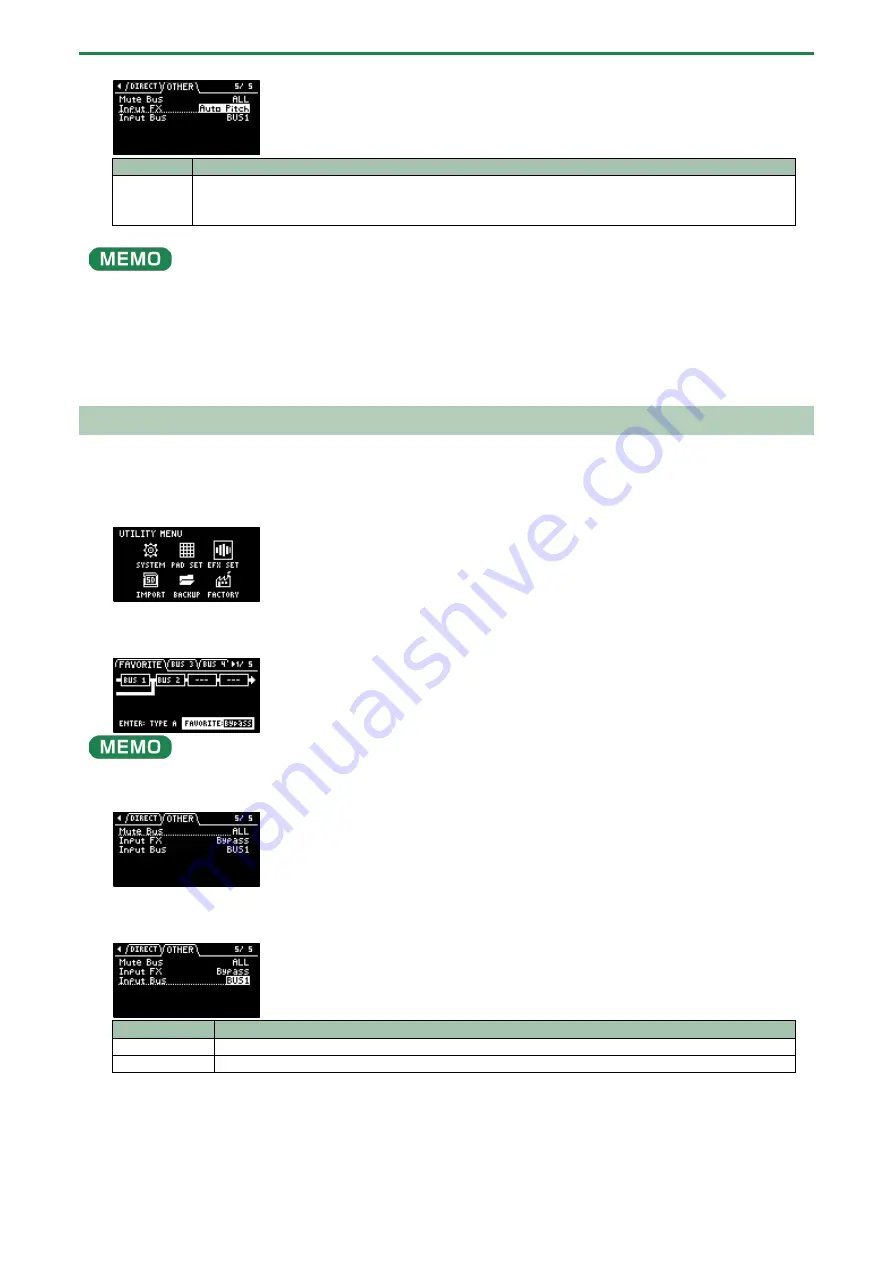
You can set the bus to which the playback audio signals coming into the INPUT jack are sent (meaning which effects are used).
1.
Hold down the [SHIFT] button and press the pad [13].
The UTILITY MENU screen appears.
2.
Use the [VALUE] knob to select “EFX SET” and press the [VALUE] knob.
The effect setting screen appears.
From the top screen, you can also make this screen appear by pressing pad [16] while holding down the [SHIFT] button.
3.
Turn the [CTRL 3] knob to select “OTHER”.
4.
Use the [VALUE] knob to move the cursor to “Input Bus” and press the [VALUE] knob.
The displayed value is highlighted, and you can now edit the Input Bus.
Value
Explanation
DRY
The signal is not sent to BUS 1, BUS 2 (the BUS 1 and BUS 2 effects are not used).
BUS1, BUS2
The signal is sent to BUS 1 or BUS 2. The effects set for BUS 1 and BUS 2 are used.
5.
Use the [VALUE] knob to select the bus, and press the [VALUE] knob.
This confirms the bus to which the input audio is sent.
6.
To finish making settings, press the [EXIT] button.
Summary of Contents for SP-404MK2
Page 1: ...SP 404MK2 Version 2 00 Reference Manual ...
Page 41: ...Sampling SAMPLING 41 ...
Page 49: ...Editing a Sample SAMPLE EDIT 49 ...
Page 100: ...Configuring the Various Settings UTILITY 100 ...
Page 132: ...Appendix 132 Audio Diagram ...


