Configuring the Various Settings (UTILITY)
94
From the top screen, you can also make this screen appear by pressing pad [16] while holding down the [SHIFT] button.
4.
Use the [CTRL 3] knob to select “FAVORITE”, and press the [VALUE] knob.
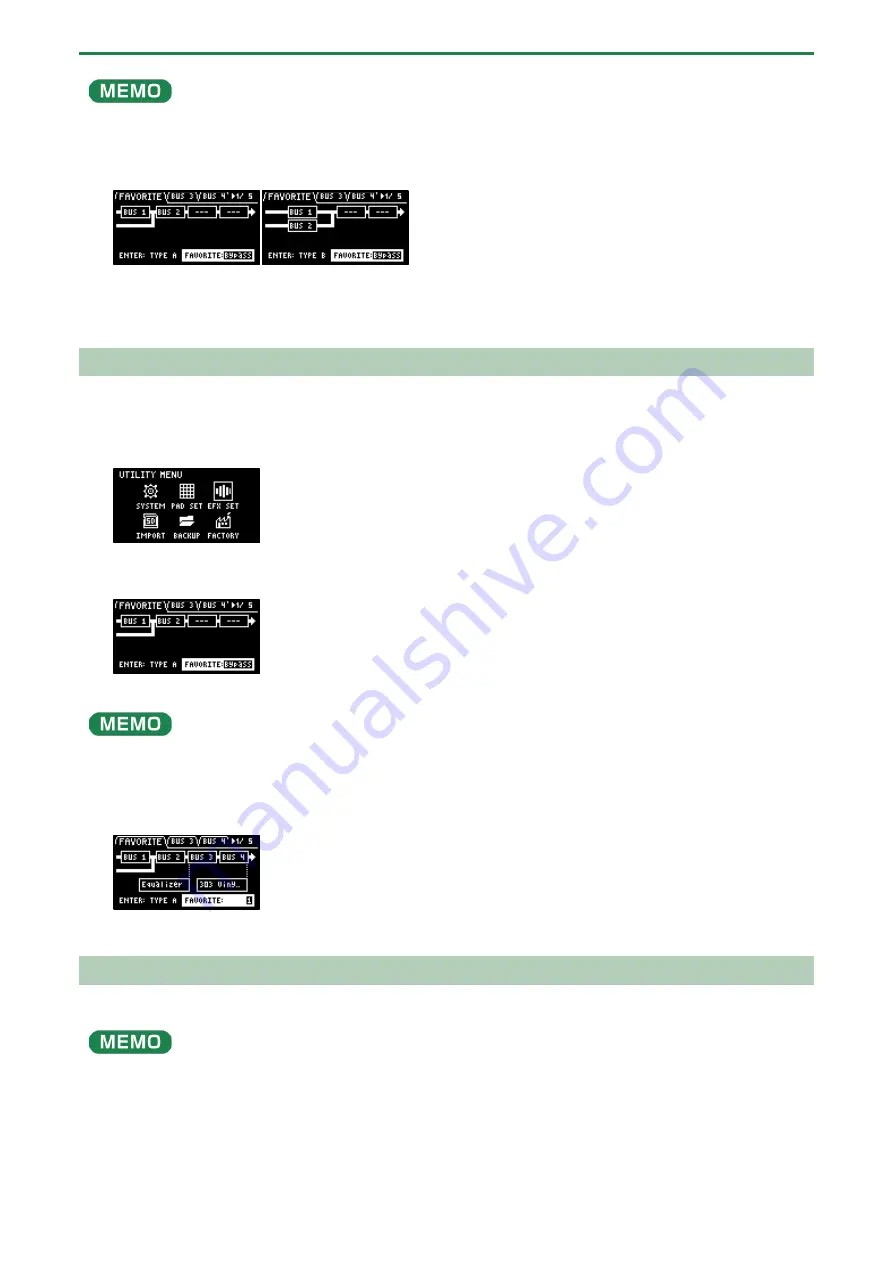
The position of the effect assigned to BUS 1 and BUS 2 changes each time you press the [VALUE] knob (“
(P.27)”).
5.
To finish making the settings, press the [EXIT] button.
Adding Effects to the Overall Sound (BUS 3, BUS 4)
Here’s how to apply effects to the overall sound output from this unit.
1.
Hold down the [SHIFT] button and press the pad [13].
The UTILITY MENU screen appears.
2.
Use the [VALUE] knob to select “EFX SET”, and press the [VALUE] knob.
The effect setting screen appears.
From the top screen, you can also make this screen appear by pressing pad [16] while holding down the [SHIFT] button.
3.
Turn the [CTRL 3] knob to select “FAVORITE”.
4.
Turn the [VALUE] knob to select “FAVORITE 1” through “FAVORITE 16”.
The effects you selected in “FAVORITE 1” through “FAVORITE 16” are applied to the overall output audio.
5.
To finish making the settings, press the [EXIT] button.
Changing the Effects Assigned to BUS 3 and BUS 4
Changes the type of effects to apply to the overall sound.
Refer to “
Adding Effects to a Sample (BUS FX)
(P.27)” to change the type of effects (BUS 1, BUS 2) that are applied to the samples.
1.
Hold down the [SHIFT] button and press the pad [13].
The UTILITY MENU screen appears.
Summary of Contents for SP-404MK2
Page 1: ...SP 404MK2 Version 2 00 Reference Manual ...
Page 41: ...Sampling SAMPLING 41 ...
Page 49: ...Editing a Sample SAMPLE EDIT 49 ...
Page 100: ...Configuring the Various Settings UTILITY 100 ...
Page 132: ...Appendix 132 Audio Diagram ...


