


&
&
Creating a Song
1.
Press the [Lesson] button .
The Lesson menu screen will appear.
2.
Use the cursor [
] [
] [
] [
] buttons to choose
“Music Creation,” and press the [ ] button to confirm
your choice .
Rhythm
You can play along with a variety of rhythms.
16 Part Recorder
Create 16 part multitrack recordings.
Song Editor
Edit a song you recorded.
Audio Converter
Convert a song recorded as SMF into audio.
Play Along with Rhythms
The HPi-50e lets you enjoy performing while you listen to rhythms in
a variety of styles.
1.
Press the [Lesson] button .
2.
Use the cursor [
] [
] [
] [
] buttons to select
“Rhythm,” and press the [ ] button .
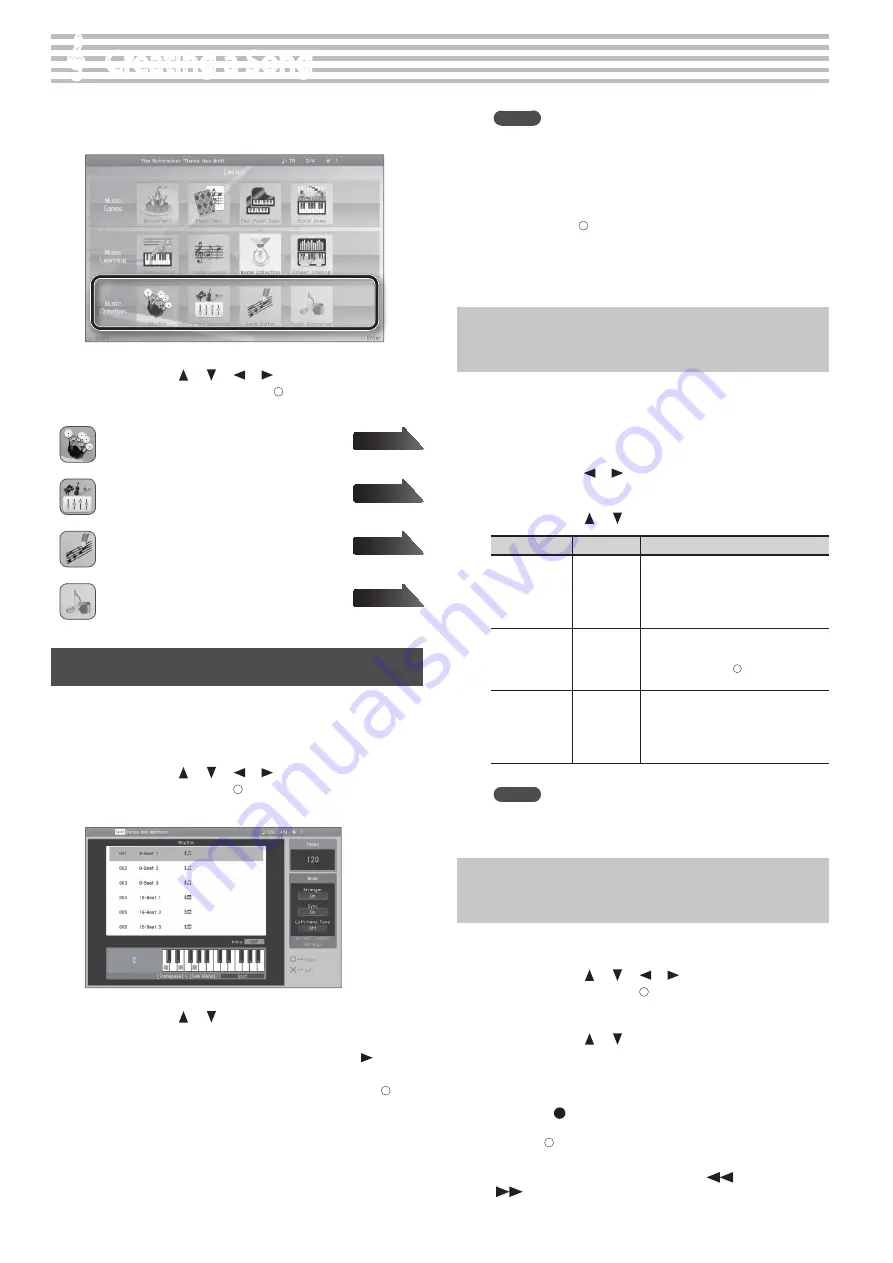
The “Rhythm” screen will appear.
3.
Use the cursor [
] [
] buttons to select a rhythm
pattern .
4.
If you want to perform with an intro, press the [
] (Intro)
cursor button .
If you want to perform without an intro, press the [ ]
button .
The rhythm will start playing.
If “Arranger” is on, an accompaniment suitable for the selected
rhythm will play according to the chords you play with your left
hand.
MEMO
If the pedal’s function is set to “Fill In,” you’ll be able to add a fill-
in to the rhythm performance. To change the pedal’s function,
refer to “Changing How the Pedals Work (Left Pedal)” (p. 56) or
“Changing How the Pedals Work (Center Pedal)” (p. 56).
5.
If you want to end your performance with an added
ending, press [ ] (Ending) button .
If you want to end your performance without an added
ending, press [×] (Stop) button .
The rhythm performance will stop.
Editing the Rhythm Performance and
Automatic Accompaniment Settings
Here’s how to edit the rhythm performance and automatic
accompaniment settings.
1.
In the rhythm screen, hold down the [Key Touch] button
and press the [Transpose] button .
2.
Use the cursor [
] [
] buttons to select the parameter
that you want to edit .
3.
Use the cursor [
] [
] buttons to edit the setting .
Items
Value
Explanation
Left-hand Tone
Off, On
If this is on, you’ll be able to play the
sound of the left-hand part while the
automatic accompaniment plays.
If this is off, the left-hand part will not
be heard.
Sync
Off, On
If this is on, the rhythm will start the
instant you begin playing the keyboard.
If this is off, use the[ ] button to start
the rhythm.
Arranger
Off, On
If this is on, an accompaniment suitable
for the selected rhythm will be automati-
cally generated according to the chords
you play in the left hand.
If this is off, only the rhythm will be heard.
MEMO
For details on how to finger automatic accompaniment chords
on the keyboard, refer to “Chord Fingering List” (p. 68).
Recording the Rhythm Performance and
Automatic Accompaniment
1.
Press the [Lesson] button .
2.
Use the cursor [
] [
] [
] [
] buttons to select
“Rhythm,” and press the [ ] button .
The “Rhythm” screen will appear.
3.
Use the cursor [
] [
] buttons to select a rhythm
pattern .
4.
Select the tone that you want to play (p . 20) .
5.
Press the [
] (Rec) button .
6.
Use the [ ] button to select the recording mode and
recording format (p . 36) .
If you’re using overdub-recording, use the [
] (Bwd)
[
] (Fwd) buttons to move to the location at which you want to
start recording.
page
page
page
page
42


