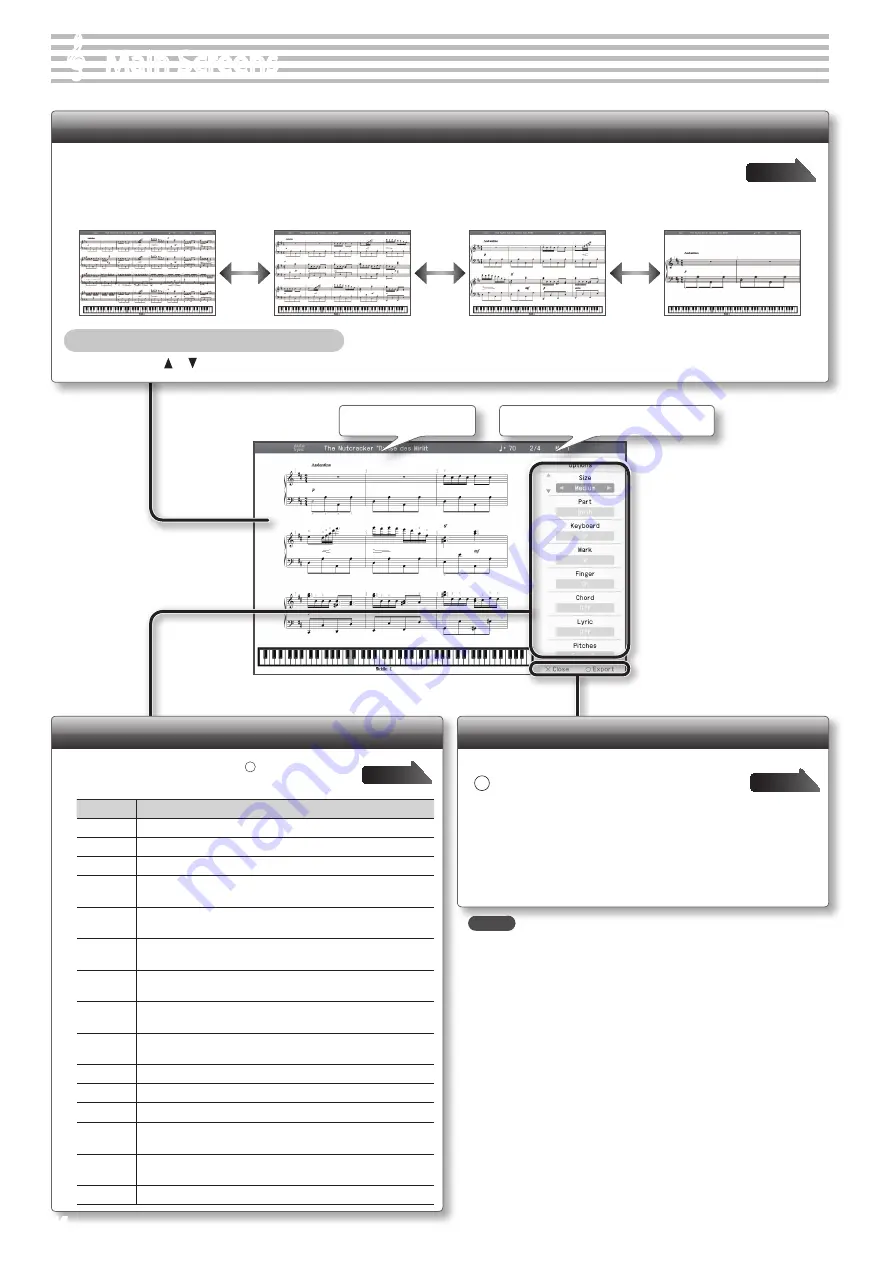
Tempo Time signature Measure number
Song name
MEMO
• Not only the built-in songs but also SMF music data and
performances you’ve recorded on the HPi-50e can be displayed in
the notation screen.
• If you select a part that contains no performance data, no notes
will be shown in the notation. To change the part that’s displayed,
change the “Upper Part” or “Lower Part” setting in the Options
screen.
• The fingering numbers displayed by the HPi-50e are just one
possible example.
• The performance marks displayed by the HPi-50e are just one
possible example, and are not intended to limit the expressivity of
your performances.
Options screen
In the notation screen, press the [ ] button to access
the option screen for notation.
Item
Explanation
Size
Specifies the size of the notation display.
Part
Specifies the part to be shown as notation.
Keyboard
If this is “On,” a keyboard is shown below the notation.
Mark
If this is “On,” performance marks are shown when you play back
song data that contains performance marks.
Finger
If this is “On,” fingering numbers are shown when you play back
song data that contains fingering numbers.
Chord
If this is “On,” chord names are shown when you play back song
data that contains chord data.
Lyric
If this is “On,” lyrics are shown when you play back song data that
contains song lyric data.
Pitches
Specify how note names are displayed when the notation screen
is expanded.
Auto Sync
If this is “On,” the notation will be shown in synchronization with
the performance.
Key
Display the notation in the specified key.
Clef R
Specifies the clef of the notation shown for the right-hand part.
Clef L
Specifies the clef of the notation shown for the left-hand part.
Upper Part
Specifies the part for which notation will be shown as the upper
part.
Lower Part
Specifies the part for which notation will be shown as the lower
part.
Resolution
Changes the screen display and lesson grading standard.
* The explanations in this manual include illustrations that depict what
should typically be shown by the display.
Note, however, that your unit may incorporate a newer, enhanced
version of the system (e.g., includes newer sounds), so what you
actually see in the display may not always match what appears in the
manual.
&
&
Main Screens
Notation Display Screen
When you turn on the power, the notation display screen will appear. You can view the notation display screen in four sizes: “small,”
“medium,” “large,” or “with note names.” Use the Options screen to specify the desired “Size.”
Changing the Number of Measures Displayed
Press the cursor [
] [
] button
Large
(8 measures displayed)
Medium (upon power-up)
(15 measures displayed)
Small
(32 measures displayed)
With note names
(2 measures displayed)
Notation menu
[ ] button
Writes (exports) the displayed notation in BMP format to a USB flash
drive.
[ × ] button
Returns to the notation display screen.
14


