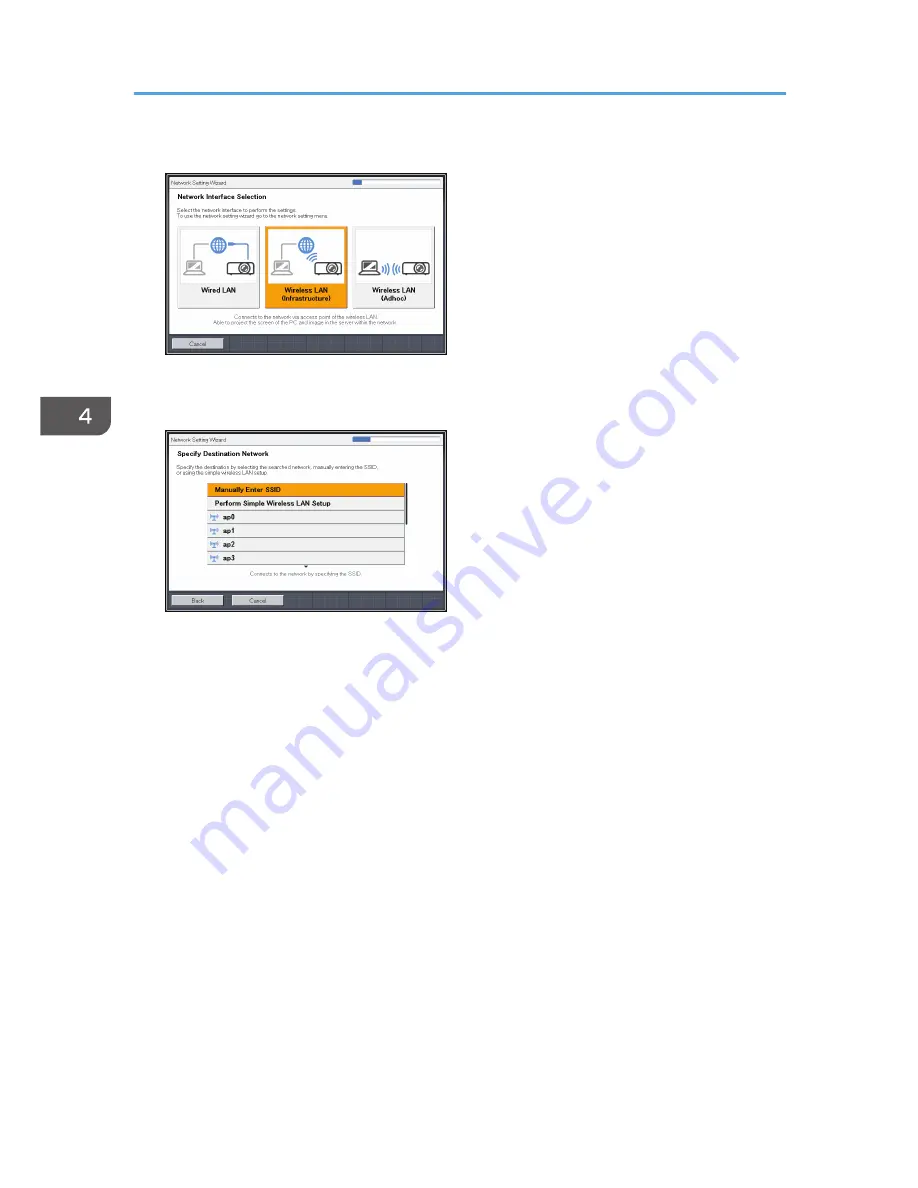
1.
Select [Wireless LAN (Infrastructure)] on the [Network Setting Wizard] screen.
The list of wireless LAN networks that can be connected is displayed.
2.
Select a wireless LAN network or [Manually Enter SSID].
3.
If you select [Manually Enter SSID] in Step 2, enter the SSID.
4.
Enter the network key.
When connecting to a network for which a network key is not set, the network key input screen is
not displayed. Proceed to Step 5.
5.
Select [Disable DHCP (Manual Settings)] or [Enable DHCP (Auto Settings)].
If you select [Enable DHCP (Auto Settings)], proceed to Step 9.
6.
Specify the projector's IP address.
7.
Specify the subnet mask.
8.
Specify the default gateway.
9.
Select [OK] on the confirmation screen.
To project the image from a computer, see page 68 "Projecting a Computer's Screen via a
Network".
4. Using the Projector via a Network
66
Summary of Contents for IPSiO PJ X3240N
Page 2: ......
Page 7: ...Trademarks 140 INDEX 143 5 ...
Page 60: ...3 Projecting Images from a USB Memory Device or Digital Camera 58 ...
Page 108: ...5 Changing the Projector Settings 106 ...
Page 116: ...6 Troubleshooting 114 ...
Page 144: ...8 Appendix 142 ...
Page 149: ...MEMO 147 ...
Page 150: ...MEMO 148 EN GB EN US EN AU Y028 7513 ...
Page 151: ... 2012 Ricoh Co Ltd ...


