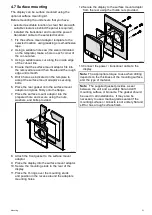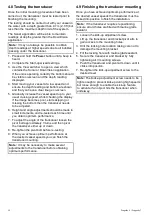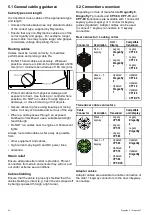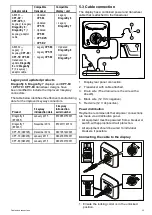
4.1 Mounting the transducer
The transducer must be mounted on the transom
using the mounting bracket provided. The steps
below describe the initial mounting steps required
in order to test your transducers performance.
After testing the transducer you must inish the
mounting following the instructions in the
Finishing
the transducer mounting
section.
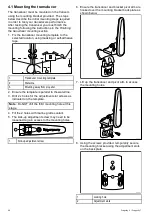
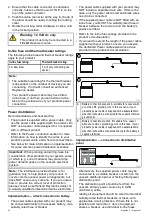
1. Fix the transducer mounting template to the
selected location, using masking or self-adhesive
tape.
1
Transducer mounting template
2
Waterline
3
Mounting away from propeller
2. Ensure the template is parallel to the waterline.
3. Drill 2 x holes for the adjustment slot screws as
indicated on the template.
Note:
Do NOT drill the third mounting hole at this
stage.
4. Fill the 2 holes with marine grade sealant.
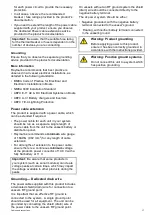
5. The kick-up adjustment screw may need to be
loosened to gain access to the mounting holes.
1
Kick-up adjustment screw
6. Ensure the transducer and bracket pivot arm are
hooked over the mounting bracket back plate as
shown below.
7. Lift up the transducer and pivot arm to access
the mounting holes.
8. Using the screws provided, temporarily secure
the mounting bracket using the adjustment slots
on the back plate.
1
Locking hole
2
Adjustment slots
26
Dragonly 6 / Dragonly 7
Summary of Contents for Dragonfly 6
Page 2: ......
Page 4: ......
Page 24: ...24 Dragonly 6 Dragonly 7...
Page 82: ...82 Dragonly 6 Dragonly 7...
Page 96: ...96 Dragonly 6 Dragonly 7...
Page 104: ...104 Dragonly 6 Dragonly 7...
Page 108: ...108 Dragonly 6 Dragonly 7...
Page 112: ...112 Dragonly 6 Dragonly 7...
Page 115: ......
Page 116: ......

