Configuring the Meter Impression
Depending on the current type of Meter Impression you have selected, you may be able
to modify the following Impression elements:
• Change the printed Date.
• Add a Slogan to the left of the Meter Impression.
Accessing the Impression Configuration Menus
Once you have selected the type of Impression you would like to print you can configure
the Impression layout.
•
Press
and type 1 to access the Meter Impression Configuration menu.
•
To return to the Meter Impression Home Screen, press
.
Advancing or Omitting the Date
The Date Advance function allows you to change the date printed on the mail pieces, for
future sending.
You can set the Date Advance feature (in Supervisor Mode) to change at a specific time.
This is useful if you process mail after the last mail pickup for the day. This ensures that
the proper Date of mailing is printed for the next days mail pickup. See
on page 134 .
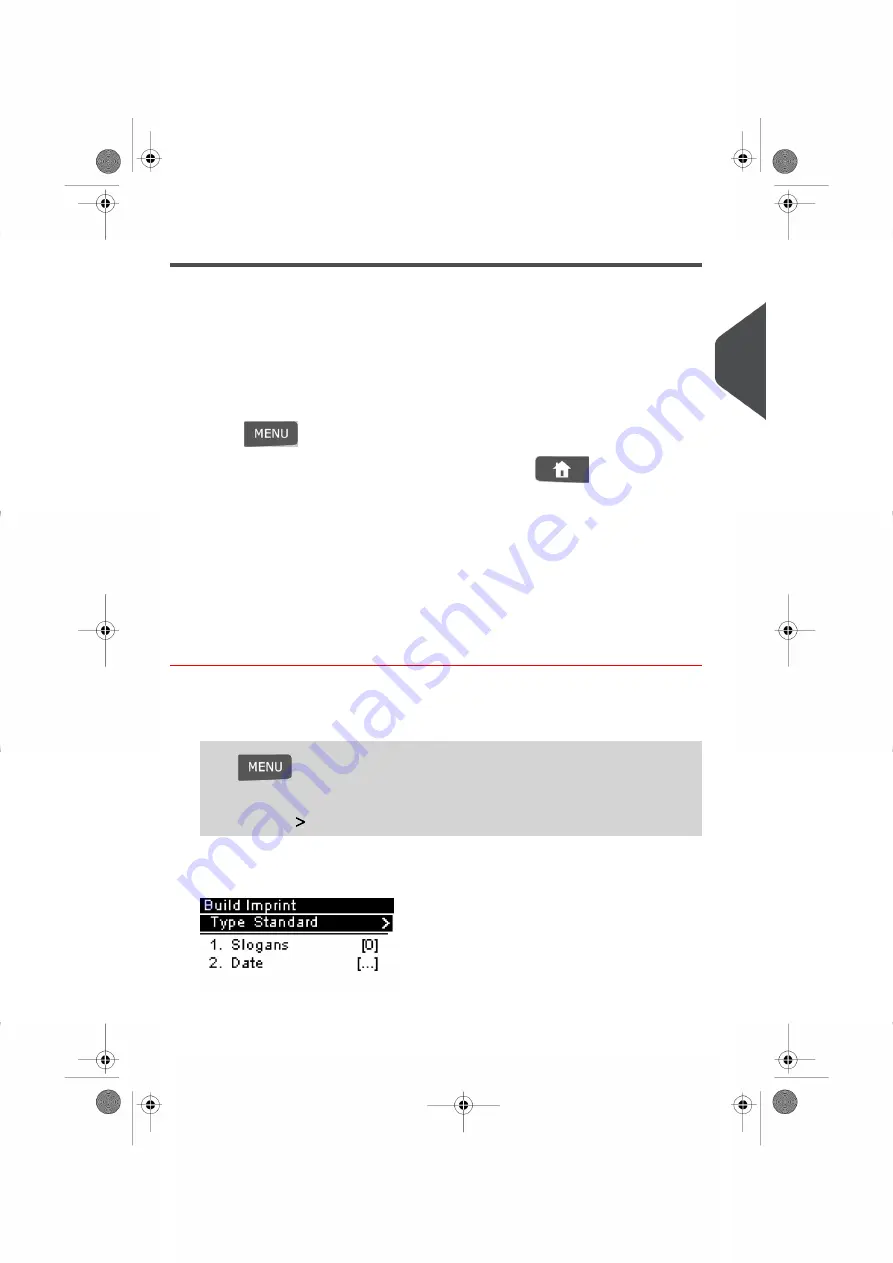
How to Change the Date
To change the Date that will be printed:
1.
Either:
Press
and type 1
Or
Select the path:
Build Imprint
The Build Imprint Screen appears.
3
P
roc
e
s
sin
g
M
ail
49
| Page 49 | |
Summary of Contents for IS-280
Page 1: ...Mailing Systems Operator Manual IS 280...
Page 5: ...Page 4 TOC...
Page 7: ......
Page 13: ......
Page 15: ......
Page 27: ...How to Count Mail pieces by Weighing 53 22 Page 22 Processing Mail...
Page 59: ......
Page 61: ......
Page 67: ......
Page 81: ......
Page 95: ......
Page 105: ...4 e...
Page 107: ......
Page 115: ......
Page 134: ...GEO Code 9 Configuring your Mailing System 129 Page 129...
Page 135: ...130 Page 130 9 Configuring your Mailing System...
Page 136: ...9 Configuring your Mailing System 131 Page 131...
Page 147: ......
Page 149: ......
Page 161: ......
Page 163: ......
Page 173: ......
Page 175: ......
Page 183: ......
Page 186: ...Weighing Plateform optional 13 3 Max capacity 3 kg 181 Page 181 13 Specifications...


