MVI56-PDPMV1 ♦ ControlLogix Platform
Configuring the MVI56-PDPMV1 Module
PROFIBUS DPV1 Master
User Manual
Page 105 of 251
ProSoft Technology, Inc.
2
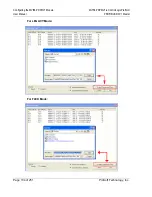
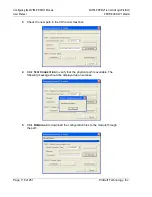
Choose a location for the file that you can access easily from RSLogix 5000
(
My Documents
or
Desktop
, for example), and then click
S
AVE
.
3
Click
OK
to close the
inRAx Data Type
dialog box.
NOTE:
If you make any changes to your module or PROFIBUS configurations, you will probably
want to create new AOI Rung Import files using this procedure. If you create new files, before you
can import them into your existing application, some of the previously imported controller tags and
ladder logic will need to be manually deleted. For additional information, please see the topic
Changing and Importing Configuration Changes (for PCB v 2.2.0 and up only) (page 73).
2.3.6 Backing Up the Project
In this step, you will create a backup copy of your project and configuration files.
The backup procedure saves your data for reuse on another machine, or allows
you to restore your data in the event of a system failure.
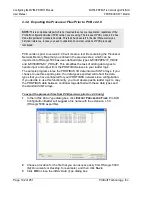
To save your project and configuration files
1
In
ProSoft Configuration Builder
tree view, click
[+]
to expand the
MVI56-
PDPMV1
tree, and then double-click the
PROFIBUS
DP
icon. This action
opens the
PDPMV1 PROFIBUS Master Setup
dialog box.
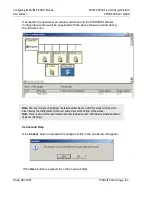
2
In the
PDPMV1 PROFIBUS Master Setup
dialog box, click the
E
XPORT
M
ASTER
C
ONFIG
button. This action saves the PROFIBUS network
configuration for your module in an XML file. The recommended location for
this file is your
My Documents
folder.
Tip:
You can use the XML file created by ProSoft Configuration Builder in this step to simplify the
task of configuring additional PROFIBUS network modules. Because it saves the entire network
configuration, you can add modules quickly by modifying only the items that are unique for each
device, typically the slot number and I/O addresses. To use this saved configuration, open
Windows Explorer, navigate to the folder where you saved the Master Configuration XML file, and
then drag the file onto the new PROFIBUS DP icon in the ProSoft Configuration Builder tree view.
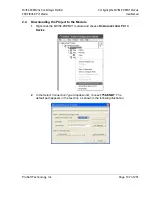
3
In
ProSoft Configuration Builder
, open the
F
ILE
menu, and then choose
S
AVE
A
S
.
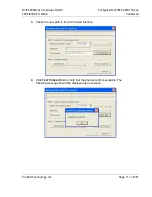
4
Name the project file, and click
S
AVE
. The recommended location for this file
is your
My Documents
folder.
Note:
All PCB project files and module-related files are automatically saved to C:\PCBExportfFiles.


