iNS/iDS 2-Wire System Manual
350-077
Rev. D - 1/20/2021
Page 79 of 107
11.
Connecting to the iCCU-X2 via Ethernet
11.1
Direct Connection from PC to iCCU-X2
The IP address of the iCCU-X2 has been preset from the factory to 192.168.1.218. The Ethernet port on the iCCU-X2 is
auto-sensing, which means that the use of a crossover-cable is not necessary, a standard Ethernet cable from your PC or
Laptop directly to the iCCU-X2 can be used.
If you are connecting the iCCU-X2 to an internal network for remote access, these steps can be skipped and you can
proceed directly to step 11.2 to connect and login.
In order for your computer to be able to communicate with the iCCU-X2, you must set the TCP/IP settings on your
computer to the same subnet as the settings on the iCCU-X2. You can accomplish this by following these steps:
Click on the Start Menu icon.
Type in the search field: view network
On Windows 7, choose “View network connections”
On Windows 8 or 10, choose “View Network Status and Tasks”
You should see a list of the available connections on your computer. We want to change the settings on the connection
which corresponds to the Ethernet port on the computer.
This is typically named “Local Area Connection” or “Ethernet”.
Right click on the icon labeled “Local Area Connection” or “Ethernet” and choose Properties.
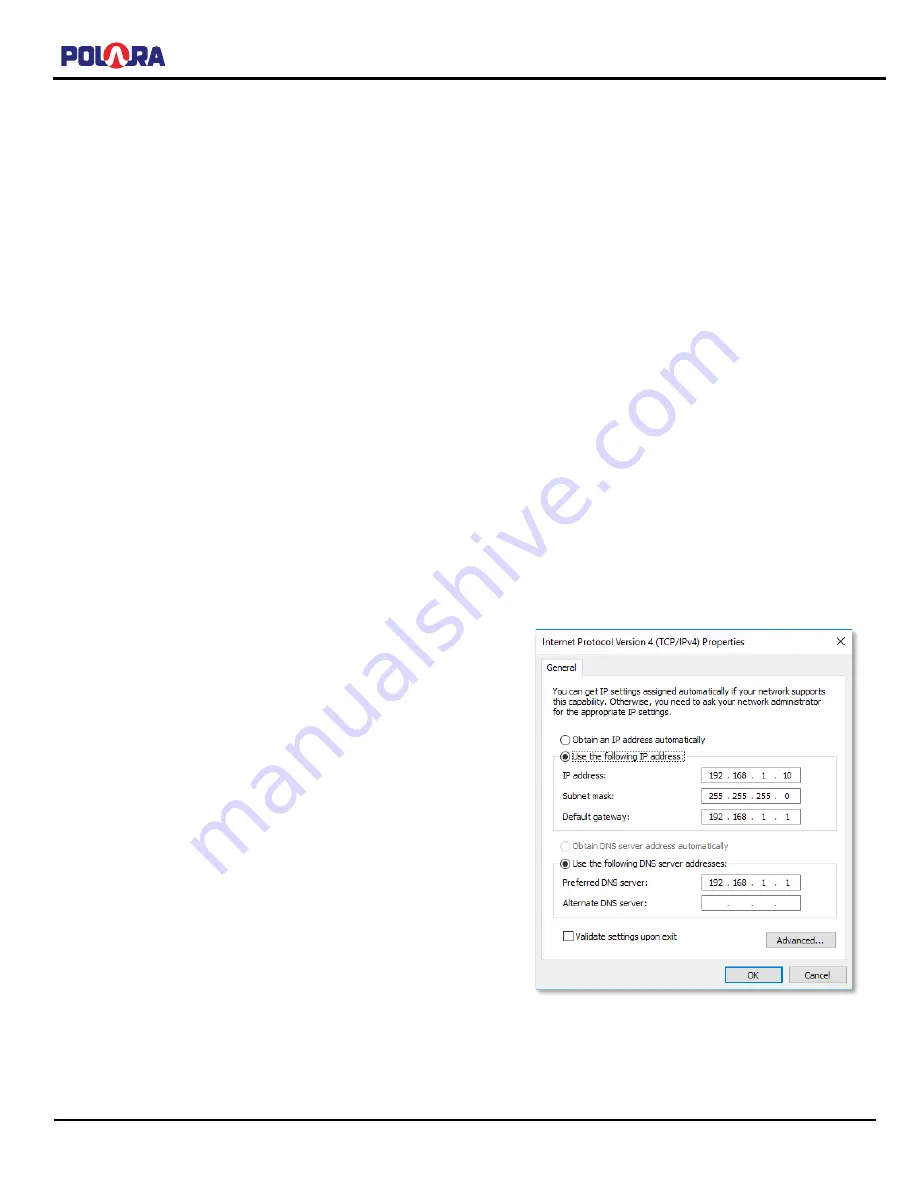
Click on “Internet Protocol Version 4 (TCP/IPv4)” and click the Properties button.
If “Use the following IP address” is selected, make a note of all settings so you can reset your settings when you are
finished.
Click “Use the following IP address” option and enter the following:
IP address: 192.168.1.10
Subnet Mask: 255.255.225.0
Default Gateway: 192.168.1.1
Preferred DNS server: 192.168.1.1
Click OK on all open dialog boxes.
You should now be able to connect to the iCCU-X2 through Ethernet
using the Intelligent Config App. Continue to the next section for
detailed instructions.


