43
Ch
ap
te
r
4
M
o
dify
in
g Ma
p Co
n
figu
rat
io
n
s
NA
V
I
Chapter 4
Modifying Map Configurations
• For safety reasons, these functions are not
available while your vehicle is in motion.
To enable these functions, you must stop
in a safe place and put on the handbrake
before setting your route (see page 18 for
details).
Entering the Map Menu
1
Press the MENU button to display the
navigation menu.
2
Touch [Map] to display the Map menu.
3
Change the setting.
➲
Adjusting each item
➞
Page 43 to 47
❒
This section describes the details of the
setting for each item. Settings marked with
an asterisk (*) show that these are default
or factory settings.
Setting the Item on the Map
Screen
You can select whether to display or hide the icon
on the map or how to display the map.
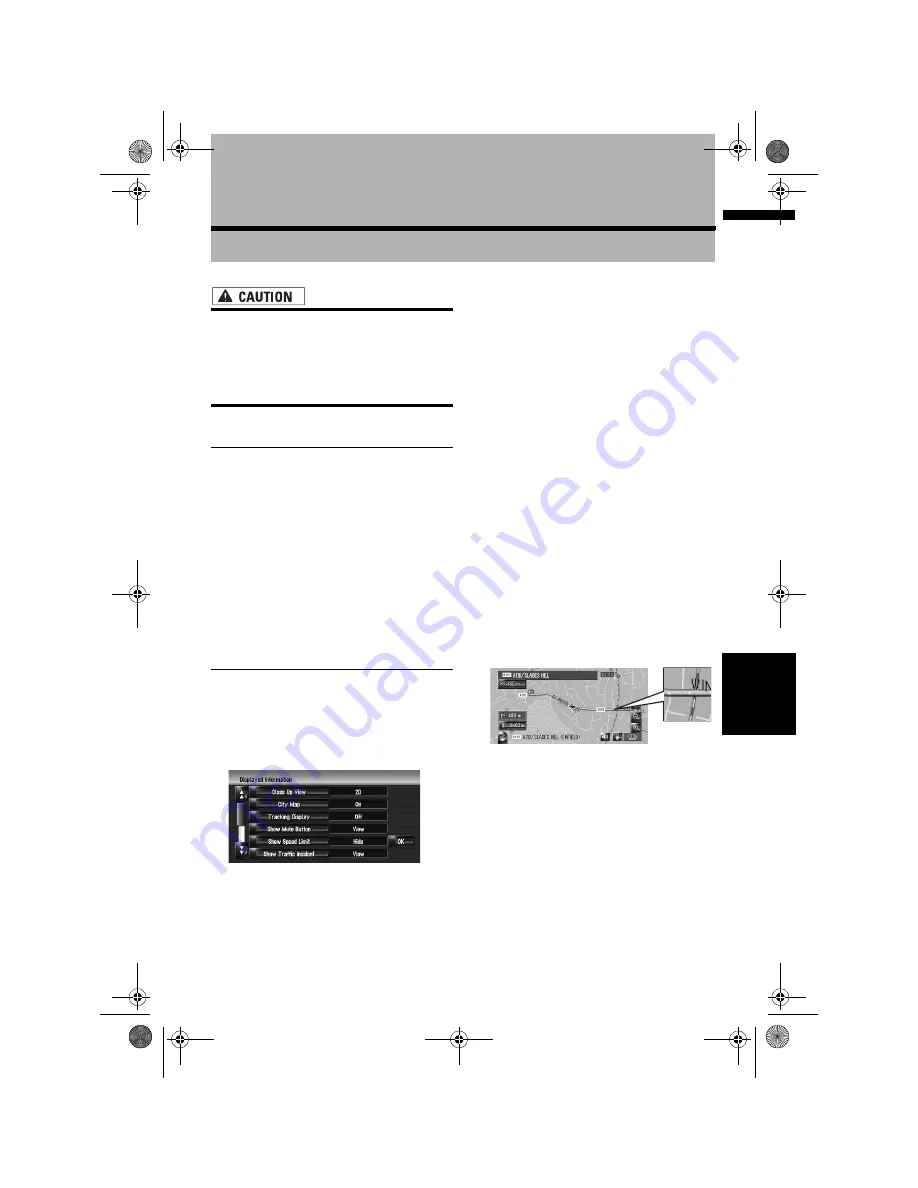
1
Touch [Map] in the navigation menu, then
touch [Displayed Info].
The Displayed Info screen appears.
On this screen, you can operate the following
items.
2
To finish the setting, touch [OK].
Close Up View
You can select the method to display the close
up view of the intersection.
2D*:
Displays the close up view with the 2D map.
3D:
Displays the close up view with [
Driver’s
View
].
Off:
Does not display the close up view.
City Map
You can select whether to display the city map
when in certain metropolitan city areas.
On*:
Automatically switches to the city map when
in a city map area.
Off:
Does not show the city map.
❒
Even if you switch [
City Map
] to [
On
], city
map cannot display in areas where there is
no city map data.
Tracking Display
You can trace locations that you have already
passed with white dots on the route.
On (Always):
Displays tracking for all journeys.
On (This journey):
Displays tracking dots but erases them when
the navigation system is turned off (when
turning off the engine of your vehicle).
Off*:
Does not display tracking dots.
MAN-HD3-SOFTW-EN.book Page 43 Wednesday, January 10, 2007 9:33 AM


