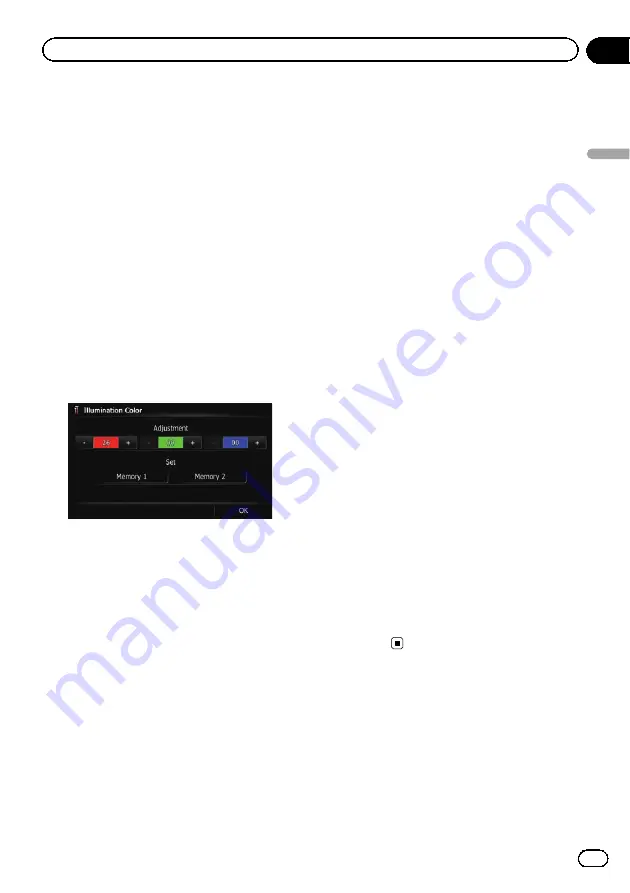
Creating a user-defined colour and
storing it to memory
You can create a user-defined colour and set it
as the illumination colour.
1
Display the
“
System Settings
”
screen.
=
For details, refer to
2
Touch [Illumi Color].
The
“
Illumination Color
”
screen appears.
3
Touch [Custom].
The
“
Illumination Color
”
screen appears.
p
If [
Scan
] is set, [
Custom
] cannot be se-
lected.
4
Touch [+] or [
–
] to adjust the values for
Red, Green and Blue to create a favourite
colour.
Watch the illumination of hardware keys while
adjusting the colour.
Each time you touch [
+
] or [
–
] increases or de-
creases the value of the selected item.
+31
to
+00
is displayed as the value is increased or
decreased.
p
An entry cannot be stored with all of the va-
lues set to
“
+00
”
.
5
Touch [Memory 1] or [Memory 2] to
store the illumination colour.
6
Touch [OK] to return to the previous
screen.
Checking the version information
1
Display the
“
System Settings
”
screen.
=
For details, refer to
2
Touch [Service Information].
The
“
Service Information Screen
”
screen ap-
pears.
3
Check the version information.
Reversing the climate control
status display
p
Because the Vehicle Bus adapter cannot
be connected to this product, this function
is not available.
If the left/right display of the climate control
status screen does not match that of vehicle,
the display can be reversed.
p
To configure this setting, the optional Vehi-
cle Bus adapter must be connected.
1
Display the
“
System Settings
”
screen.
=
For details, refer to
2
Touch [Reverse AC Display].
Each time you touch the key changes the set-
ting.
!
Off
(default):
The climate control status display is not re-
versed.
!
On
:
The climate control status display is re-
versed.
Using the rear view camera
functions
The following two functions are available. The
rear view camera feature requires a separately
sold rear view camera (e.g. ND-BC5). (For de-
tails, consult your dealer.)
Engb
149
Chapter
27
Customising
pr
eferences
Customising preferences


