


3.3
Software Installation
This section describes the installation of the required software to accomplish the tasks
described in this chapter.
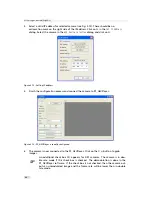
1.
Install the latest drivers for your GigE network interface card.
2.
Download the latest eBUS SDK installation file from the Photonfocus server.
You can find the latest version of the eBUS SDK on the support (Software Down-
load) page at www.photonfocus.com.
3.
Install the eBUS SDK software by double-clicking on the installation file. Please follow the
instructions of the installation wizard. A window might be displayed warning that the
software has not passed Windows Logo testing. You can safely ignore this warning and
click on
Continue Anyway
. If at the end of the installation you are asked to restart the
computer, please click on
Yes
to restart the computer before proceeding.
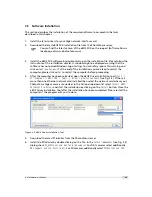
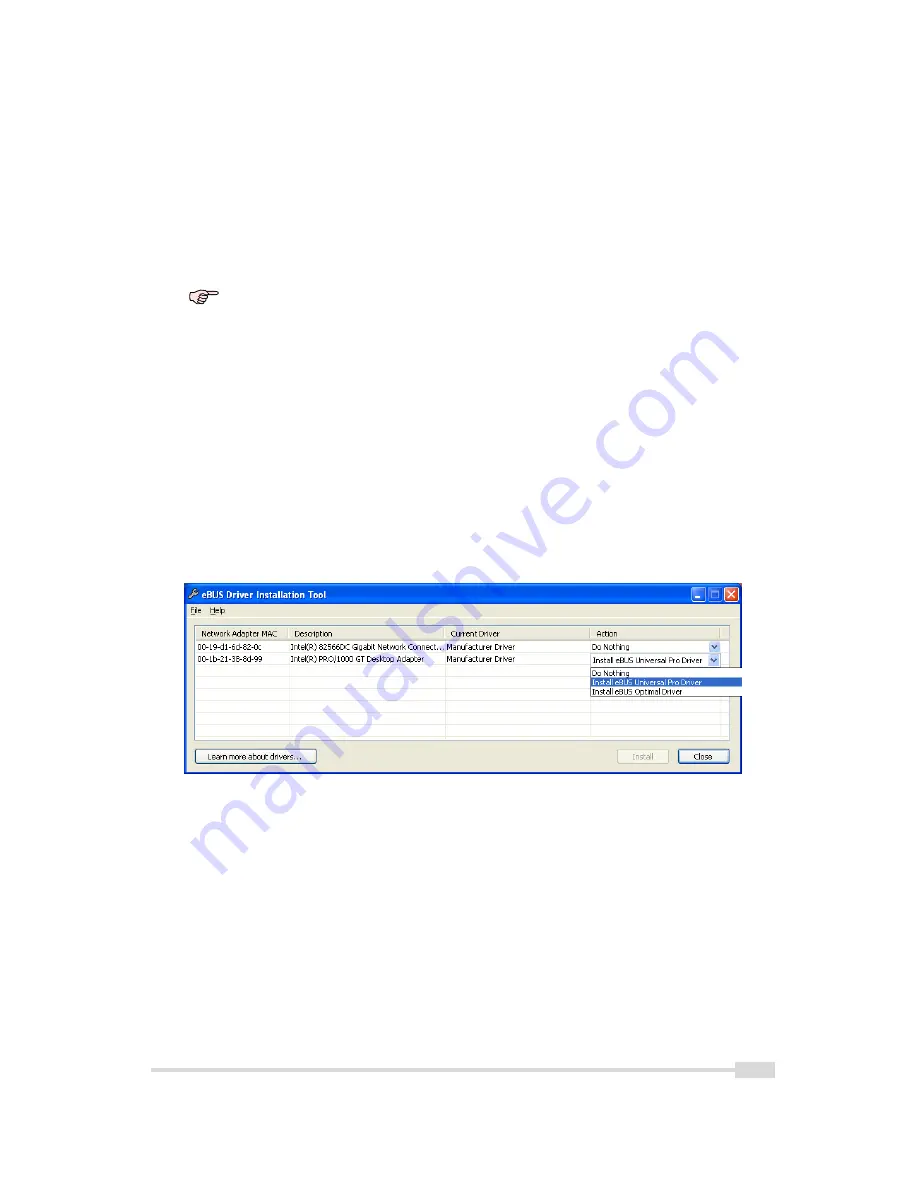
4.
After the computer has been restarted, open the eBUS Driver Installation tool (
Start ->
All Programs -> eBUS SDK -> Tools -> Driver Installation Tool
) (see Fig. 3.2). If there is
more than one Ethernet network card installed then select the network card where your
Photonfocus GigE camera is connected. In the Action drop-down list select
Install eBUS
Universal Pro Driver
and start the installation by clicking on the
Install
button. Close the
eBUS Driver Installation Tool after the installation has been completed. Please restart the
computer if the program asks you to do so.
Figure 3.2: eBUS Driver Installation Tool
5.
Download the latest PFInstaller from the Photonfocus server.
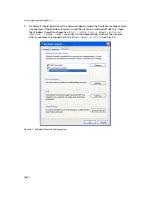
6.
Install the PFInstaller by double-clicking on the file. In the
Select Components
(see Fig. 3.3)
dialog check
PF_GEVPlayer and doc for GigE cameras
. For DR1 cameras select additionally
DR1 support and 3rd Party Tools
. For 3D cameras additionally select
PF3DSuite2 and SDK
.
.
3.3 Software Installation
13
Summary of Contents for MV1-R1280-50-G2 Camera Series
Page 6: ...CONTENTS 6...
Page 10: ...2 Introduction 10...
Page 14: ...3 How to get started GigE G2 Figure 3 3 PFInstaller components choice 14...
Page 30: ...4 Product Specification 30...
Page 51: ...Figure 5 19 Crosshairs Example with different grey values 5 6 Crosshairs 51...
Page 72: ...6 Hardware Interface 72...
Page 84: ...7 Software 84...
Page 88: ...9 Warranty 88...
Page 90: ...10 References 90...
Page 94: ...B Camera Revisions 94...
Page 95: ...C Document Revision History Revision Date Changes 1 0 April 2015 First version 95...


