131
6
Playback/Deleting/Editing
1
Use the four-way controller (
23
) to select [Print All].
2
Press the OK button.
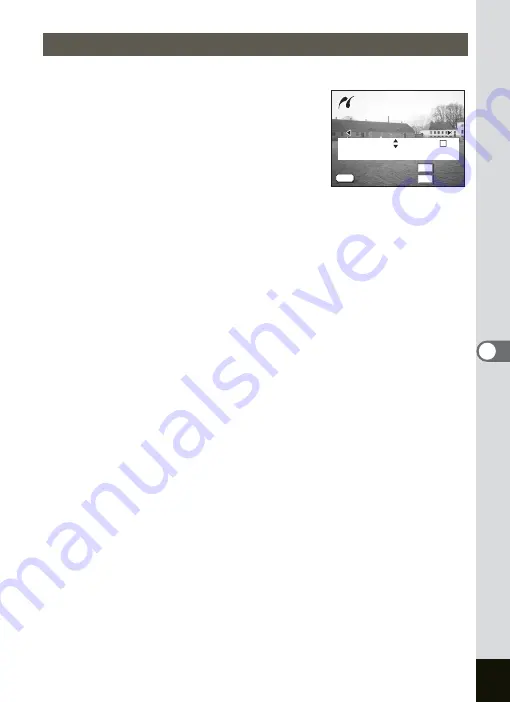
The Print All screen appears.
Use the four-way controller (
45
) to check
the images and make sure you want to print
them all.
3
Use the four-way controller (
23
)
to choose the number of copies.
The number of copies you choose applies to all the images.
4
Use the Fn button to select
O
(On)/
P
(Off).
O
(On) : The date will be imprinted.
P
(Off) : The date will not be imprinted.
The Date cannot be set to
O
(On) if the printer is not compatible with
date stamping.
5
Press the OK button.
The screen to confirm the print setting appears. Proceed to Step 6 to
start printing with the settings you have made. Proceed to “Changing
the Paper Size” (p.132) to change the settings you have made.
6
Press the OK button.
Printing starts. Press the OK button to return to Step 2 and print again.
Press the MENU button to exit printing.
Printing All Images
Print all images
Print all images
Date
Date
Cancel
Cancel
OK
OK
Fn
OK
MENU
100-0010
100-0010
100-0010
Print all images
Copies
Total
Date
Date
1
12
Cancel
OK
Summary of Contents for OPTIO SV
Page 33: ...31 Quick Start 2 Memo...
Page 45: ...43 Common Operations 3 Memo...
Page 67: ...65 Taking Pictures 4 Example of a 3D Picture Parallel Method...
Page 109: ...107 Taking Pictures 4 Memo...
Page 143: ...141 6 Playback Deleting Editing Memo...
Page 177: ...175 8 Appendix Z Zoom 68 Zoom button 12 34 36 Zoom Display 111...
Page 178: ...Memo...
Page 179: ...Memo...


