132
6
Playback/Deleting/Editing
1
Use the four-way controller (
23
) to select
[DPOF AUTOPRINT].
2
Press the OK button.
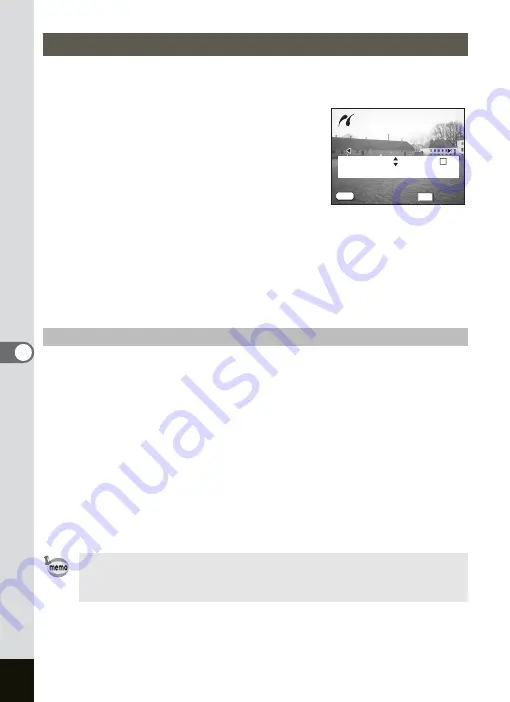
The Print w/DPOF Settings screen appears.
Use the four-way controller (
45
) to check
the images and the print settings.
3
Press the OK button.
The screen to confirm the print setting
appears. Proceed to Step 4 to start printing
with the settings you have made. Proceed to “Changing the Paper
Size” (p.132) to change the settings you have made.
4
Press the OK button.
Printing starts. Press the OK button to repeat Steps 2 and 3 to print
again. Press the MENU button to exit printing.
1
Press the Fn button.
The screen to choose the size of the paper appears.
2
Press the four-way controller (
23
) to choose the size of
the paper.
3
Press the OK button.
The screen to confirm the print setting appears.
4
Press the OK button.
Printing starts. When Printing is finished, press the OK button to return
to Step 3 if you want to print with the same settings again or press the
MENU button to exit printing.
Printing Using the DPOF Settings
Changing the Paper Size
Only paper sizes displayed in white can be set. Paper sizes
displayed in gray cannot be set, because they are not supported by
the camera or printer.
Print w/DPOF settings
Print w/DPOF settings
Cancel
Cancel
OK
OK
OK
MENU
100-0010
100-0010
100-0010
Print w/DPOF settings
Copies
Date
Total
1
12
Cancel
OK
Summary of Contents for OPTIO SV
Page 33: ...31 Quick Start 2 Memo...
Page 45: ...43 Common Operations 3 Memo...
Page 67: ...65 Taking Pictures 4 Example of a 3D Picture Parallel Method...
Page 109: ...107 Taking Pictures 4 Memo...
Page 143: ...141 6 Playback Deleting Editing Memo...
Page 177: ...175 8 Appendix Z Zoom 68 Zoom button 12 34 36 Zoom Display 111...
Page 178: ...Memo...
Page 179: ...Memo...


