126
6
Playback/Deleting/Editing
5
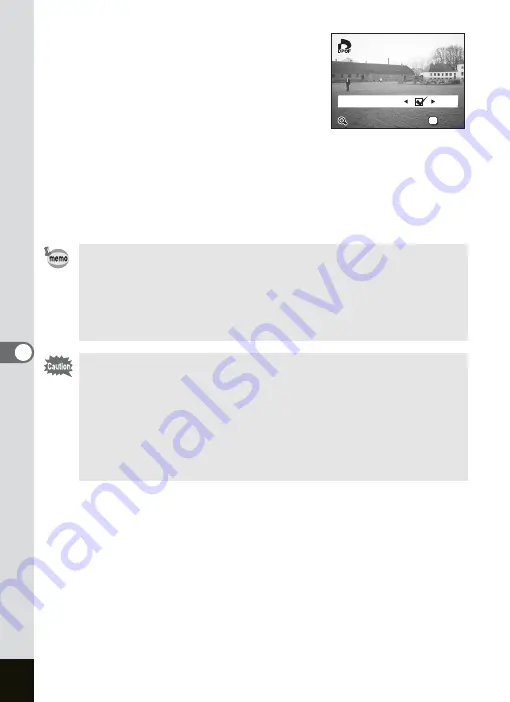
Use the four-way controller (
45
)
to choose the number of copies,
then press the four-way controller
(
3
).
The frame moves to [Date].
6
Use the four-way controller (
45
)
to select
O
(On)/
P
(Off).
O
(On) : The date will be imprinted.
P
(Off) : The date will not be imprinted.
7
Press the OK button.
Prints can be made according to the settings.
• You can display the DPOF screen simply by pressing the Fn
button. (
1
• If DPOF settings have already been made for an image, the
previous number of copies and date setting will be displayed.
• To cancel DPOF settings, set the number of copies to 0 and press
the OK button.
• You cannot set the printing service for movies or
sound-only files.
• Depending on the printer or printing equipment at the photo
processing lab., the date may not be imprinted on the pictures
even if the DPOF setting was made.
• Pictures may not be printed correctly when the camera is
connected directly to a PictBridge-compatible printer if the number
of copies exceeds 500.
Copies
Copies
Print All
Print All
OK
OK
100-0001
100-0001
100-0001
OK
Copies
Date
Print All
OK
03
03
03
Summary of Contents for OPTIO SV
Page 33: ...31 Quick Start 2 Memo...
Page 45: ...43 Common Operations 3 Memo...
Page 67: ...65 Taking Pictures 4 Example of a 3D Picture Parallel Method...
Page 109: ...107 Taking Pictures 4 Memo...
Page 143: ...141 6 Playback Deleting Editing Memo...
Page 177: ...175 8 Appendix Z Zoom 68 Zoom button 12 34 36 Zoom Display 111...
Page 178: ...Memo...
Page 179: ...Memo...


