54
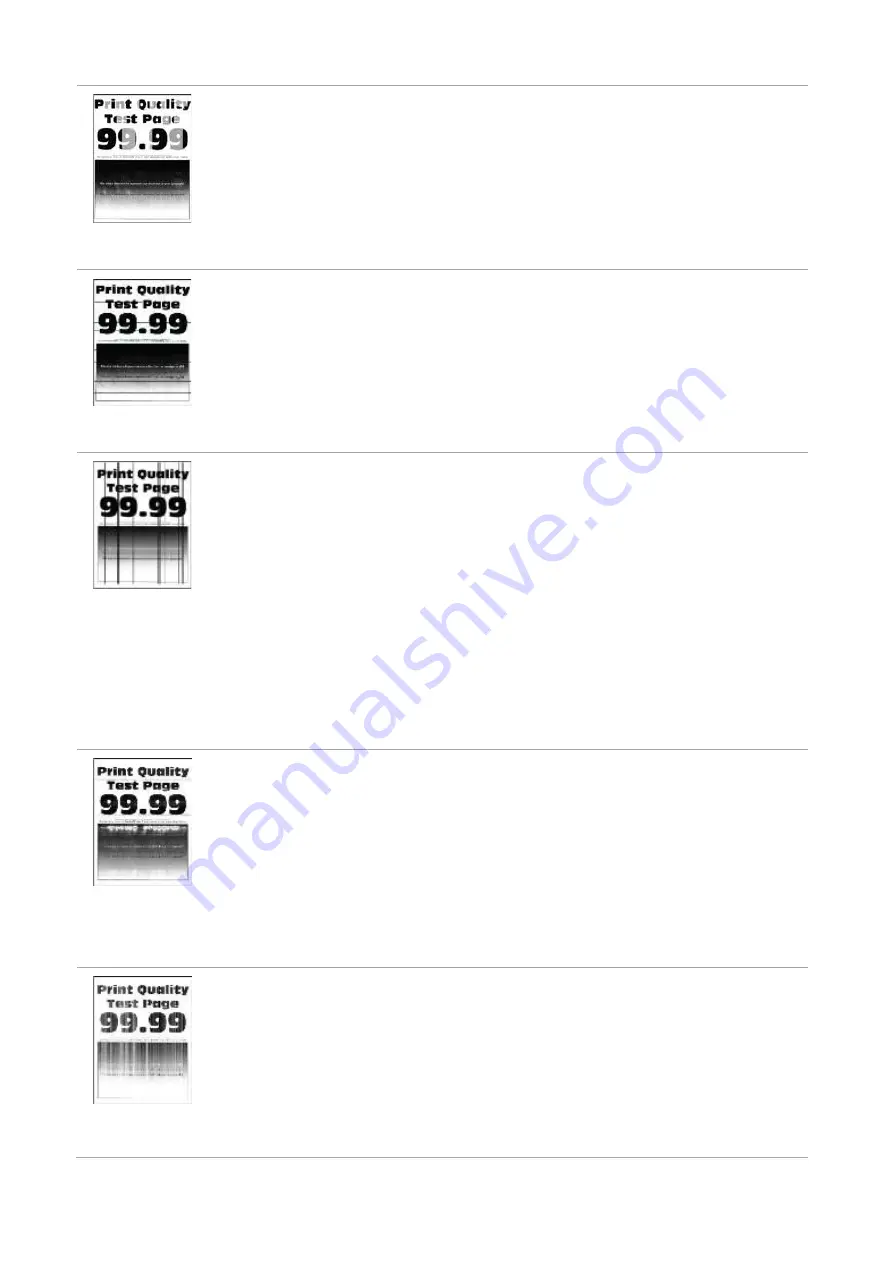
Uneven print density
• Toner cartridge is not installed
properly.
• Pull out the toner cartridge tray,
remove the toner cartridge, then
insert the toner cartridge, and
insert the toner cartridge tray.
•
Make the "Full Calibration"
settings.
Horizontal dark lines
• The paper used has been stored
in the air for a prolonged time.
• Toner cartridge is not installed
properly.
• Keep the paper in its original
wrapper before use.
• Pull out the toner cartridge tray,
remove the toner cartridge, then
insert the toner cartridge, and insert
the toner cartridge tray.
Vertical dark lines
• The paper used has been stored
in the air for a prolonged time.
• Toner cartridge is not installed
properly.
• The paper path is dirty.
• If black vertical stripes appear
when copying or scanning, the
scanner or the platen glass may
be dirty.
• Scanner Light bulb has
smudges.
• The scanner is damaged.
• Keep the paper in its original
wrapper before use.
• Pull out the toner cartridge
tray, remove the toner cartridge,
then insert the toner cartridge,
and insert the toner cartridge
tray.
• Clean the paper path.
• Clean the scanner or the platen
glass.
• Please contact Pantum
Customer Service.
Horizontal
white lines
• Toner cartridge is not installed
properly.
• Pull out the toner cartridge
tray, remove the toner
cartridge, then insert the toner
cartridge, and insert the toner
cartridge tray.
Vertical white lines
• The print media does not meet
the usage specification. For
example, the print media is
textured, damp, or too rough.
• Toner cartridge is not installed
properly.
•
Please correctly use the
medium conforming to the
specifications.
• Pull out the toner cartridge
tray, remove the toner cartridge,
then insert the toner cartridge,
and insert the toner cartridge
tray.
Summary of Contents for PT14C1A Series
Page 1: ...Color Laser Printer Pantum PT14C1A Series CP2100 Series...
Page 39: ...26 Note You can also set transfer print parameters through buttons on control panel...
Page 44: ...31 2 Pull out the toner cartridge tray 3 Remove the used toner cartridge...
Page 46: ...33 6 Insert the toner cartridge tray and then close the cover...
Page 48: ...35 Replace the tray 1 Remove the used tray 2 Unpack the new tray 3 Insert a new tray...
Page 59: ...46 Fuser area...
Page 60: ...47 Below the fuser area Duplex unit 3 Close the cover...
Page 71: ...1...


