Taking pictures with the camera
:: 63
• Play capture sound:
Plays a sound to confirm picture capture.
• Confirm before deleting:
If checked, Camera asks if you’re sure you
want to delete a picture before erasing it.
• Confirm before saving:
If checked, Camera asks if you’re sure you
want to save a picture before storing it on your Treo.
• Backup settings:
When activated, backs up the Treo image database
on your desktop computer.
4. Choose OK.
Viewing pictures on your computer (Windows only)
When you perform a HotSync operation, your Treo images are copied to
your desktop computer. You can view these pictures in JPEG format, or
email them to friends using your desktop email application.
1. Locate your Pictures folder. This is most likely at C:\Program
Files\palmOne\Treo Pictures\(user name) or if you upgraded from
another Palm Powered device, at C:\Program Files\Palm\Treo
Pictures\(user name).
2. Double-click any file to launch it with the default picture viewing software
on your Windows computer.
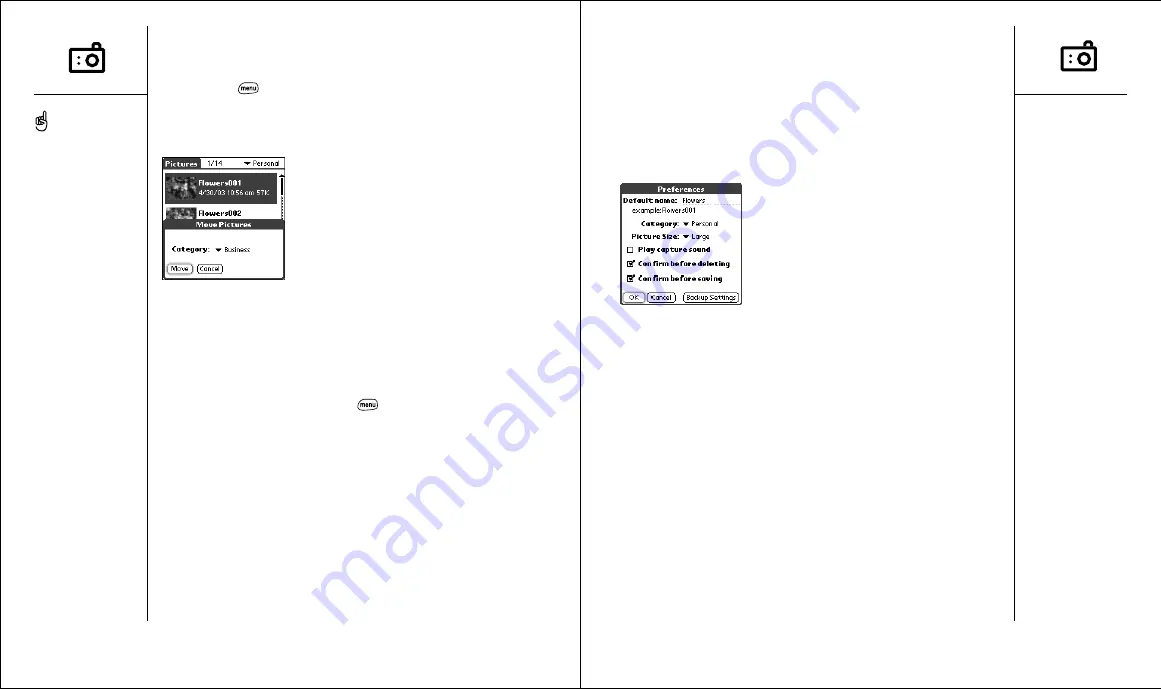
Moving pictures
1. From the Pictures view, choose the picture you want to move.
2. Press Menu
.
3. From the Picture menu, choose Move (/M).
4. Choose the category or expansion card where you want to move the picture.
5. Choose Move to finish.
Deleting a picture
1. From the Pictures view, choose the picture you want to delete.
2. Choose Delete.
3. If prompted, choose OK to confirm deletion.
Customizing your Camera settings
1. From any Camera view, press Menu
.
2. From the Options menu, choose Preferences.
3. Set any of the following preferences:
• Default name:
Names a series of pictures to be captured, such as
Seattle001, Seattle002, etc.
• Category:
The default category for newly captured pictures.
• Picture size:
The default size for newly captured pictures. Large is
640 x 480 pixels, small is 120 x 160 pixels.
62 ::
Taking pictures with the camera
You can rename a picture.
From the Picture menu,
choose Edit Name.
Move or copy a picture to
your SD card. Select a
picture, then press Menu.
From the Picture menu,
choose Move, then choose
your SD card from the
pick list. See page 105 for
more information on using
expansion cards.


