8-2
Transferring Screen Data through the PLC
8-2-1 Overview
8-2
Transferring Screen Data through the PLC
8-2-1 Overview
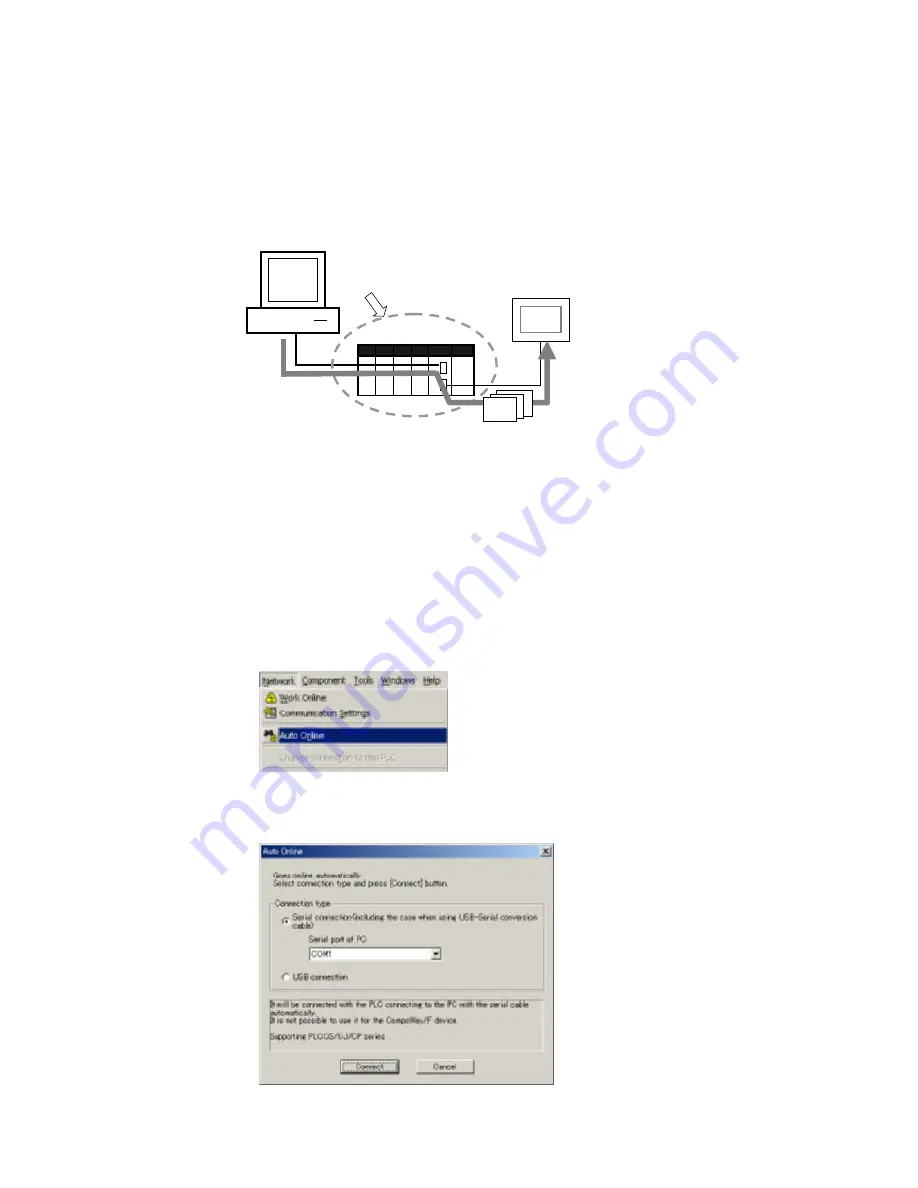
The CX-Designer can be started from an NS-series PT in the Network Configuration
Window and created screen data can be transferred through a CS/CJ-series PLC (see
note) to a serially connected NT-series PT.
Computer
(Start CX-Designer from CX-Integrator.)
CS/CJ-series PLC
Relay PLC
Transfer screen data.
NS-series PT
Screens
NT Link
(using the RS-232C port)
•
Serial connection
(Toolbus or Host
Link, see note)
•
Network connection
Note: Since the RS-232C port is used by the PT, the peripheral port
must be used to make a direct serial connection to the computer.
Note: In order to transfer screen data through the PLC, the PLC must be a CS/CJ-series PLC
with a CPU lot number of 030201 (manufactured February 1, 2003) or later. In addition,
the CPU Unit must be a CS1G-H, CS1H-H, CS1D-S, CJ1M, CJ1G-H, or CJ1H-H. (The
screen data cannot be transferred through a CS1D-H).
8-2-2 Procedure
The following example demonstrates how to transfer screen data through the CPU
Unit’s serial port.
1. Select
Network – Work Online
or
Network – Auto Online
from the menu bar.
In this case,
Auto Online
has been selected.
2. The Select Serial Port Dialog Box will be displayed.
Select the desired computer communications port from the pull-down menu and
click the
OK
Button.
8-6
Summary of Contents for CX-INTEGRATOR - V1.1
Page 1: ...OPERATION MANUAL CX Integrator Ver 1 1 SYSMAC CXONE AL C E Cat No W445 E1 02...
Page 2: ...CXONE AL C E CX Integrator Ver 1 1 Operation Manual Revised November 2005...
Page 3: ...iv...
Page 5: ...vi...
Page 13: ...xiv...
Page 120: ...Communications Section 3 Routing Tables This section describes how to set the routing tables 3...
Page 200: ...Communications Section 5 Ethernet This section describes the operations specific to Ethernet 5...
Page 328: ...Appendices A...
Page 336: ......


