Adding the Printer Using Printer configuration
2-3
3
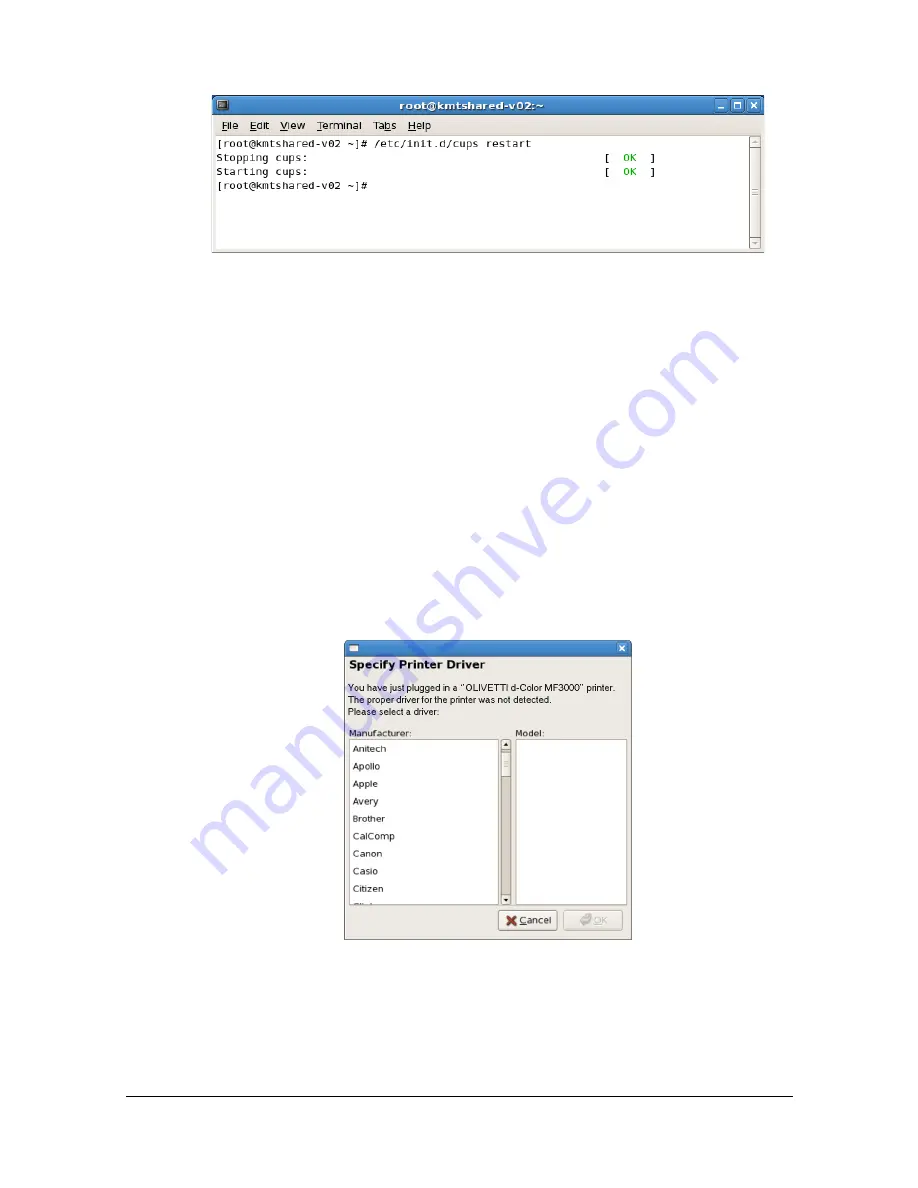
Enter the command “/etc/init.d/cups restart”.
4
Quit Terminal.
Adding the Printer Using Printer
configuration
"
Before proceeding with the installation, be sure to exit all running
applications.
"
Root privileges are required in order to add the printer.
1
Connect the machine to a computer or the network.
- With a USB connection, the following dialog box appears. Click [Cancel]
to close the dialog box.
2
Insert the Printer Driver CD/DVD in the CD/DVD drive of your computer.
Summary of Contents for d-COLORMF3000
Page 1: ...d COLORMF3000 REFERENCE GUIDE Code 560102en GB ...
Page 27: ...Operation on Mac OS X ...
Page 30: ...Installing the Printer Driver 1 4 3 Click Continue 4 Click Continue ...
Page 145: ...Operation on Linux ...
Page 162: ...Printing a Document 2 18 4 Select the name of the printer 5 Click Print to print the document ...
Page 165: ...Operation on NetWare ...
Page 174: ...Printing With NetWare 3 10 ...
Page 175: ...Printer Utilities ...
Page 177: ...Understanding the Ethernet Configuration Menus ...
Page 184: ... Ethernet Admin Settings 5 8 ...
Page 185: ...User authentication and account track ...
Page 226: ...Limiting users of this machine LDAP authentication 6 42 ...
Page 227: ...Network Printing ...
Page 242: ...Network Printing 7 16 7 Click OK 8 Click OK ...
Page 247: ...Network Printing 7 21 11 Click Next 12 Click Finish ...
Page 257: ...Network Printing 7 31 19 Click Finish This completes the installation of the printer driver ...
Page 263: ...Using Web Connection ...
Page 265: ...About Web Connection 8 3 You cannot access Web Connection using a local USB connec tion ...
Page 485: ...Appendix ...


