Océ | Printer Maintenance
5-6
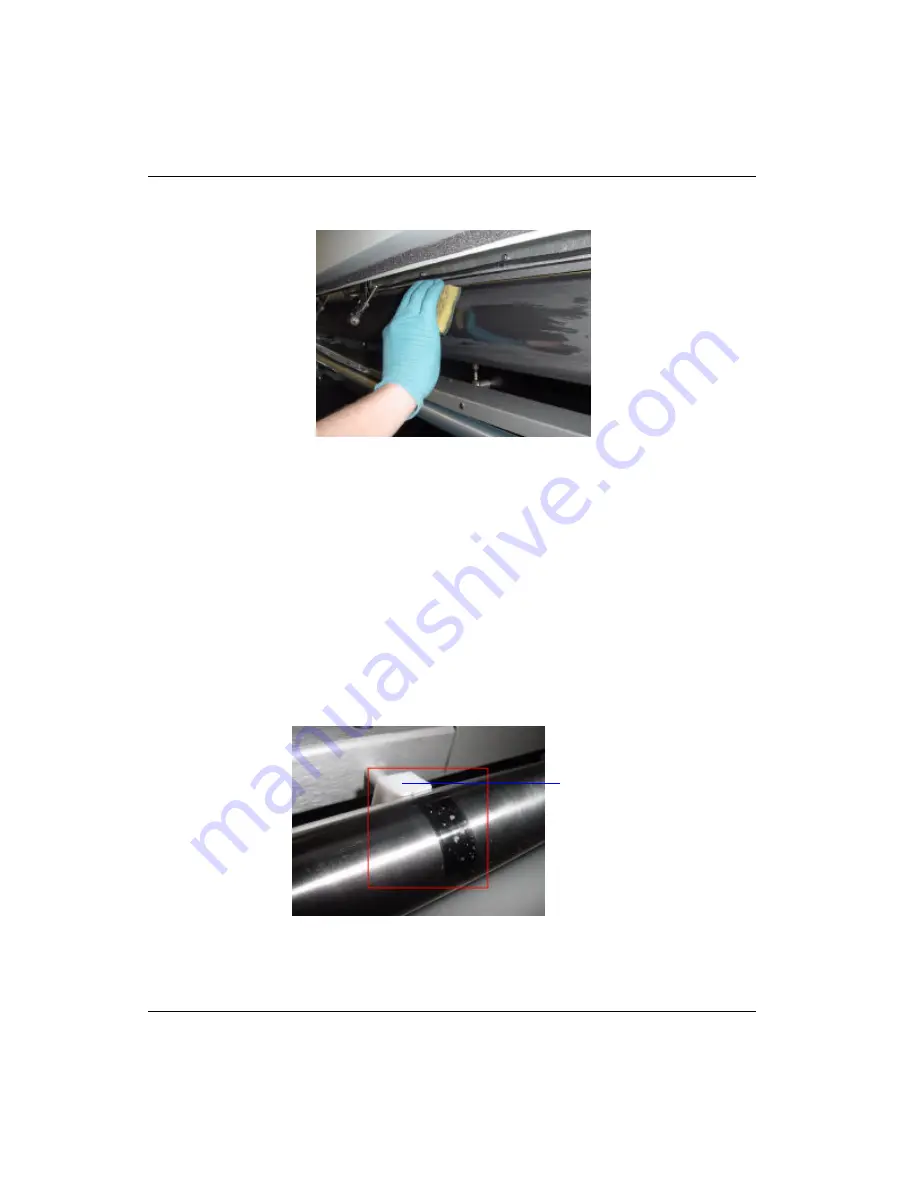
Weekly, the media drive roller should be wiped clean with a sponge/scrubber and 91% or
higher isopropyl alcohol only to remove any accumulated paper dust or residue.
Figure 5-1 Cleaning the Media Drive Roller
Additional Debris Removal
If too much media debris accumulates on the components, it can track back onto the media
and ruin prints. To keep your prints clean and free of debris, routine cleaning should be
done after each media roll change. This is especially important when using medias with
adhesive backing. They have a coated layer that comes off easily and accumulates on various
areas of the printer.
Manually clean the following areas:
•
Take-up and supply dancer and nylon support bearing - use a lint-free cloth
with alcohol to clean debris off the entire dancer bar, especially where it
contacts the nylon support bearing. Gently push back on the white support
and insert the alcohol-saturated cloth to clean the white support surface (see
Figure 5-2).
Figure 5-2 Take-up and Supply Dancer Bar and Nylon Support Bearing
Nylon
Support
Bearing
Summary of Contents for Arizona 500
Page 2: ...Oc Display Graphics Systems 2004 All Rights Reserved...
Page 6: ...Oc vi...
Page 12: ...Oc Table of Contents xii...
Page 26: ...Oc Ink System 2 6...
Page 54: ...Oc Media System 3 28...
Page 88: ...Oc Control Panel 4 34...
Page 106: ...Oc Printer Maintenance 5 18...
Page 114: ...Oc Error Messages and Troubleshooting 6 8...
Page 116: ...Oc A 2 Figure A 1 Copies Reprints Menu...
Page 117: ...7 26 04 A 3 Figure A 2 Print Parameters Menu...
Page 118: ...Oc A 4 Figure A 3 Test Prints Menu...
Page 119: ...7 26 04 A 5 Figure A 4 Maintenance Menu Part 1...
Page 120: ...Oc A 6 Figure A 5 Maintenance Menu Part 2...
Page 121: ...7 26 04 A 7 Figure A 6 Prewarm Menu...
Page 122: ...Oc A 8 Figure A 7 Media Menu...
Page 123: ...7 26 04 A 9 Figure A 8 Ink Menu...
Page 124: ...Oc A 10 Figure A 9 About Printer Menu...
Page 125: ...7 26 04 A 11 Figure A 10 Units Menu...
Page 126: ...Oc A 12 Figure A 11 Set Clock Menu...
Page 127: ...7 26 04 A 13 Figure A 12 Configure I O Menu...
Page 128: ...Oc A 14...
Page 136: ...Oc B 8 The printer is now ready to receive the first print of the day Photo 1...
Page 137: ...7 26 04 B 9 Photo 2 Photo 3...
Page 138: ...Oc B 10 Photo 4 Photo 5...
Page 152: ...Oc C 14...
Page 156: ...Oc Index Index 4...


