Océ | Ink System
2-4
2.
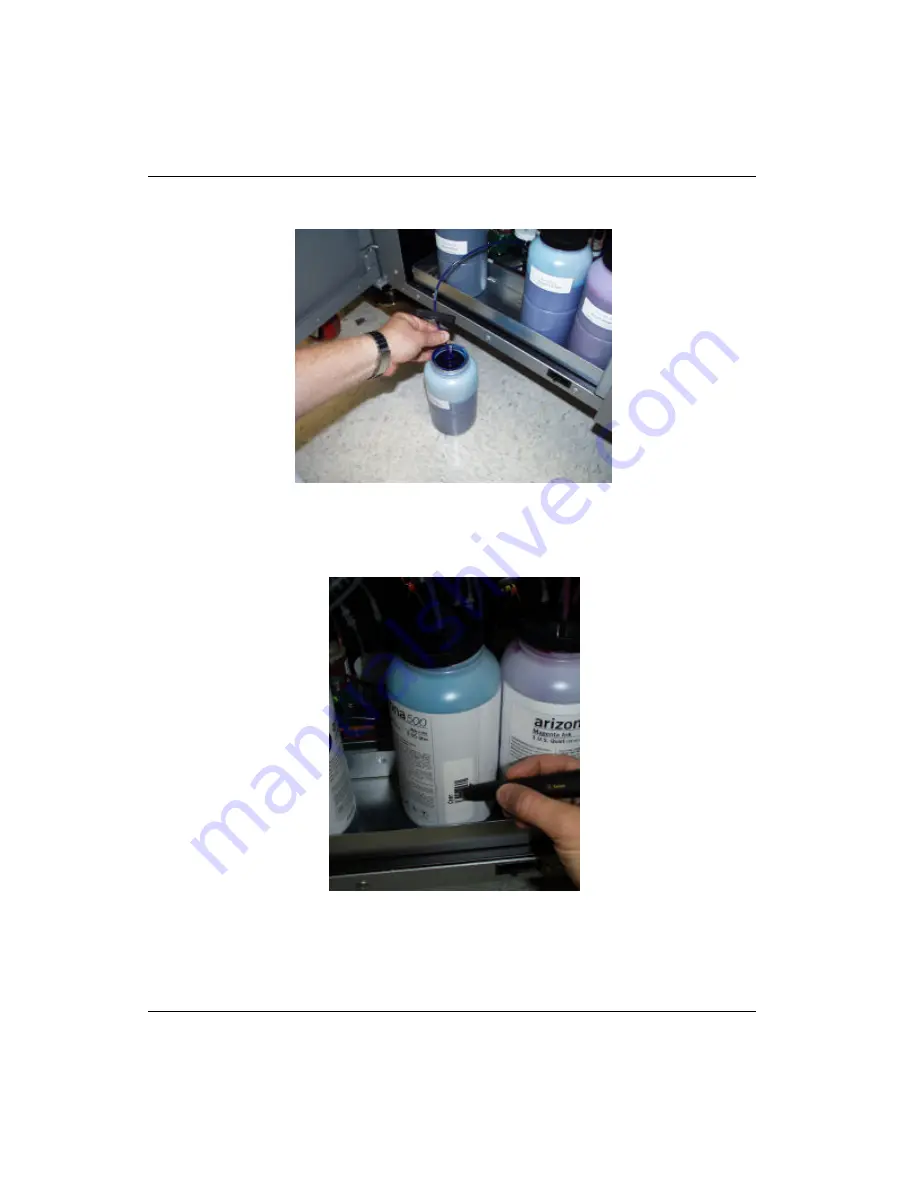
Locate the container on the ink supply tray that requires replacement and remove the
lid and quick coupler (see Figure 2-5)
.
Remove the empty bottle.
Figure 2-5 Supply Ink
3.
The barcode on each bottle must be scanned each time a new bottle of ink is added
to the printer. Scan the ink bottle barcode (see Figure 2-6)
.
Figure 2-6 Scanning the Ink Barcode
4.
Remove the ink bottle cap and protective cover on the new ink supply bottle. Place
it on the ink supply tray and reattach the quick coupler. The bottle cap should be
Summary of Contents for Arizona 500
Page 2: ...Oc Display Graphics Systems 2004 All Rights Reserved...
Page 6: ...Oc vi...
Page 12: ...Oc Table of Contents xii...
Page 26: ...Oc Ink System 2 6...
Page 54: ...Oc Media System 3 28...
Page 88: ...Oc Control Panel 4 34...
Page 106: ...Oc Printer Maintenance 5 18...
Page 114: ...Oc Error Messages and Troubleshooting 6 8...
Page 116: ...Oc A 2 Figure A 1 Copies Reprints Menu...
Page 117: ...7 26 04 A 3 Figure A 2 Print Parameters Menu...
Page 118: ...Oc A 4 Figure A 3 Test Prints Menu...
Page 119: ...7 26 04 A 5 Figure A 4 Maintenance Menu Part 1...
Page 120: ...Oc A 6 Figure A 5 Maintenance Menu Part 2...
Page 121: ...7 26 04 A 7 Figure A 6 Prewarm Menu...
Page 122: ...Oc A 8 Figure A 7 Media Menu...
Page 123: ...7 26 04 A 9 Figure A 8 Ink Menu...
Page 124: ...Oc A 10 Figure A 9 About Printer Menu...
Page 125: ...7 26 04 A 11 Figure A 10 Units Menu...
Page 126: ...Oc A 12 Figure A 11 Set Clock Menu...
Page 127: ...7 26 04 A 13 Figure A 12 Configure I O Menu...
Page 128: ...Oc A 14...
Page 136: ...Oc B 8 The printer is now ready to receive the first print of the day Photo 1...
Page 137: ...7 26 04 B 9 Photo 2 Photo 3...
Page 138: ...Oc B 10 Photo 4 Photo 5...
Page 152: ...Oc C 14...
Page 156: ...Oc Index Index 4...


