Print & Go Media Installation
7/26/04
3-17
6.
From the front of the printer, push/pull the media towards the drive roller, making sure
it passes between the drying duct and the drive roller (see Figure 3-9). Use the +/-
buttons to add more or less media during installation.
7.
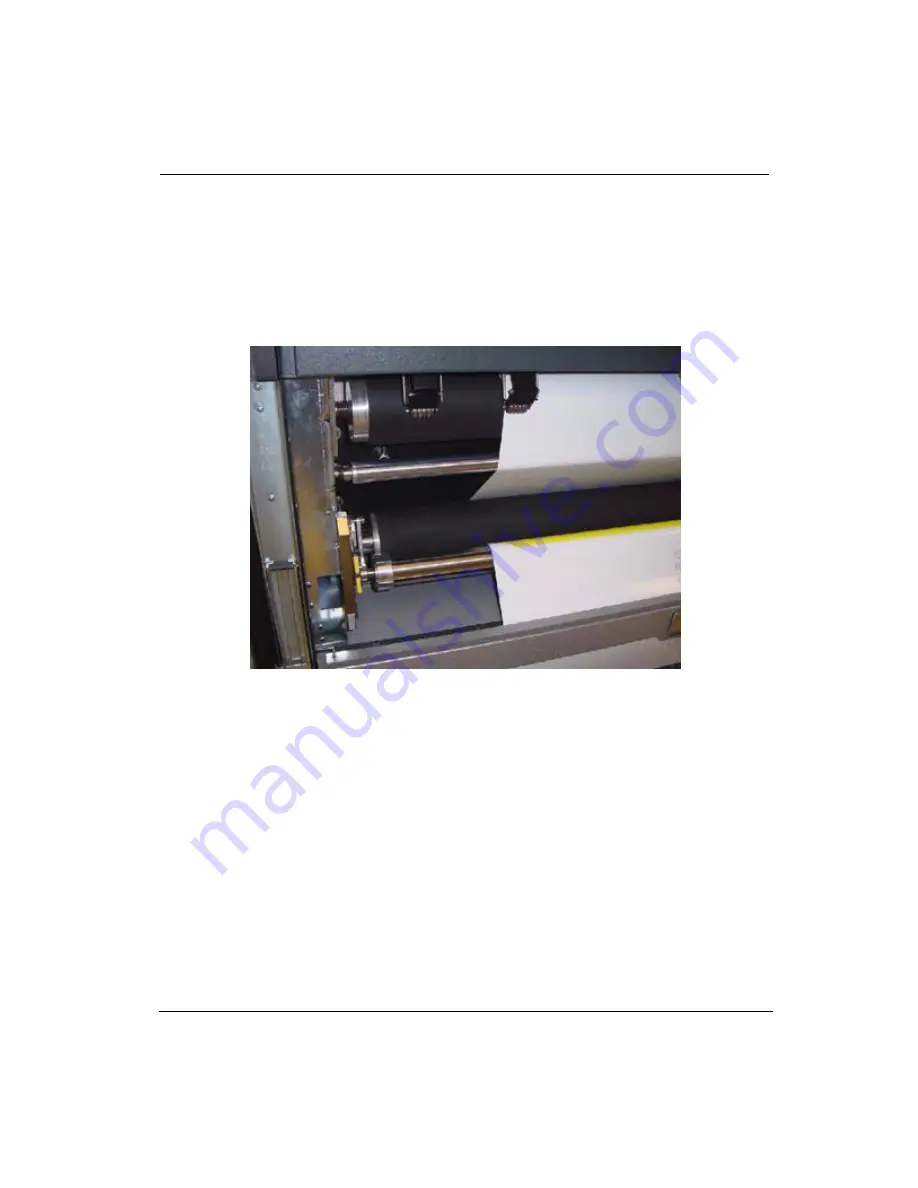
Route the media under the dancer arm, around the bottom of the rubber feed roller,
and out over the top of the pinch roller assembly by lifting the metal roller
(see Figure 3-14). Before proceeding to step 8, walk behind the machine and verify
that the left edge of the media is straight and that no coning or sliding has occurred.
The left edge of the supply media roll should be straight.
Figure 3-14 Media Routing
Summary of Contents for Arizona 500
Page 2: ...Oc Display Graphics Systems 2004 All Rights Reserved...
Page 6: ...Oc vi...
Page 12: ...Oc Table of Contents xii...
Page 26: ...Oc Ink System 2 6...
Page 54: ...Oc Media System 3 28...
Page 88: ...Oc Control Panel 4 34...
Page 106: ...Oc Printer Maintenance 5 18...
Page 114: ...Oc Error Messages and Troubleshooting 6 8...
Page 116: ...Oc A 2 Figure A 1 Copies Reprints Menu...
Page 117: ...7 26 04 A 3 Figure A 2 Print Parameters Menu...
Page 118: ...Oc A 4 Figure A 3 Test Prints Menu...
Page 119: ...7 26 04 A 5 Figure A 4 Maintenance Menu Part 1...
Page 120: ...Oc A 6 Figure A 5 Maintenance Menu Part 2...
Page 121: ...7 26 04 A 7 Figure A 6 Prewarm Menu...
Page 122: ...Oc A 8 Figure A 7 Media Menu...
Page 123: ...7 26 04 A 9 Figure A 8 Ink Menu...
Page 124: ...Oc A 10 Figure A 9 About Printer Menu...
Page 125: ...7 26 04 A 11 Figure A 10 Units Menu...
Page 126: ...Oc A 12 Figure A 11 Set Clock Menu...
Page 127: ...7 26 04 A 13 Figure A 12 Configure I O Menu...
Page 128: ...Oc A 14...
Page 136: ...Oc B 8 The printer is now ready to receive the first print of the day Photo 1...
Page 137: ...7 26 04 B 9 Photo 2 Photo 3...
Page 138: ...Oc B 10 Photo 4 Photo 5...
Page 152: ...Oc C 14...
Page 156: ...Oc Index Index 4...


