Printer Filters
7/26/04
5-15
5.7
Printer Filters
Filter type, part number, and dimensions are documented on labels near the filter locations.
Replacement filters are available for purchase from Océ Display Graphics Systems. Contact
an Océ Display Graphics Systems supplies representative if you have any questions or for
more information on these filter types and service life.
5.7.1
Purolator Hi-40 Filters
System Filters
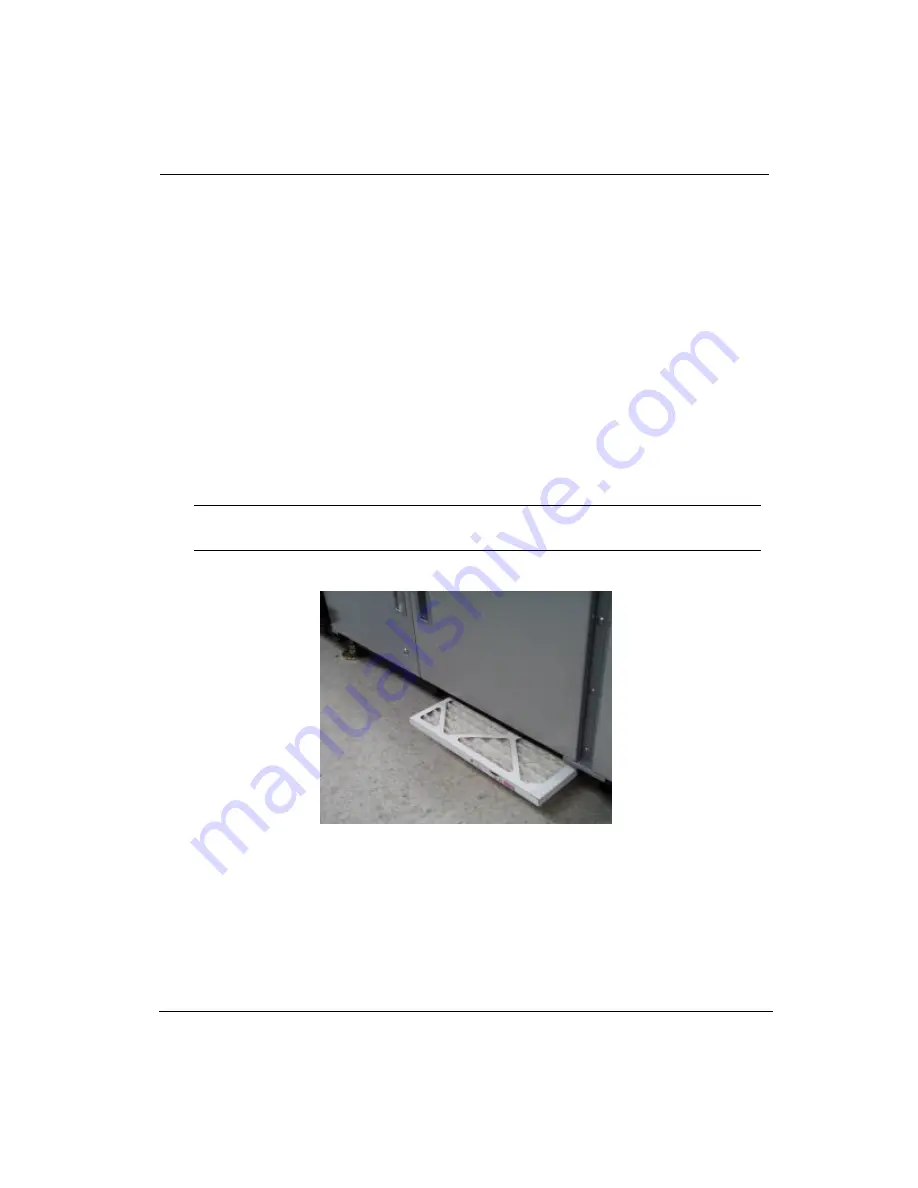
Four air system filters are required on the Arizona 500 printer. Each filter should be
inspected every two months. The filter should be replaced when the filter fabric begins to
discolor from the original condition or once every twelve months, whichever comes first.
They are located at the rear of the printer just below the electronic bay doors
.
The air system
filter (Dim: 9 1/2 in. x 16 1/2 in. x 1 in.) replacement is OIN #3011570041. These filters
easily slide in/out from underneath the printer (see Figure 5-15).
Figure 5-15 Purolator Hi-40 System Filters
Note:
An airflow direction arrow is printed on the side of the filter. The arrow should
be pointing up when installed because the air is being drawn up into the printer.
Summary of Contents for Arizona 500
Page 2: ...Oc Display Graphics Systems 2004 All Rights Reserved...
Page 6: ...Oc vi...
Page 12: ...Oc Table of Contents xii...
Page 26: ...Oc Ink System 2 6...
Page 54: ...Oc Media System 3 28...
Page 88: ...Oc Control Panel 4 34...
Page 106: ...Oc Printer Maintenance 5 18...
Page 114: ...Oc Error Messages and Troubleshooting 6 8...
Page 116: ...Oc A 2 Figure A 1 Copies Reprints Menu...
Page 117: ...7 26 04 A 3 Figure A 2 Print Parameters Menu...
Page 118: ...Oc A 4 Figure A 3 Test Prints Menu...
Page 119: ...7 26 04 A 5 Figure A 4 Maintenance Menu Part 1...
Page 120: ...Oc A 6 Figure A 5 Maintenance Menu Part 2...
Page 121: ...7 26 04 A 7 Figure A 6 Prewarm Menu...
Page 122: ...Oc A 8 Figure A 7 Media Menu...
Page 123: ...7 26 04 A 9 Figure A 8 Ink Menu...
Page 124: ...Oc A 10 Figure A 9 About Printer Menu...
Page 125: ...7 26 04 A 11 Figure A 10 Units Menu...
Page 126: ...Oc A 12 Figure A 11 Set Clock Menu...
Page 127: ...7 26 04 A 13 Figure A 12 Configure I O Menu...
Page 128: ...Oc A 14...
Page 136: ...Oc B 8 The printer is now ready to receive the first print of the day Photo 1...
Page 137: ...7 26 04 B 9 Photo 2 Photo 3...
Page 138: ...Oc B 10 Photo 4 Photo 5...
Page 152: ...Oc C 14...
Page 156: ...Oc Index Index 4...


