CS9350 OPERATION MANUAL
4-74
Step 6:
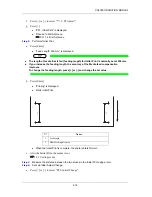
Measure the distance between the two pluses in the Confirm Print using a ruler. Then, confirm
that the distance matches the feeding length when printing.
a. If the distance does not match the feeding length, follow the procedure from Step 1 to Step 5 and
readjust.
b. If the distance matches the feeding length, proceed to step 7.
Step 7:
Perform Micro Print.
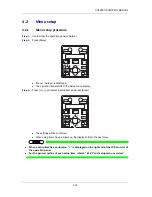
a. Display the Dist.Adj menu in the same way as in step 1.
b. Press [+] or [–] to select “PF4: Micro Print”.
c. Press [Enter].
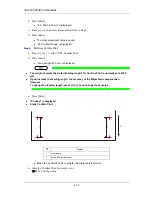
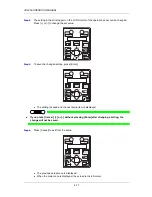
“Warming Up” and “Skip ->ENTER” are repeatedly displayed.
d. Wait till warming up process is complete, or press [Enter] to shift to the next operation.
“Printing” is displayed.
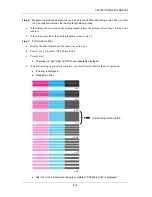
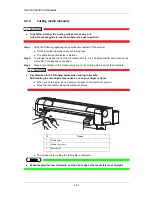
Starts Micro Print.
After the micro adjustment printing is completed, “PF4:Micro Print” is displayed.
-
0.1
-
0.05
+
0.1
+
0.2
0
+
0.05
-
0.2
Current adjustment value
Summary of Contents for CS9360
Page 1: ...Oc CS9360 Eco Solvent Operation Instructions AP 40802_1 0...
Page 2: ......
Page 4: ...Operation Instructions CS9360 4 AP 40802 Revision 1 0...
Page 8: ...Operation Instructions CS9350 8 AP 40802 Revision 1 0...
Page 15: ...CS9350 OPERATION MANUAL 1 15 2 Rear N Types of warning labels 1 2 2...
Page 64: ...CS9350 OPERATION MANUAL 3 64...
Page 96: ...CS9350 OPERATION MANUAL 4 96...
Page 97: ...97 Chapter 5 Menu overview...


