CS9350 OPERATION MANUAL
3-46
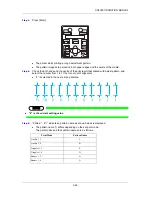
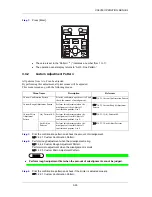
Step 3:
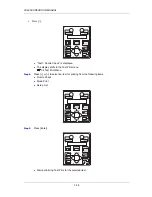
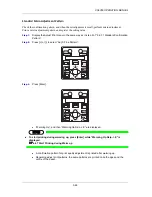
Press [Enter].
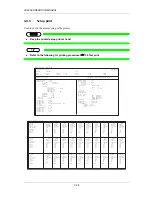
The printer starts printing a rough adjustment pattern.
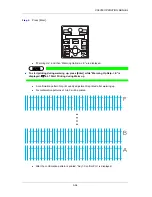
The pattern images are printed on both paper edges and the centre of the media.
Step 4:
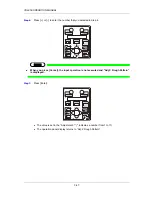
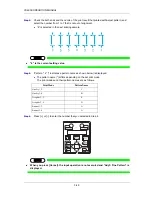
Check the both ends and the centre of the print result that printed with Adjust pattern, and
select the number from 1 to 11 that is not out of alignment.
“4” is selected in the next printing sample.
NOTE
“6” is the current setting value.
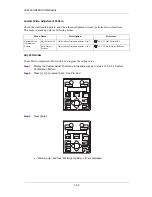
Step 5:
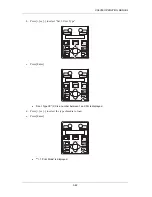
“Pattern *: 6" (* indicates a pattern name as shown below) is displayed.
The pattern name (*) differs depending on the set print mode.
The print modes and their pattern names are as follows.
PrintMode
PatternName
Quality 1, 2
C
Quality 3, 4
B
Graphics 1, 2
E
Graphics 3, 4
D
Banner 1, 2
A
Banner 3, 4
A
Summary of Contents for CS9360
Page 1: ...Oc CS9360 Eco Solvent Operation Instructions AP 40802_1 0...
Page 2: ......
Page 4: ...Operation Instructions CS9360 4 AP 40802 Revision 1 0...
Page 8: ...Operation Instructions CS9350 8 AP 40802 Revision 1 0...
Page 15: ...CS9350 OPERATION MANUAL 1 15 2 Rear N Types of warning labels 1 2 2...
Page 64: ...CS9350 OPERATION MANUAL 3 64...
Page 96: ...CS9350 OPERATION MANUAL 4 96...
Page 97: ...97 Chapter 5 Menu overview...


