48
••••••••••••••••••••••••••••••••••••••••••••••••••••••••••••••••••••••••••••••••••••••••••••••••••••••••••••••••••••••••••••••••••••••••••••••••••••••••••
Information/Audio
User Menu
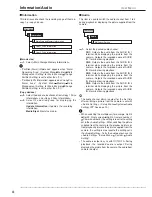
Audio
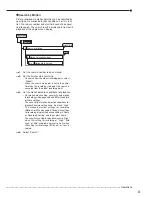
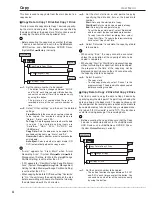
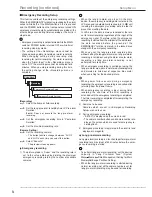
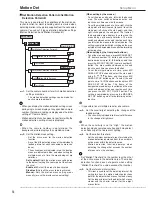
This item is used to switch the audio channel from 1 to 4
during playback or displaying the picture supplied from the
camera.
User Menu
Audio
4
Multiplexer Setting
1
step
1.
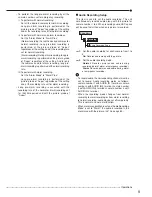
Select the desired audio channel.
CH1:
Outputs the audio from the AUDIO IN 1
terminal while displaying the picture from the
camera. Outputs the recorded audio of AUDIO
IN 1 terminal during playback.
CH2:
Outputs the audio from the AUDIO IN 2
terminal while displaying the picture from the
camera. Outputs the recorded audio of AUDIO
IN 2 terminal during playback.
CH3:
Outputs the audio from the AUDIO IN 3
terminal while displaying the picture from the
camera. Outputs the recorded audio of AUDIO
IN 3 terminal during playback.
CH4:
Outputs the audio from the AUDIO IN 4
terminal while displaying the picture from the
camera. Outputs the recorded audio of AUDIO
IN 4 terminal during playback.
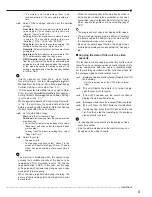
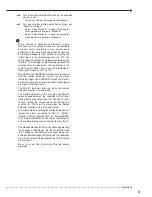
• The audio channel which is output for the first time
after switching a picture from the camera is set with
<Audio Setting> (Setup Menu System Audio
Setting). (
See page 70.)
• When switching the multiplexer (for example, Split 4
Split 9, Single screen Split 4, Camera number 1
Camera number 5), the setting is reset to the setting
set in the <Audio Setting>. When switching the picture
supplied from the camera to the playback picture, or
from playback picture to the picture supplied from the
camera, the setting is also reset to the setting set in
the <Audio Setting>. To fix the audio output, use the
<Audio Setting> (Setup Menu System Audio
Setting).
• The audio is output in sync with OUTPUT A. During
playback, the recorded audio is output. During
displaying the picture from the camera, the audio from
camera is output.
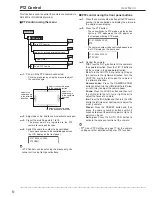
Information
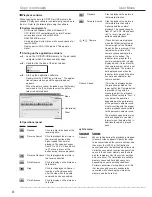
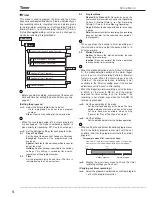
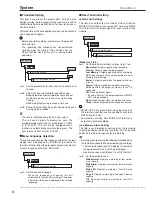
This item is used to check the recording range of the main,
copy 1, or copy 2 device.
Main Storage Memory Information
Copy 1 Drive Information
Copy 2 Drive Information
User Menu
Information
3
1
2
3
(Main device)
step
1.
Select <Main Storage Memory Information>.
• “Partition (Alarm) Information” appears when “Alarm
Recording Area” (System Menu Memory Data
Management Setting for Main Memory Change
Partition Setting) is set to other than “0 %.”
• “Partition (LPA) Information” appears when “Long Pre-
Alarm Area” (System Menu Memory Data
Management Setting for Main Memory Change
Partition Setting) is set to other than “0 %.”
(Copy devices)
step
2.
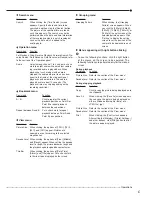
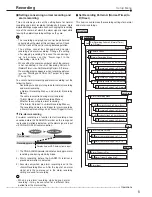
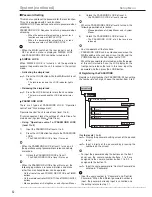
Select the device to be checked from <Copy 1 Drive
Information> and <Copy 2 Drive Information>.
step
3.
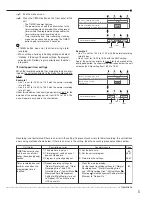
Select the desired group for displaying the
information.
Update Information:
Updates the recording
information.
Media Eject:
Ejects the media.
Summary of Contents for 16CH DIGITAL RECORDER DX-TL5000U
Page 143: ...872C355B2 PRINTED IN MALAYSIA ...

