21
•••••••••••••••••••••••••••••••••••••••••••••••••••••••••••••••••••••••••••••••••••••••••••••••••••••••••••••••••••••••••••••••••• Connections
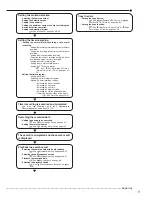
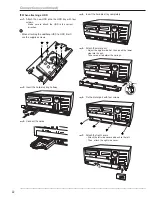
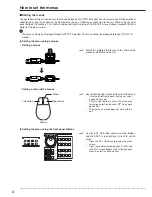
When removing a HDD
step
1.
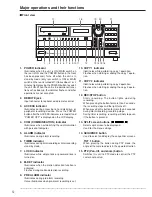
Push the left end of each screw covers on both sides
of the cover to open.
• Do not leave the screw cover open for general use.
step
2.
Remove the screws.
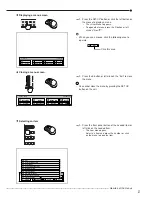
step
3.
Remove the front covers.
• Remove the cover on the right side first.
• Then, push the left side cover to the right to
remove.
step
4.
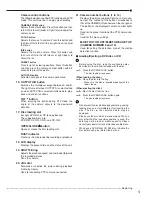
Remove the metal part.
• Remove 4 screws on the metal part.
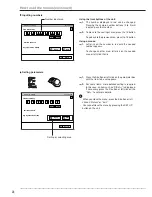
step
5.
Pull out the HDD tray halfway.
HDD A
HDD B
HDD C
step
6.
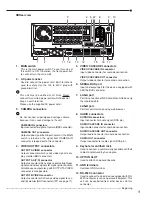
Disconnect the cables.
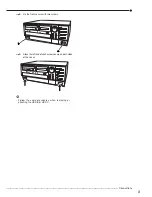
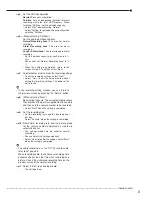
step
7.
Remove the HDD tray.
• Pull out the HDD tray completely.
step
8.
Remove the HDD.
• Remove 4 screws which are used to fix the HDD
and its frame.
Summary of Contents for 16CH DIGITAL RECORDER DX-TL5000U
Page 143: ...872C355B2 PRINTED IN MALAYSIA ...

