4* #
'#%
(*2&) *
8
Place the envelope stack into the cassette with the printing-side up.
»
Note:
Check your application documentation to determine if the flap should be
placed on the left or on the right. You can also print a single envelope to check the
orientation before printing multiple copies.
9
Slide the media cassette back into the printer.
The media cassette must be located in the upper input feeder position.
10 Open the flap of each envelope immediately (before it cools) after the enve-
lope is delivered to the output tray.
»
Note:
Because the envelopes pass through heated rollers, the gummed area
on the flaps may seal. Using envelopes with emulsion-based glue avoids this
problem.
"$
$"%&
1
In the printer driver (Paper tab, Media Type option), select Thick Stock.
2
On the control panel, press the Media key to select printing on thick stock.
3
Remove the media cassette from the printer (and remove any media in the
cassette).
Formatting
Format the information to be printed on the glossy (book) stock within your
application. Try printing your data on a plain sheet of paper first to check
placement.
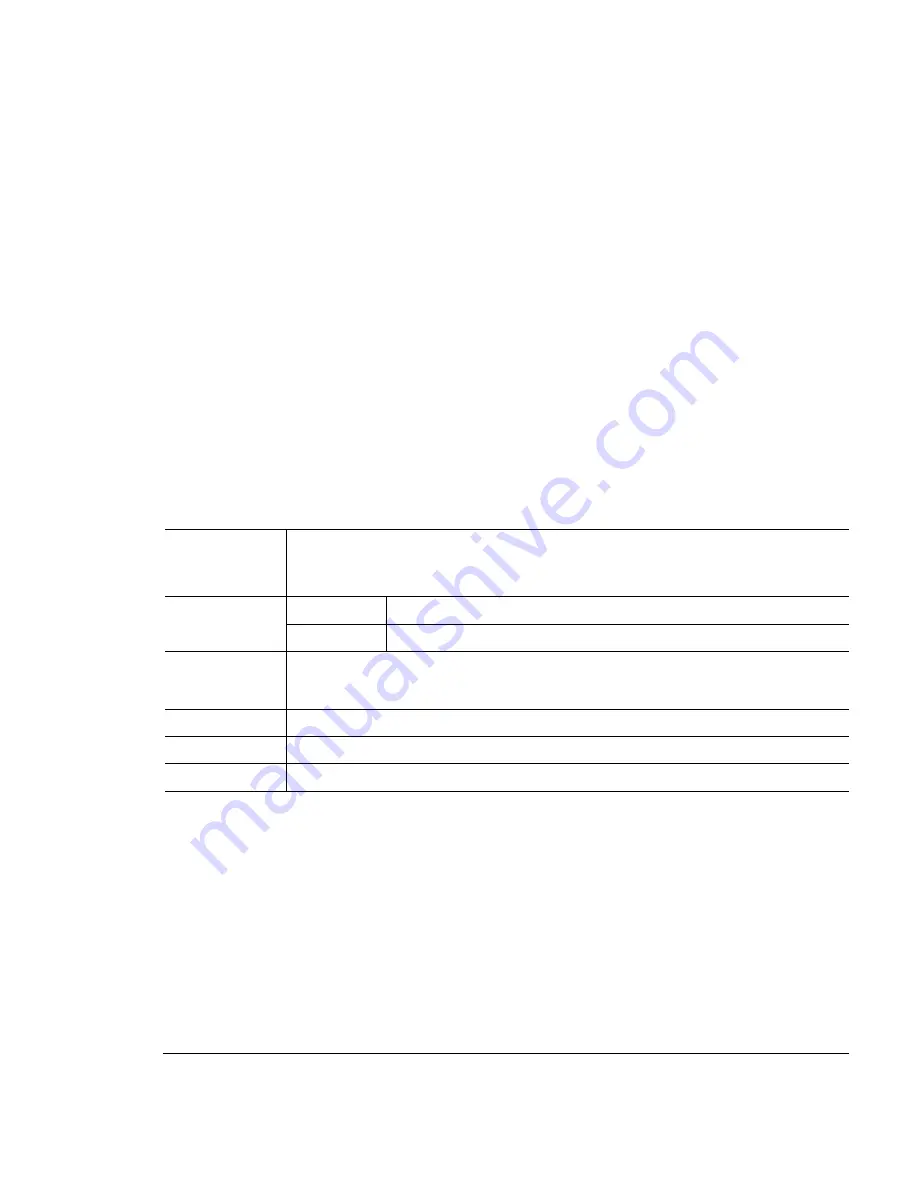
Input
Cassette
Letter/A4 or universal
Capacity
Up to 50 sheets, depending on the thickness of the media
Type
We recommend
– Warren Spectratech Coated Lustro Laser Gloss
Weight
80 lb book (118 g/m²)
Media Type
Thick Stock
Print Mode
Thick Stock
Summary of Contents for MAGICOLOR 2 PLUS
Page 1: ......
Page 12: ......
Page 25: ......
Page 26: ......
Page 27: ...4adupbk eps...
Page 130: ......
Page 164: ......
Page 220: ......
Page 221: ...Sources of Support on page A 2 QMS World wide Offices on page A 4...


