#
% - &%
2)
4
Select the Manual Proxy Configuration radio button and press the View...
button.
5
In the No Proxy For: text box, type a comma after the last entry, and then
type the printer name or the IP address of your QMS
magicolor 2+.
6
Choose OK twice.
7
Enter the printer name or IP address in the Location: URL address box to
access the printer home page.
1
Start your web browser.
2
Access the View menu and choose Options.
3
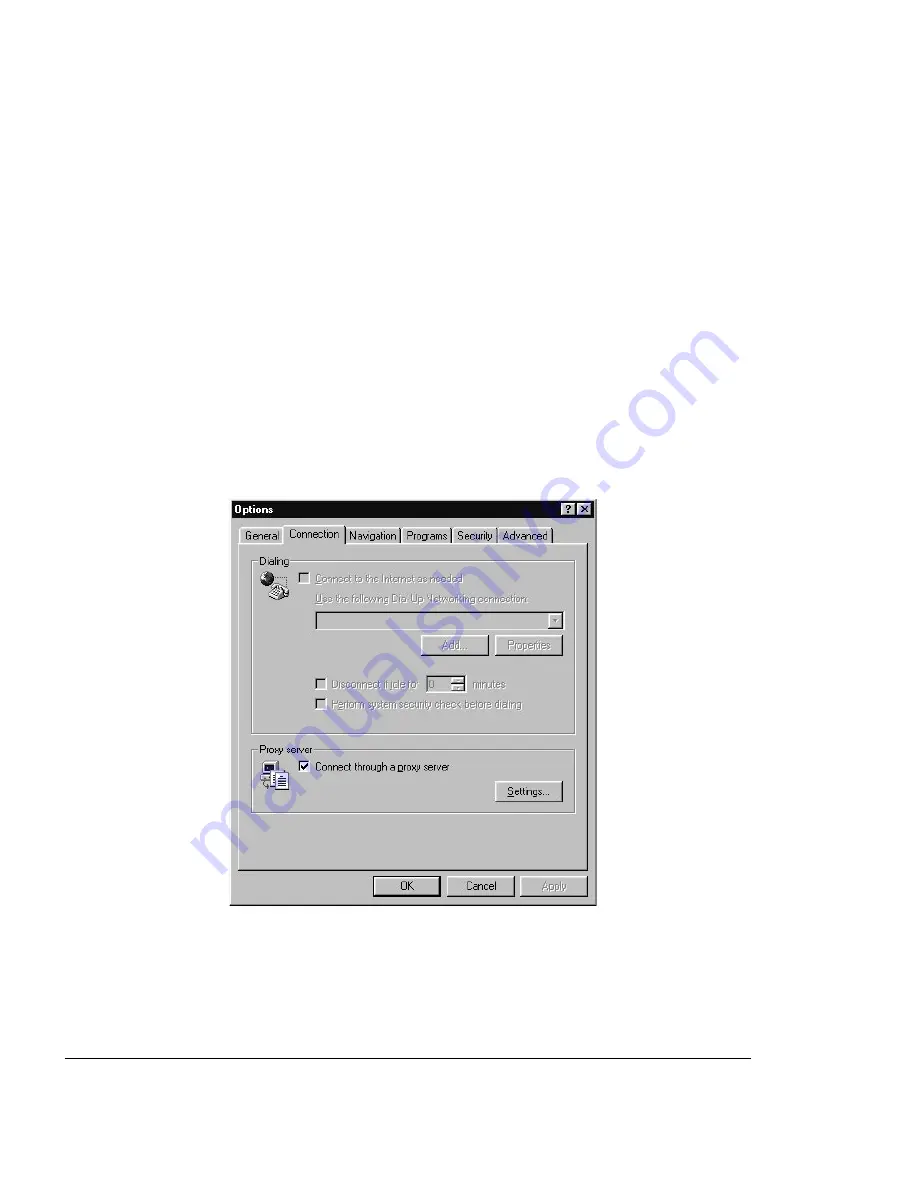
Select the Connection tab on the dialog box.
4
Click the Settings button to display the Proxy Settings dialog box.
Summary of Contents for MAGICOLOR 2 PLUS
Page 1: ......
Page 12: ......
Page 25: ......
Page 26: ......
Page 27: ...4adupbk eps...
Page 130: ......
Page 164: ......
Page 220: ......
Page 221: ...Sources of Support on page A 2 QMS World wide Offices on page A 4...


