Patient Setup
Operation
3 - 6
Accutorr V Operating Instructions
3.5
Patient Setup
3.5.1
Entering Patient Information
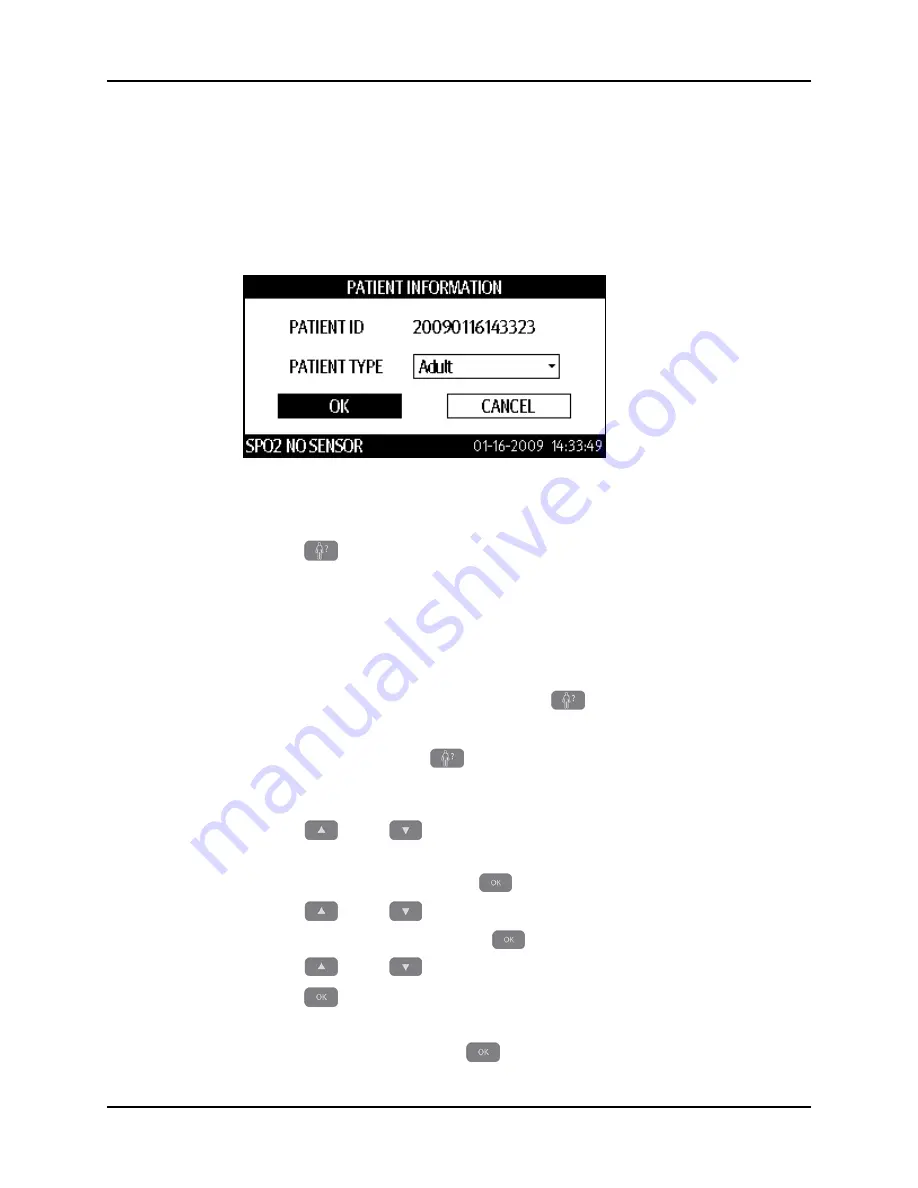
Patient information in the Accutorr V monitor consists of the PATIENT ID and the PATIENT
TYPE as shown in FIGURE 3-4.
FIGURE 3-4
Example PATIENT INFORMATION Dialog
To enter patient information:
1.
Press
(9) to display the PATIENT INFORMATION dialog.
2.
Scan the patient ID barcode to enter the PATIENT ID.
NOTE:
After connecting the barcode scanner to the Accutorr V,
follow the steps in Section 3.16.1 to turn BARCODE POWER
on.
NOTE:
Each time the monitor is turned on, it generates a new
PATIENT ID. If Quick Admit is on and
(9) is pressed, the
monitor generates a new PATIENT ID. Scanning the patient
ID barcode replaces the generated PATIENT ID. If Quick
Admit is off and
(9) is pressed, the monitor does not
generate a new PATIENT ID. To turn Quick Admit on or off,
see Section 3.5.1.1.
3.
Press
(19) to select the PATIENT TYPE (patient size) field. See
Section 3.5.2 to select a patient size without using the PATIENT INFORMATION dialog.
4.
Once the field is highlighted, press
(18) to select it.
5.
Press
(19) to select the PATIENT TYPE (patient size).
6.
Once the choice is highlighted, press
(18) to select it.
7.
Press
8.
Press
(18) to return to the Trend display mode.
• The patient size indicator (21) displays the new patient size.
• Select CANCEL and then press
(18) to cancel the patient type change.


