User Guide
Leviton MLC 16D Motorized Lighting Controller
Page 25 of 62
62
look into their own Selective Traits scene. During setup at a new venue,
re-record the new pan and tilt positions into the existing scenes and they
will update into your current patterns and shows. You can also record
these new positions as new Selective Trait scenes, allowing you to edit
them into your pattern scene steps without deleting the old positions.
Recording Patterns
There are two ways to record patterns; from previously recorded scenes, or using
manual (live) control of fixtures or groups.
Recording Patterns Using Scenes
To record a pattern from previously recorded scenes:
1
Press the
Record
button.
The LED on the button lights, and you enter Record mode.
2
Press
F2
, above
Pattern
.
3
Turn Modify wheel 1 to select the pattern number.
4
Turn Modify wheel 4 to select the recording mode,
Select
or
All
traits.
Note:
In general, use the same record mode that you have used to record
scenes. The same principles apply from Recording Scenes.
5
Press
F4
, above
Traits
.
Note:
If the pattern has been previously recorded, the display prompts
whether or not to delete the programming. If you select
Yes
or if there is
no previous programming, the LCD display prompts for the fade, hold,
and delay times of the first step.
6
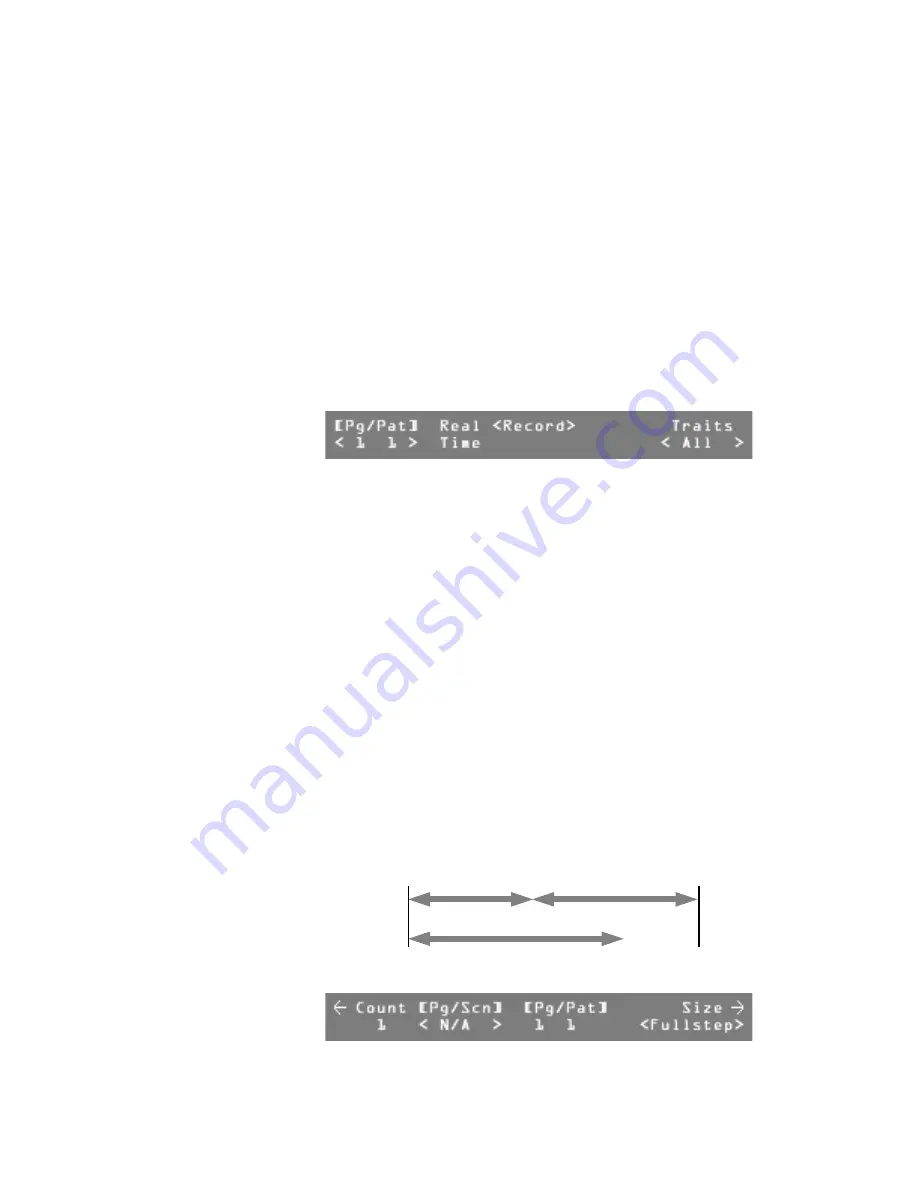
Turn Modify wheels 1, 2, and 3 to modify the fade, hold, and delay times
for this pattern step.
Note:
Fade time is the time in which the continuous channels fade from
their current positions to the positions of this step. Hold time is the time
that the faded channels hold their positions after the fade is complete.
After the hold time has timed out, the next step of the pattern will
execute. If the hold time has been set to Manual, the LED above the
Go
button will begin to flash. The pattern will wait on this step until the
Go
button is pressed. The delay time starts at the beginning of the step and
determines when continuous channels will change. This allows you to
delay such things as color wheel movements until later in the step rather
than right at the beginning.
7
Press either of the
More
buttons.
Start of
pattern step
End of step,
Start of next step
Fade time
Hold time
Delay time


