User Guide
Page 8 of 62
Leviton MLC 16D Motorized Lighting Controller
62
To enter the 4-digit lock code:
1
Turn Modify wheel 2 to move the cursor.
2
Turn Modify wheel 3 to change the character.
Once you have entered the lock code, the lock is released, and the menus
and/or functions are immediately available.
Assigning Fixtures
The first time you use the MLC 16D, you must assign fixture personalities to the
Select
buttons corresponding to the fixtures you are using.
To assign a fixture from the Device Definition Library (DDL):
1
Press
Edit
.
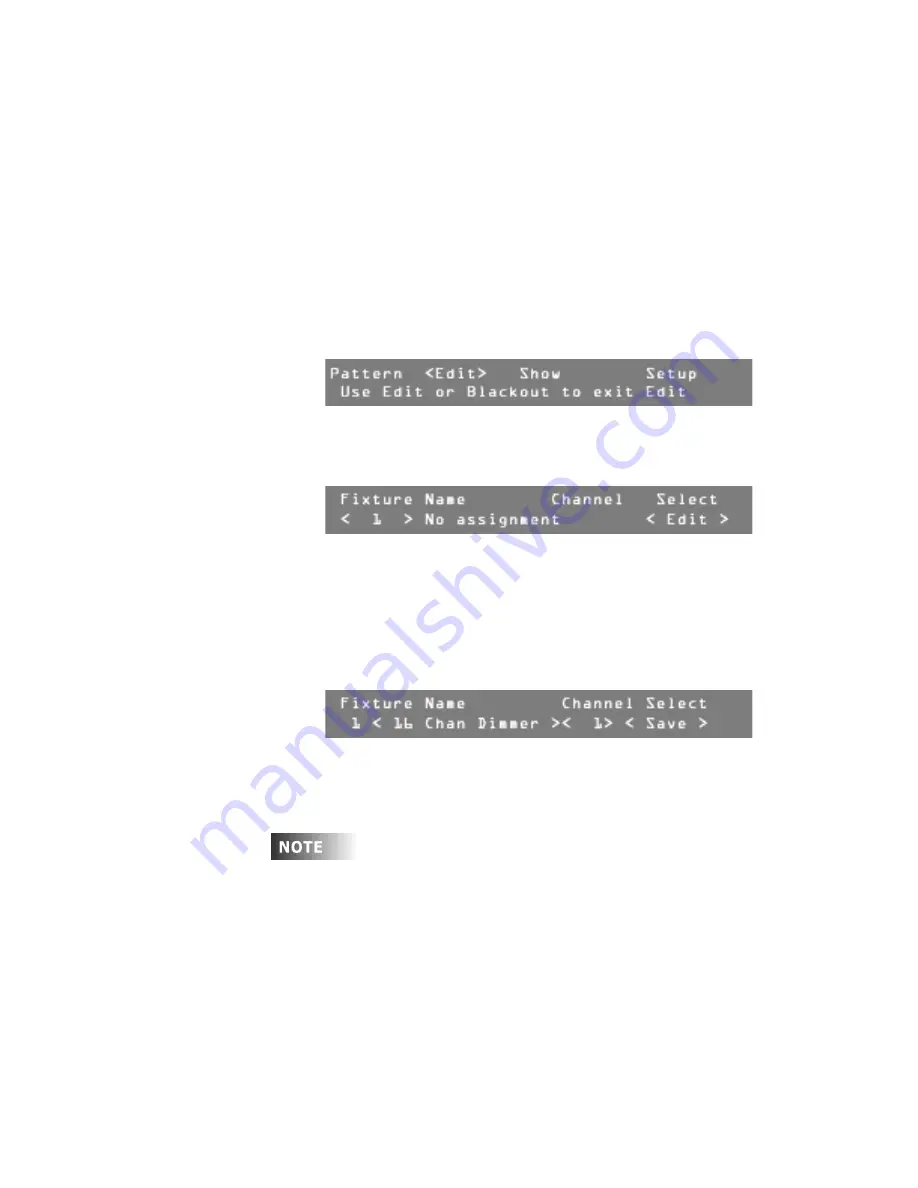
The LCD display shows a menu of Edit commands.
2
Press
F4
, above
Setup
.
3
Press
F2
, above
Fixture
.
4
Press
F3
, above
Assign
.
5
Turn the Modify wheel 1 to select the fixture location number.
6
Press
F4
, above Select
<Edit>
.
7
Turn Modify wheel 2 to select the fixture type.
Note:
If the fixture you want to control is not in the onboard library, try to
find it in the Device Definition Library (DDL) included with the console
(see .6). If the definition is not on the DDL disk, see www.nsicorp.com.
8
Turn Modify wheel 3 to select the control channel number.
9
Press
F4
, above
Select <Save>
, to save the assignment.
The fixture has been assigned.
10
When you have made all the necessary assignments, press
Edit
or
Blackout
to exit Edit mode.
A
Fixture Overlap Error!
message means that control channels
overlap, or two fixtures are on the same channel, which will cause
unexpected behavior. If this happens, calculate what the next available
channel is, by adding the number of channels the previous fixture uses to
its starting channel. This will be the next available channel for assigning a
fixture. Remember to change the starting channel on the fixture also.
To gain live control over a new fixture and verify the assignment, press the
Fixture
Select
button corresponding to the location where you assigned the
fixture. The LCD should show four of the fixture's traits or attributes. You can also
press and hold the
Fixture
Select
button to view the fixture name.


