2. If you want to install a 3.5-inch HDD under the slim-optical-drive bracket, remove the slim-optical-drive
bracket first. See “Removing the slim-optical-drive bracket” on page 70.
3. Remove the old 3.5-inch HDD in your server. See “Removing a 2.5-inch hard disk drive” on page 72.
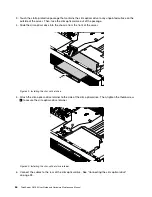
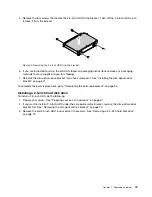
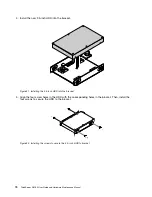
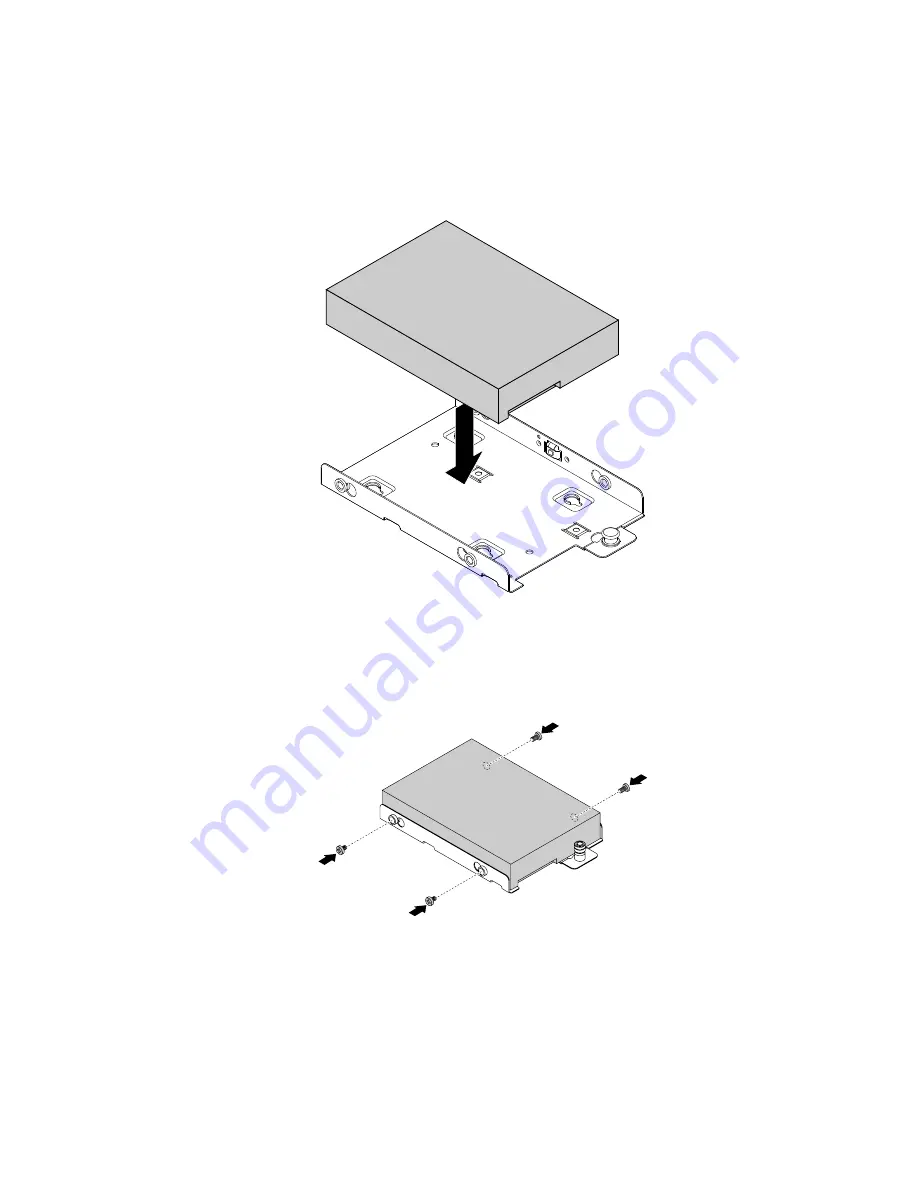
4. Install the new 3.5-inch HDD into the bracket.
Figure 56. Installing the 3.5-inch HDD into the bracket
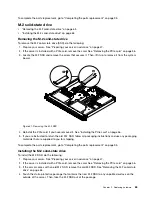
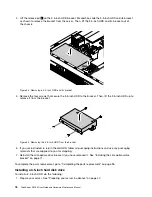
5. Align the four screw holes in the HDD with the corresponding holes in the bracket. Then, install the
four screws to secure the HDD to the bracket.
Figure 57. Installing the screws to secure the 3.5-inch HDD to bracket
.
77
Summary of Contents for ThinkServer RS160
Page 14: ...xii ThinkServer RS160 User Guide and Hardware Maintenance Manual ...
Page 18: ...4 ThinkServer RS160 User Guide and Hardware Maintenance Manual ...
Page 42: ...28 ThinkServer RS160 User Guide and Hardware Maintenance Manual ...
Page 58: ...44 ThinkServer RS160 User Guide and Hardware Maintenance Manual ...
Page 118: ...104 ThinkServer RS160 User Guide and Hardware Maintenance Manual ...
Page 130: ...116 ThinkServer RS160 User Guide and Hardware Maintenance Manual ...
Page 141: ......
Page 142: ......


