117
7.4.2.1
Display Manager
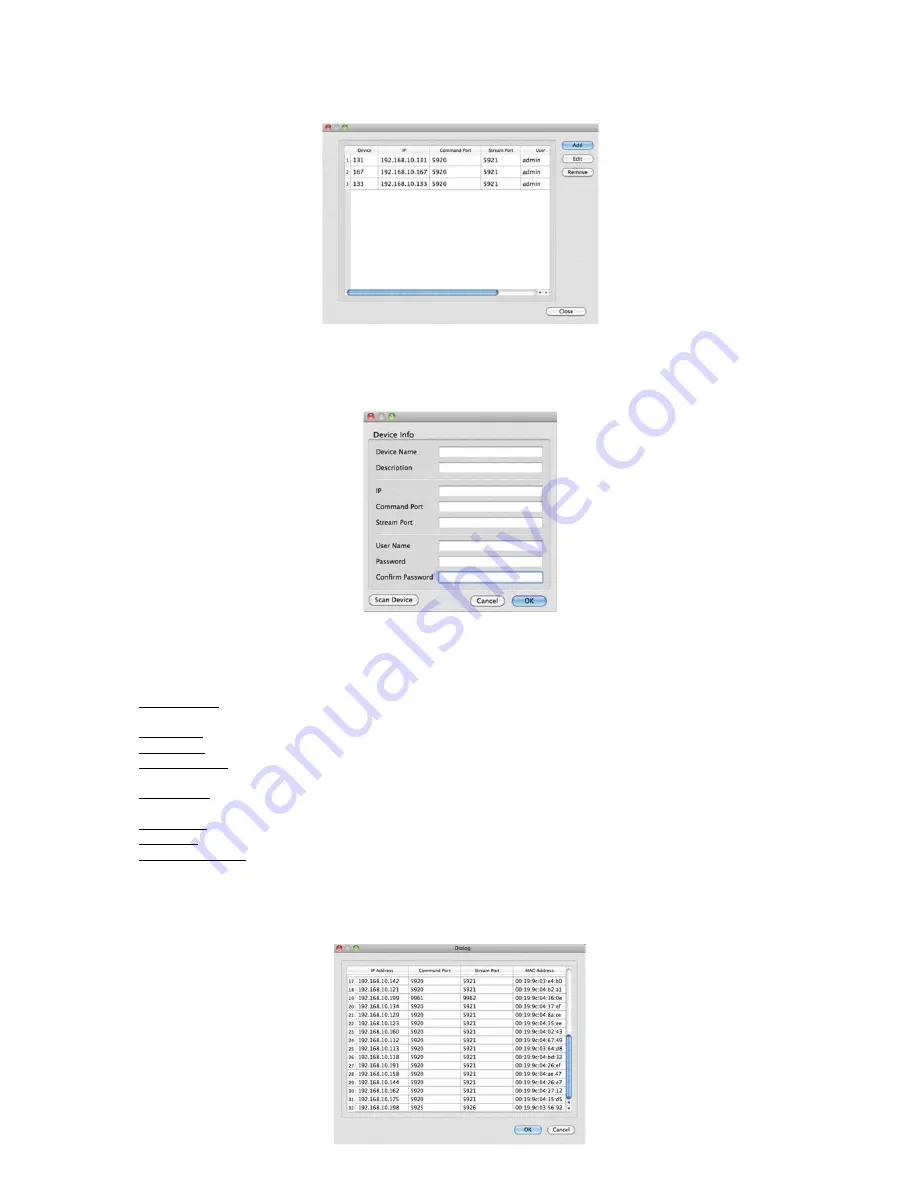
Please click
‘Device manager’
and the following screen will appear.
Users will see the already existing DVRs on the list, if there is any added DVR previously.
Please click
‘Add’
to add new device.
Please type all the necessary information in the empty space and click ‘OK’ to submit the device information
Device Info
-
Device Name: input the DVR site name which will be displayed on the Server list. Please note that this name has nothing
to do with the ID registered in DVR. Users may create the name that is fairly easy to distinguish.
-
Description: type brief description of the site
-
IP Address: input IP address or Domain Name of DVR (check with SETUP>DEVICES>Network in DVR).
-
Command Port: input Administrator’s number among port numbers set in DVR (check with SETUP>DEVICES>Network
in DVR).
-
Stream Port: INPUT Video/Audio number among port numbers set in DVR (check with SETUP>DEVICES>Network in
DVR).
-
User Name: Type authorized ID of the DVR. Default ID is
admin
.
-
Password: Type correspond password of the ID. Default Password is
1111
.
-
Confirm Password: Retype the password to confirm.
If users want to scan the devices instead of typing the information manually, please click
‘Scan device’
. It will automatically
detect registered DVR units currently connected to local networks.
Click
“Scan Device”
, then following
‘Dialog’
will pop up.
Summary of Contents for KM2115DKQCN
Page 12: ...12 B Type 4 8 16 channel Series DVR...
Page 13: ...13 C Type 4 8 16 channel Series DVR...
Page 14: ...14 D Type 4 8 16 channel Series DVR...
Page 15: ...15 E 4CH Type 4 channel Series HD SDI DVR...
Page 16: ...16 E 8 16CH Type 8 16 channel Series HD SDI DVR...
Page 17: ...17 F Type 4 8 16 channel Series HD SDI DVR...
Page 18: ...18 G Type 4 channel Series HD SDI DVR...
Page 19: ...19 H Type 4 channel Series HD SDI DVR...


